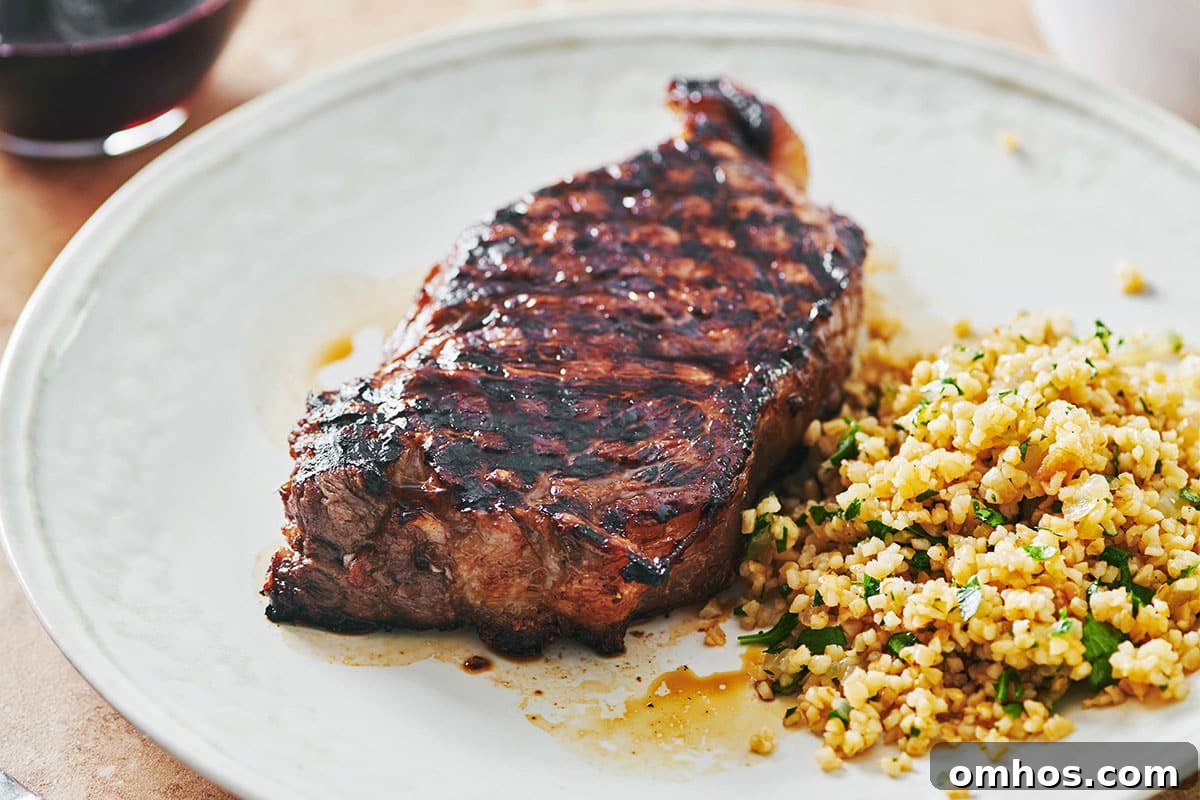
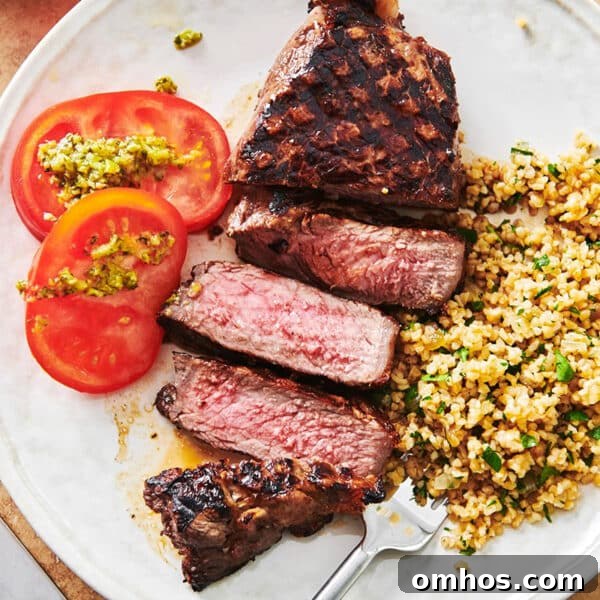
Getting those restaurant-style cross-hatch grill marks on steaks is simple when you use a consistent technique: place the steak diagonally across the grate and rotate it as it sears. The classic cross-hatch pattern comes from angling the steak at roughly 45 degrees to the grill bars and turning it a couple of times as it cooks.
Start with thicker cuts when you want pronounced cross-hatch marks and a juicy interior. Thicker steaks give you time to develop a deep sear on the outside while keeping the center tender and pink. Thinner cuts will cook through more quickly and may only need a single flip to avoid overcooking.
If your steaks are on the thinner side (about 1 1/4 inch or less), flip once to preserve juiciness and still get attractive sear lines. For thicker steaks—such as NY strip, ribeye, filet mignon, or top sirloin—use the diagonal-and-rotate method over high, direct heat for the best cross-hatch results. This approach also works well for thick fish steaks, like swordfish or tuna, when you want grill marks without drying the center.
A useful rule of thumb for doneness is to remove steaks from the grill when they are about 5°F below your target temperature; carryover heat while the steak rests will raise the internal temperature a few degrees. If you prefer, use a reliable instant-read thermometer to check doneness. Alternatively, the touch test can help you gauge how well done a steak is by feel.
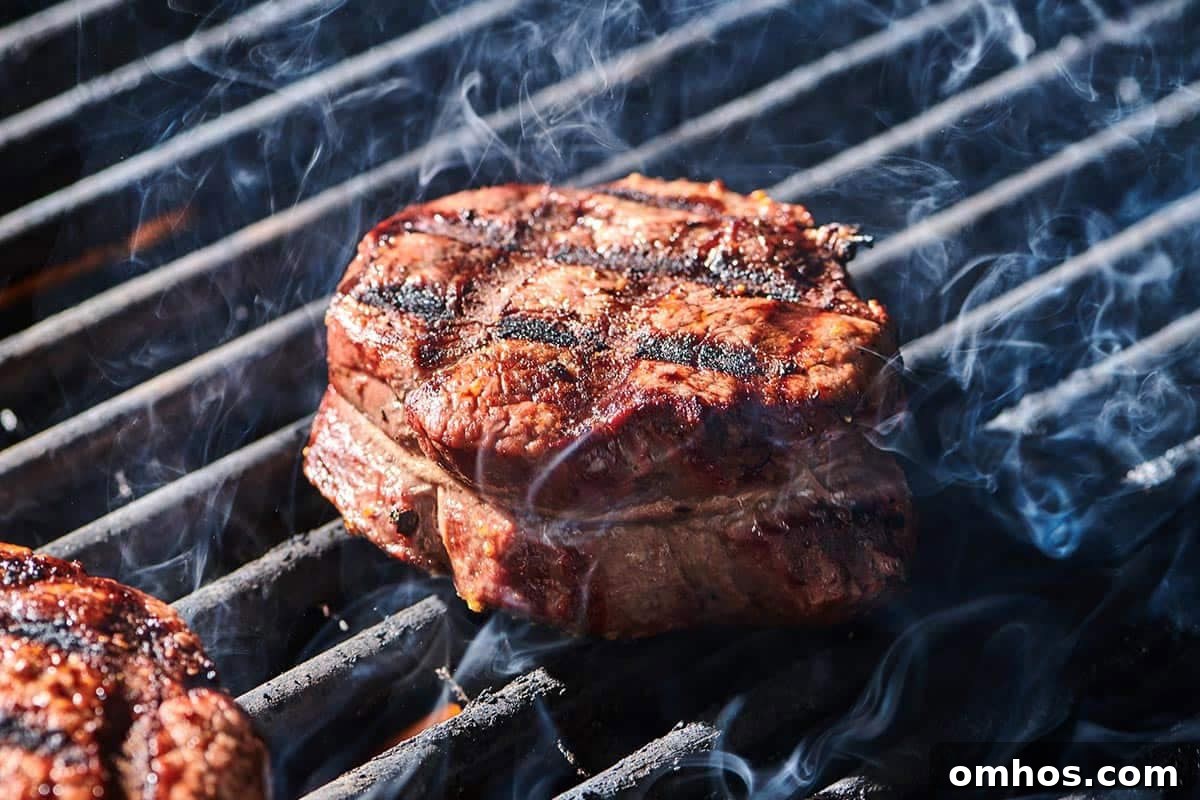
How to Get Cross-Hatch Marks on Grilled Steak
- Clean and oil the grates: Start with a well-cleaned grill and lightly oil the bars. This helps prevent sticking and encourages clean, dark sear lines.
- Bring steaks to room temperature and preheat the grill: Remove steaks from the refrigerator while the grill heats to high (about 450–500°F). Pat the steaks dry with paper towels so they sear efficiently and develop a good crust.
- Place steaks on the diagonal: Lay each steak at a 45-degree angle across the grates. Let it sear undisturbed for a few minutes so the grill bars leave defined lines.
- Rotate to form the pattern: After the first set of marks forms, rotate the steak a quarter turn (90 degrees) to create the diamond or cross-hatch pattern on that side. You are aiming for even, angled grill marks that form squares or diamonds across the surface.
- Flip and repeat: Turn the steak over and repeat the same diagonal placement and rotation on the other side. For a 1.5-inch-thick steak over high heat, plan on leaving the steak in each oriented position roughly 2–3 minutes before rotating, though cooking time varies by cut and thickness.
- Rest before serving: Remove steaks from the grill and let them rest for about 5 minutes on a cutting board. Resting redistributes juices and finishes the cooking process without overcooking the exterior.
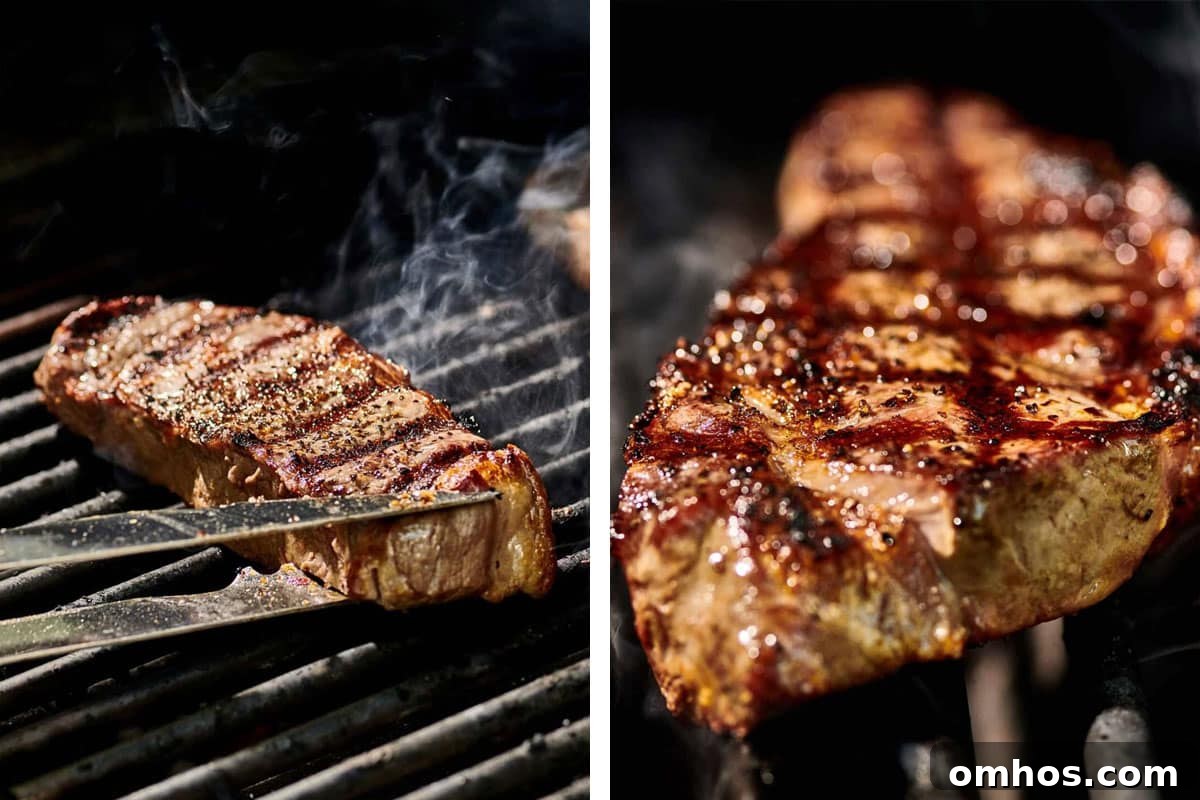
Grilling Smarts
If the steak reaches the desired doneness before you’ve completed all rotations, don’t worry about perfect symmetry on the underside. A clearly cross-hatched top presents beautifully on the plate, so you can finish cooking the other side without doing the third rotation if the steak is already near your target temperature. Use tongs rather than forks to avoid piercing the meat, and let thick cuts rest to retain juices.
Favorite Grilled Steak Recipes
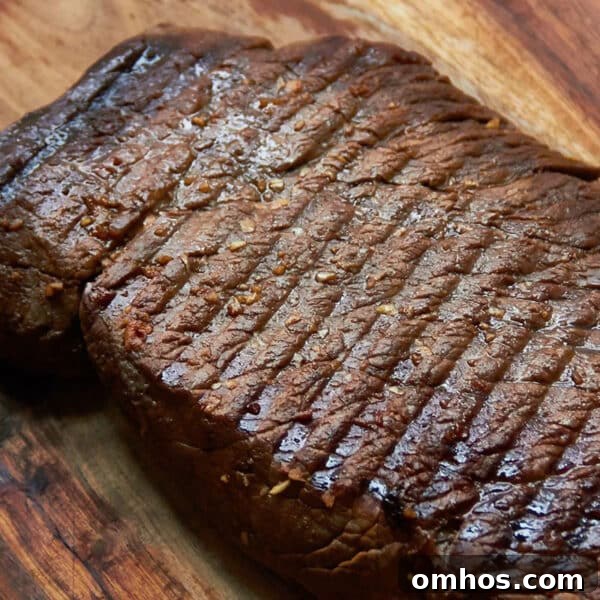
Marinated and Grilled London Broil
Grilled Marinated New York Strip Steak