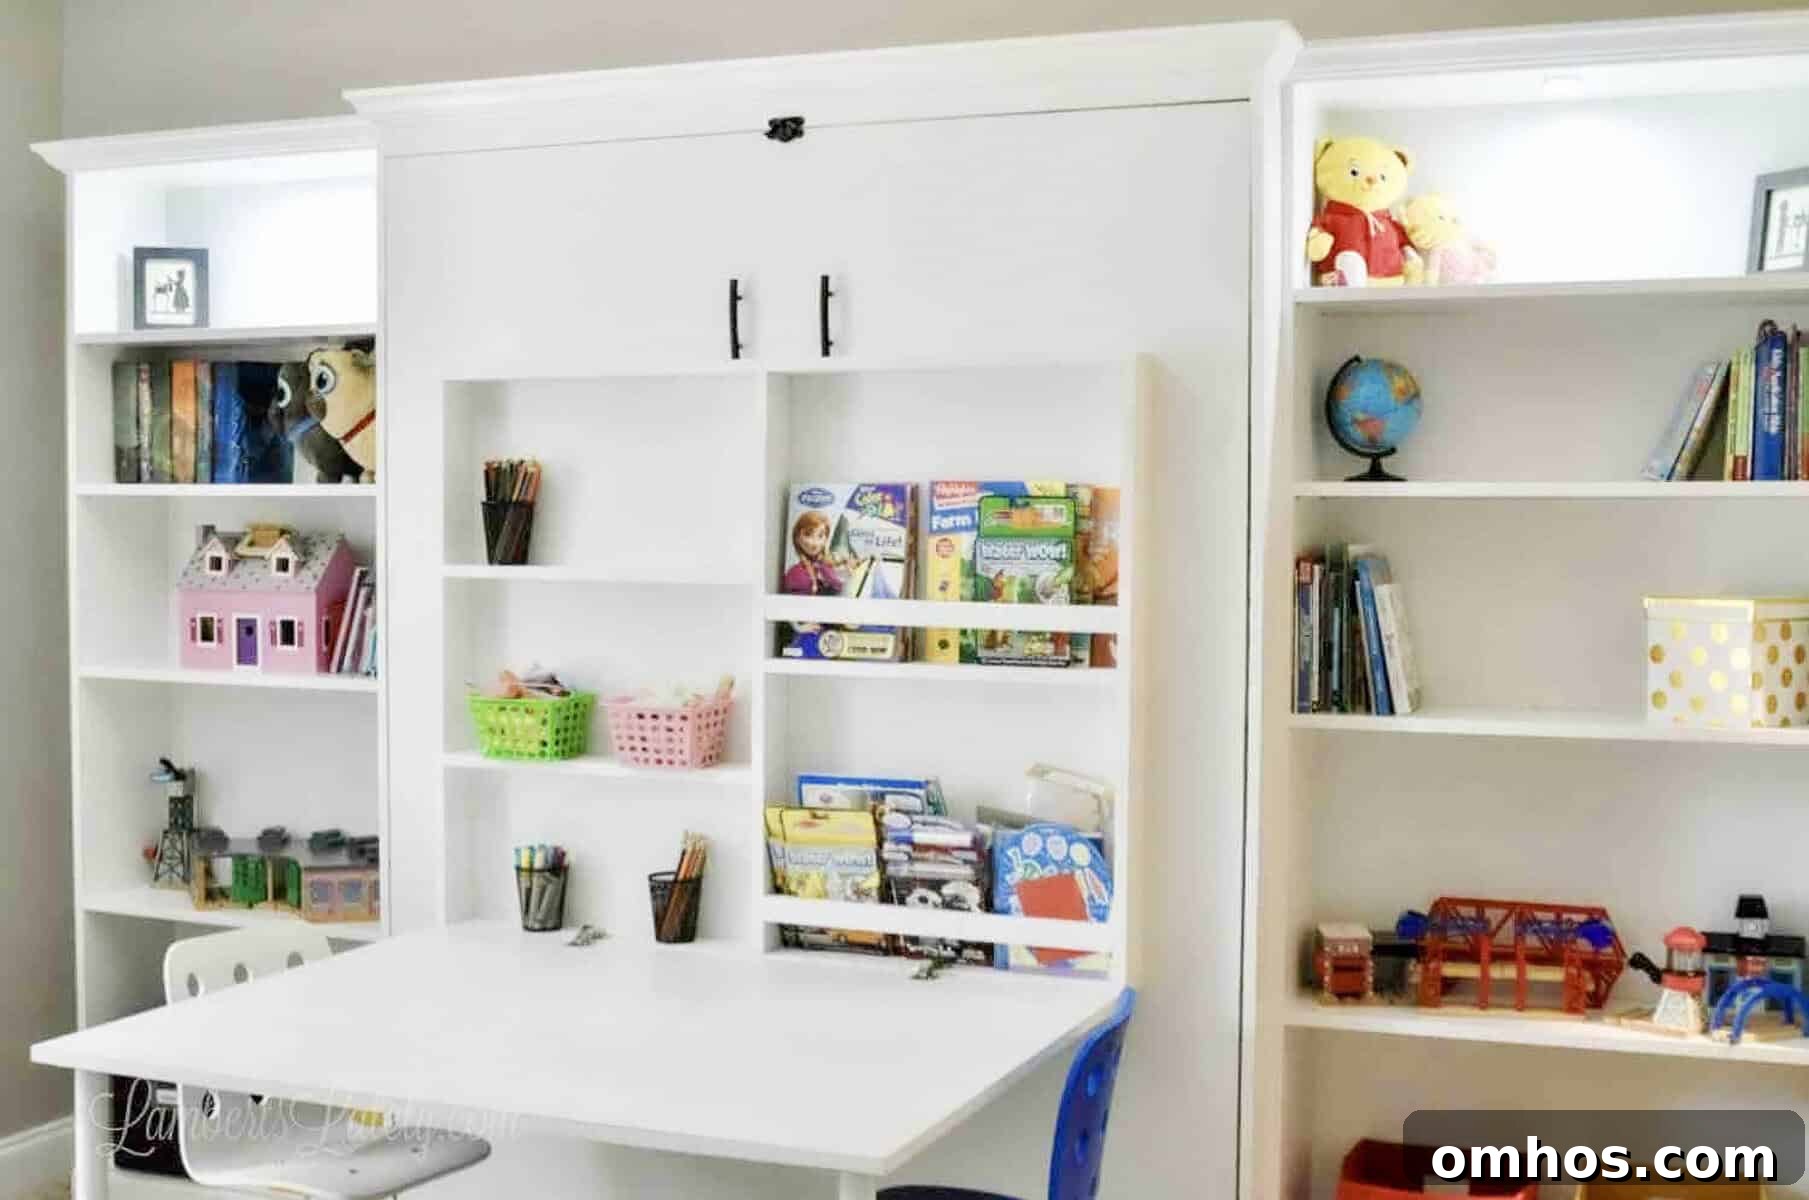
Learn how we built a full-size DIY Murphy bed with a fold-out desk and IKEA Billy bookcases — an ideal solution for a guest room, home office, or craft room. We used a Create-a-Bed hardware kit to keep the design compact, durable, and smooth to operate.
Paid links used in this post. Read more about my link usage policies.
We’ve had this DIY Murphy Bed in our craft room and home office for several years, and it’s easily one of our best home projects. It transformed a seldom-used guest room into a practical, everyday space while keeping a comfortable sleeping option for visitors.
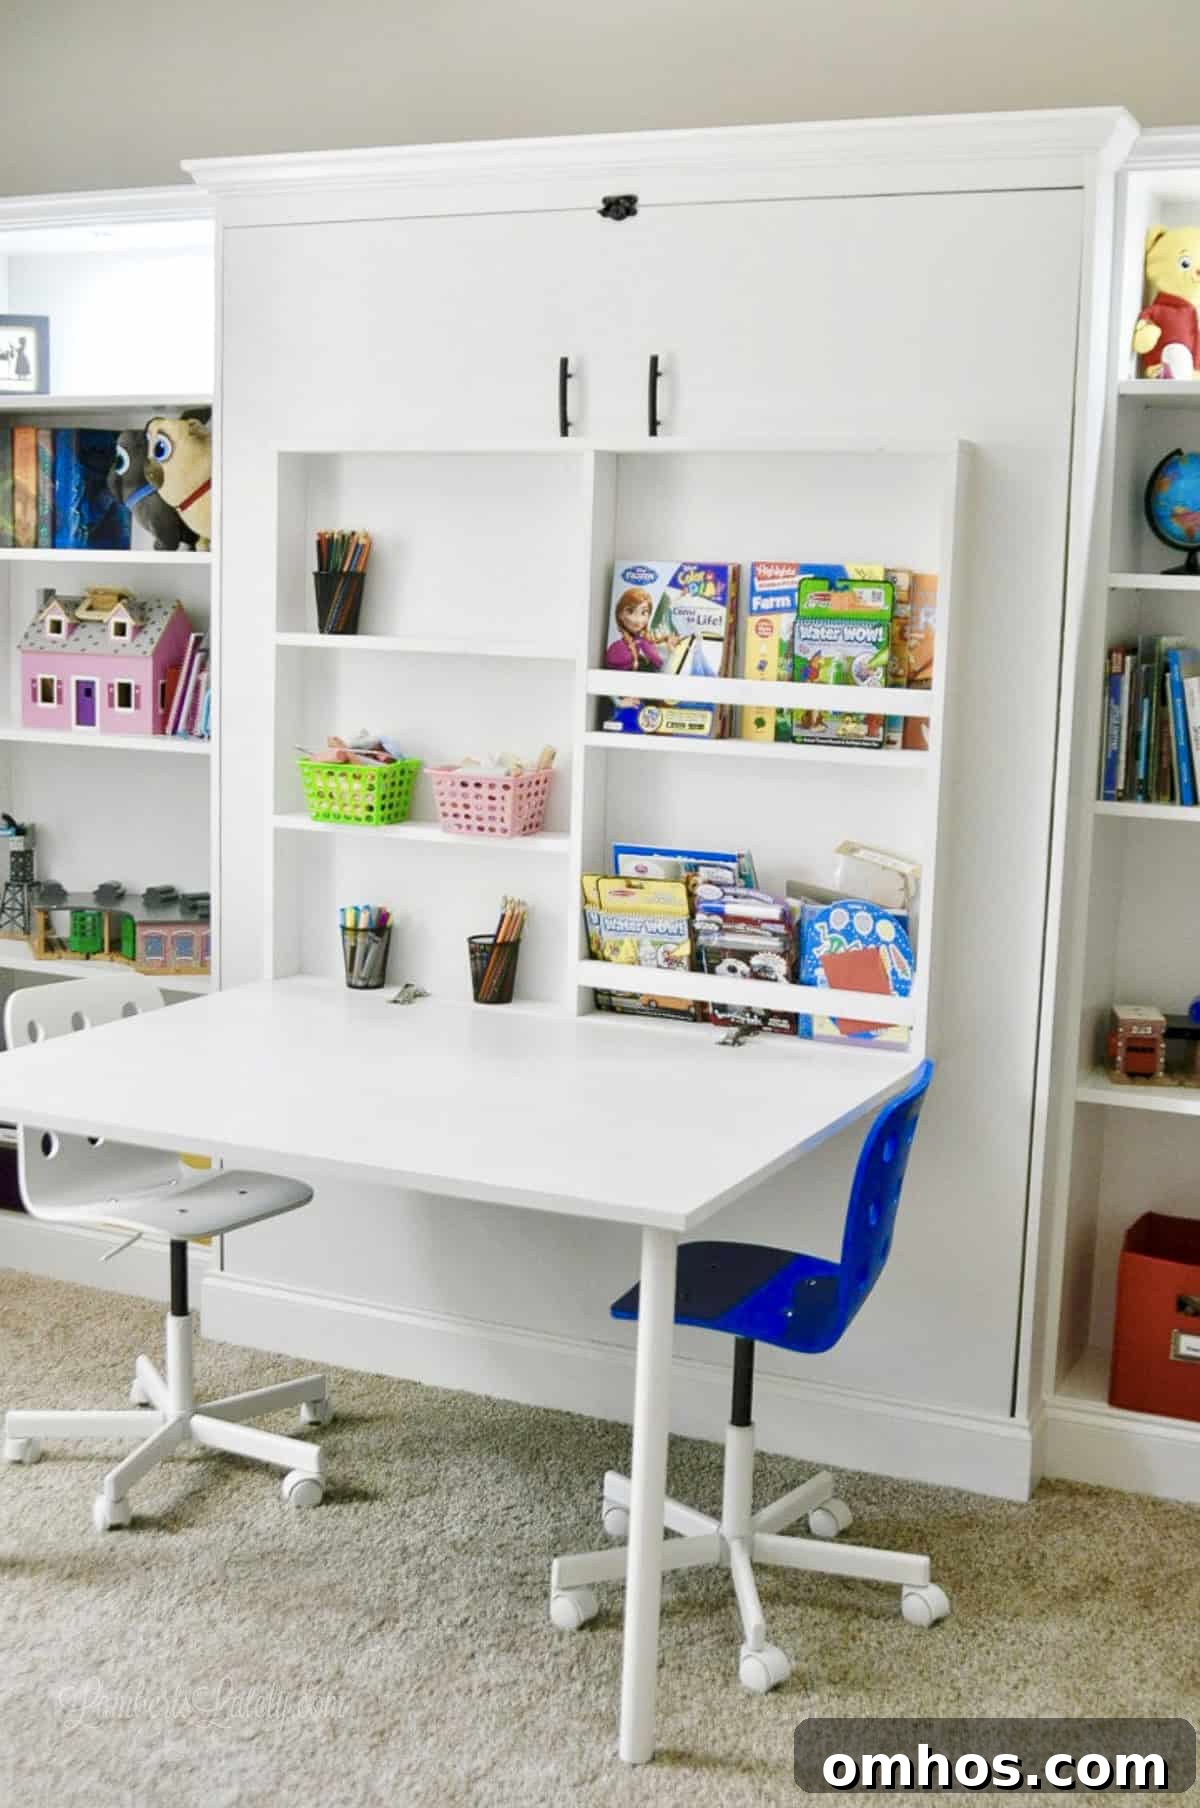
Our brief called for a guest bed, a desk for the kids, and generous storage. After a lot of planning we combined a Create-a-Bed kit, a custom fold-down desk, and an IKEA Billy bookcase hack to create a solution that looks built-in and works every day.
Why We Chose a DIY Murphy Bed Instead of Buying One
We checked prices for pre-made Murphy beds and were surprised by the cost — typically around $1,500–$2,000 before shipping. That was more than we wanted to spend, so building our own made sense.
You’ll find posts claiming you can build a Murphy bed for under $100 — in our experience those aren’t realistic for a safe, long-lasting bed. If you’re investing time and effort, spend a bit more on quality hardware so the bed functions reliably for years.
Project Overview: Cost, Tools, and Difficulty
- Difficulty: Advanced — requires precise measuring and at least two people for safe assembly
- Time: Roughly 2–3 weekends of work
- Estimated Cost: About $600 (2019 prices) — roughly $850–$900 in 2026, depending on materials and hardware
Materials and Hardware
The build centers on the Create-a-Bed Full-Size Vertical Hardware Kit, which supplies the pistons, pivot plates, and clear plans that simplify the project.
Basic materials (follow Create-a-Bed instructions for exact details):
- 4 sheets of 3/4″ x 4′ x 8′ birch plywood
- 2 sheets of 1/4″ x 4′ x 8″ plywood
- About 14 1×2″ furring strips
- Melamine veneer tape for the edges
- Hardware: Titebond wood glue, finish nails, a selection of #8 coarse-thread wood screws, and a 3/4″ poplar dowel
Part 1: Building the Murphy Bed Frame
Note: The following is a concise summary of the Create-a-Bed instructions. Always follow the kit’s diagrams and safety guidelines precisely.
Step 1: Plywood Cut List
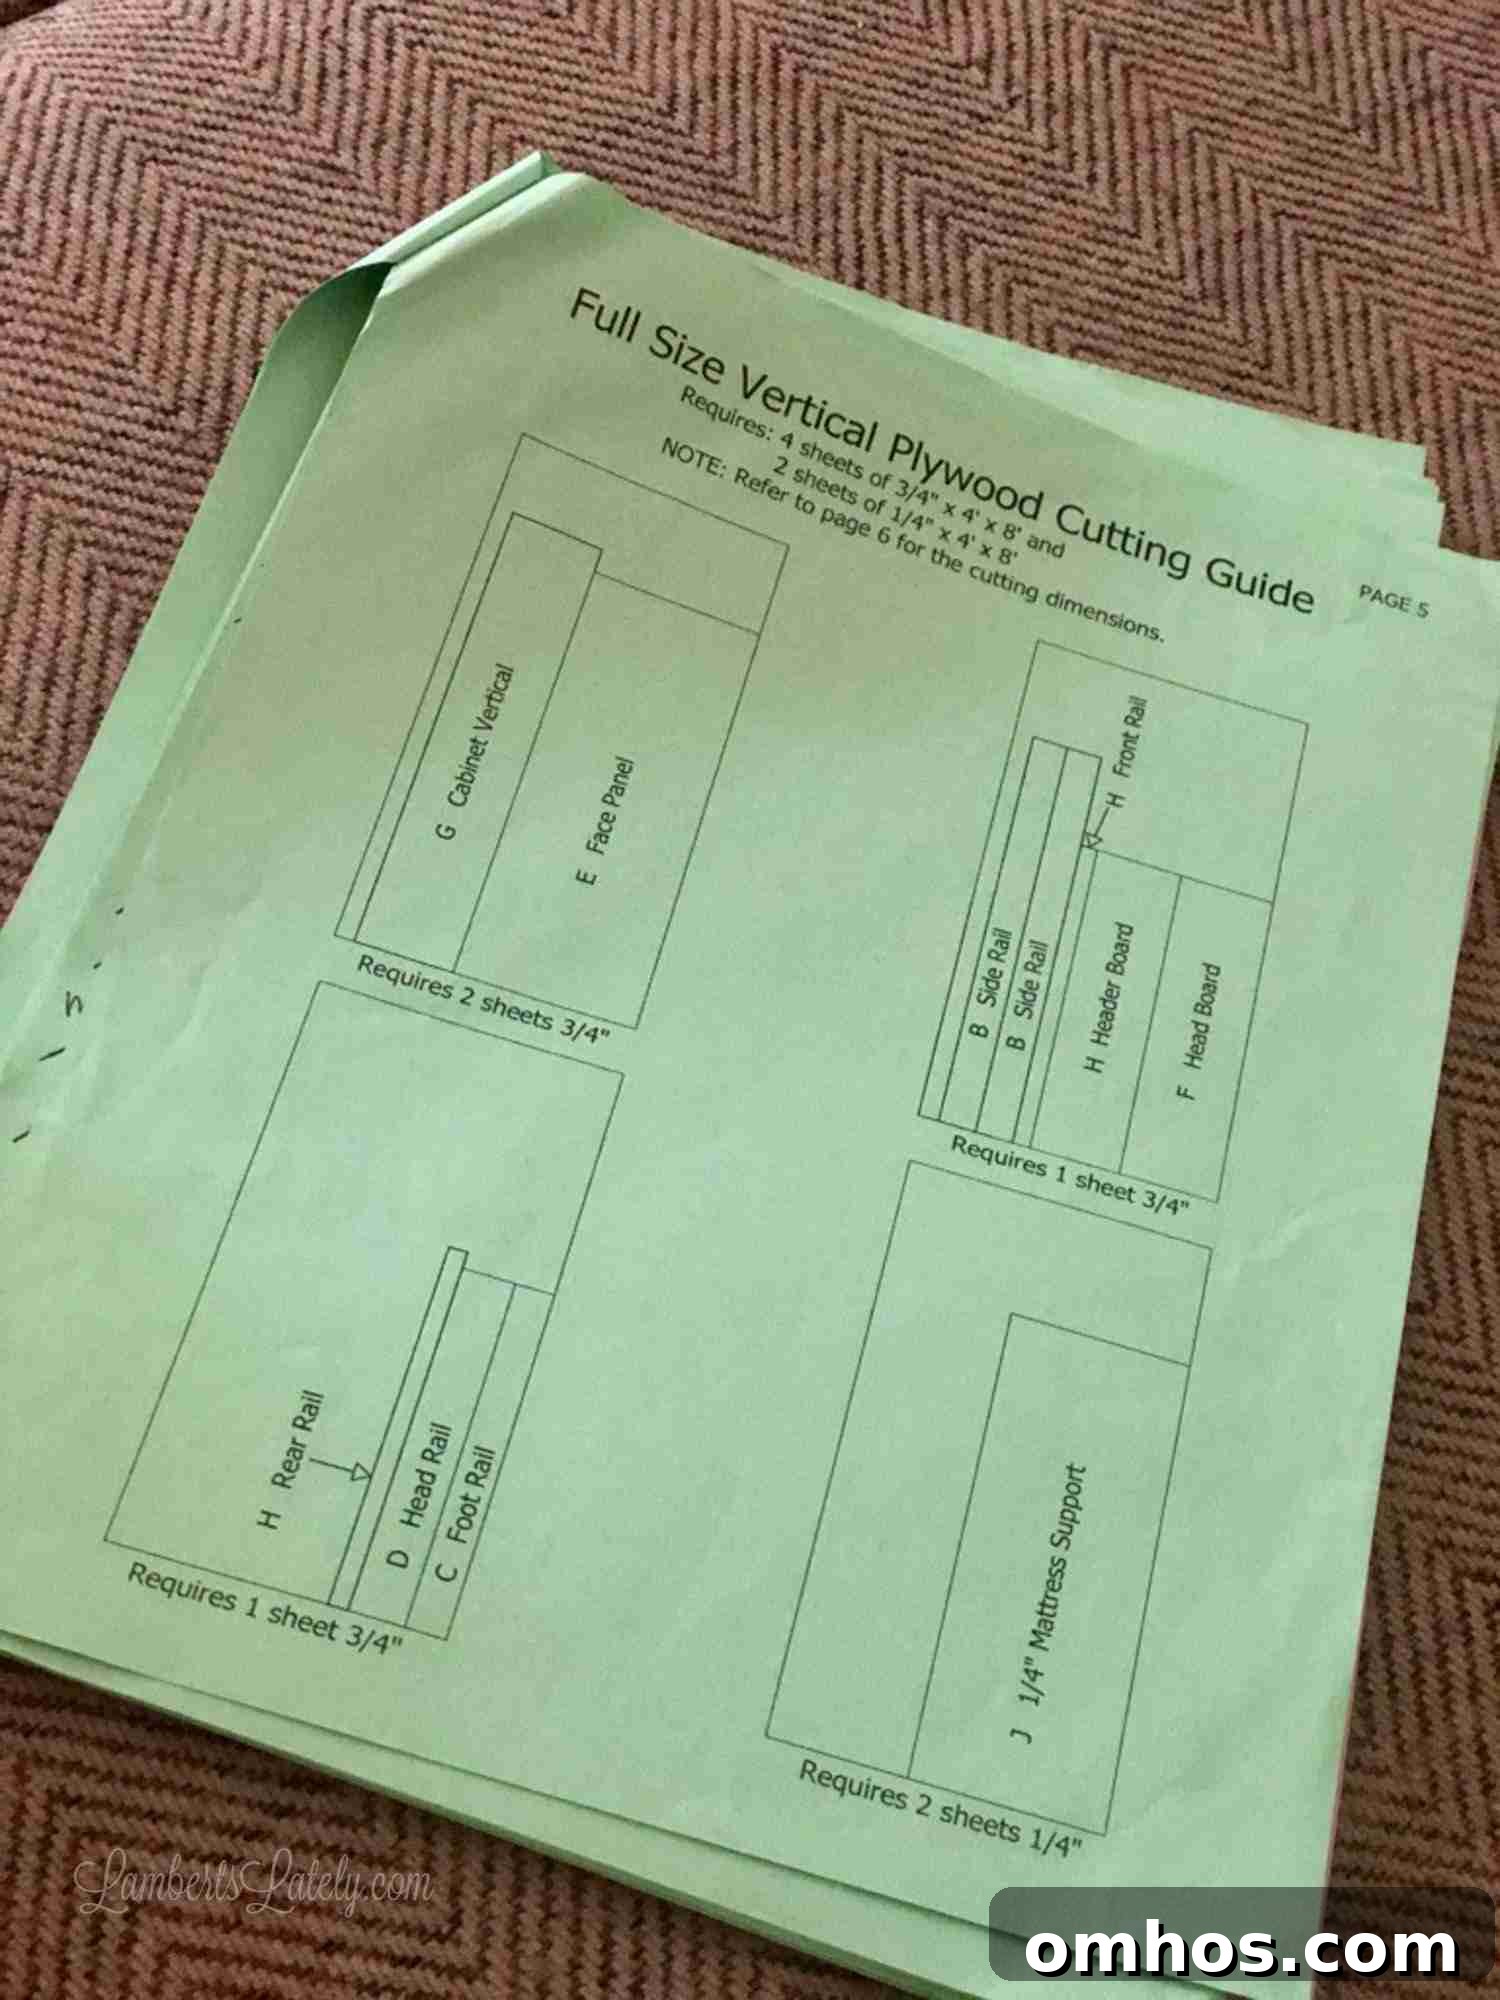
Save time and heavy lifting: have your plywood cut at Lowe’s or Home Depot. Label every board as soon as it’s cut (Part A, B, C, etc.) so assembly goes smoothly.
Typical 3/4″ plywood cuts:
- Part B (2): 5-7/8″ x 76-1/2″ — side rails
- Part C: 3″ x 56″ — foot rail
- Part D: 7-7/8″ x 56″ — head rail
- Part E (2): 29″ x 76-3/4″ — front panels
- Part G (2): 15-7/8″ x 82-1/8″ — cabinet verticals
Step 2: Construct the Bed Frame
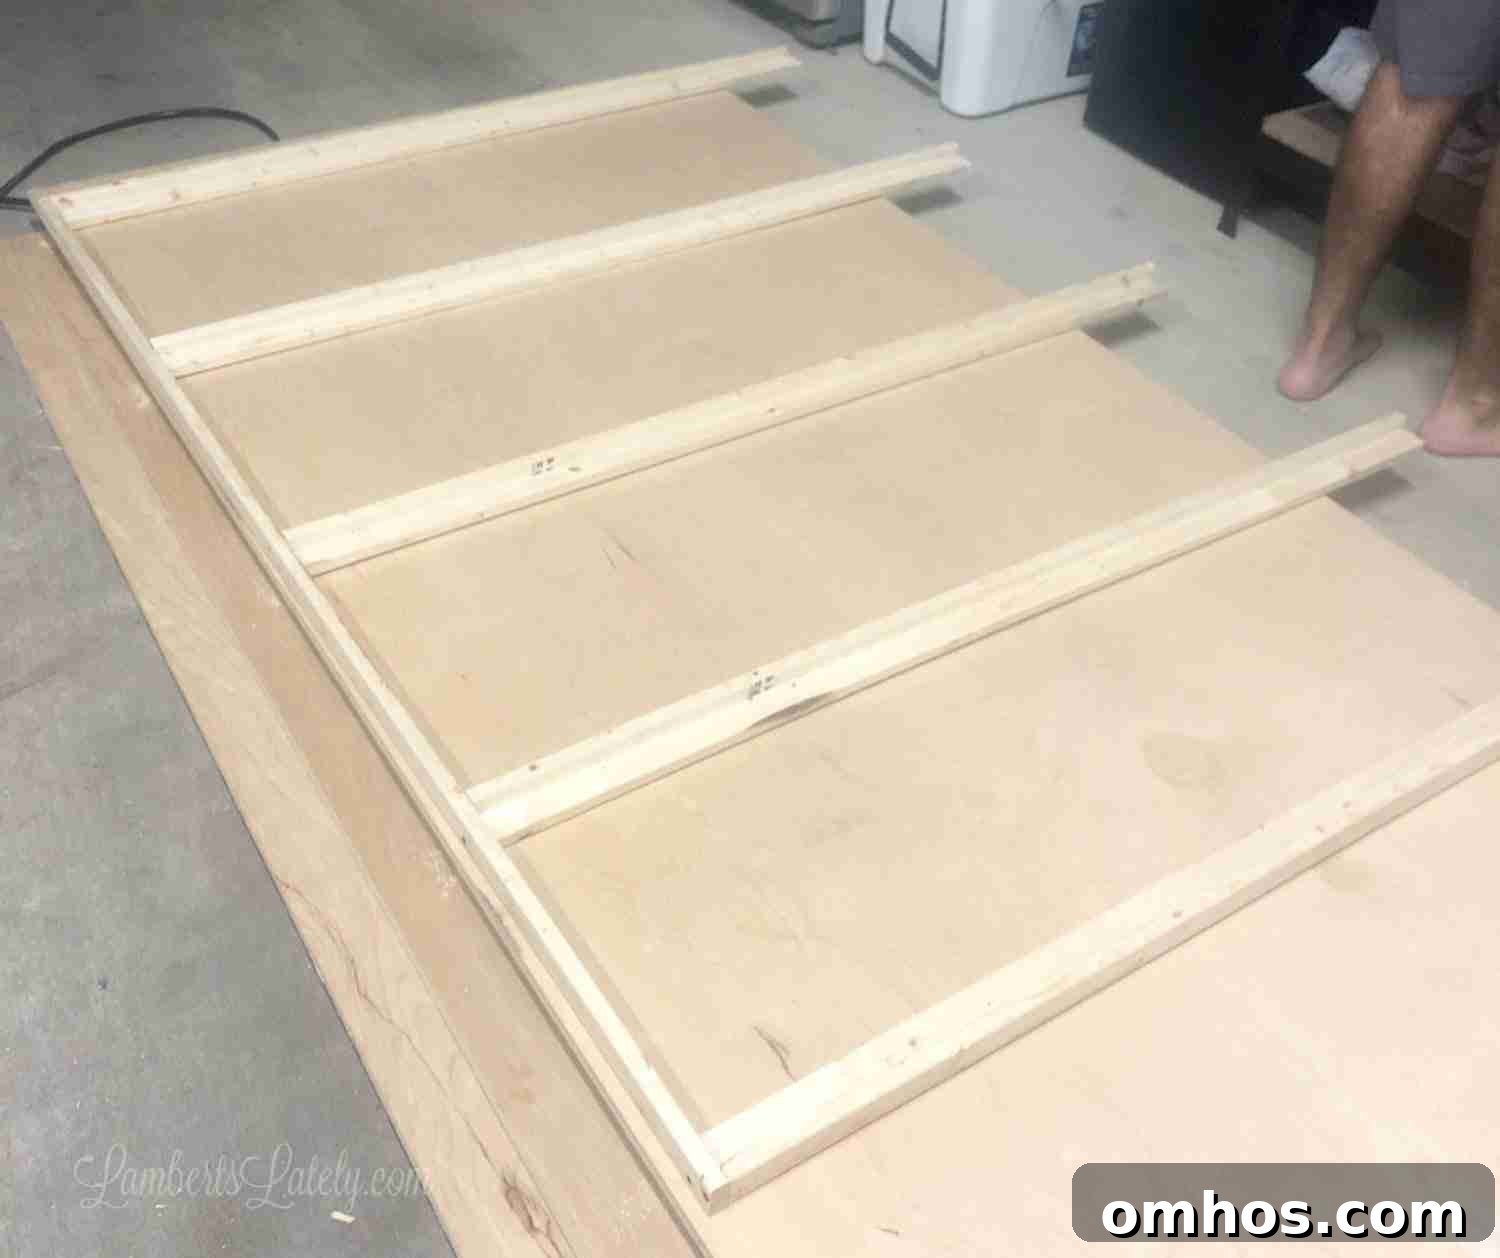
Assemble the “L” shaped strut using the 1×2 rails: glue and nail them, then attach the side rails to form the frame. This step usually goes quickly once all pieces are ready.
Step 3: Hardware Placement and Side Rails
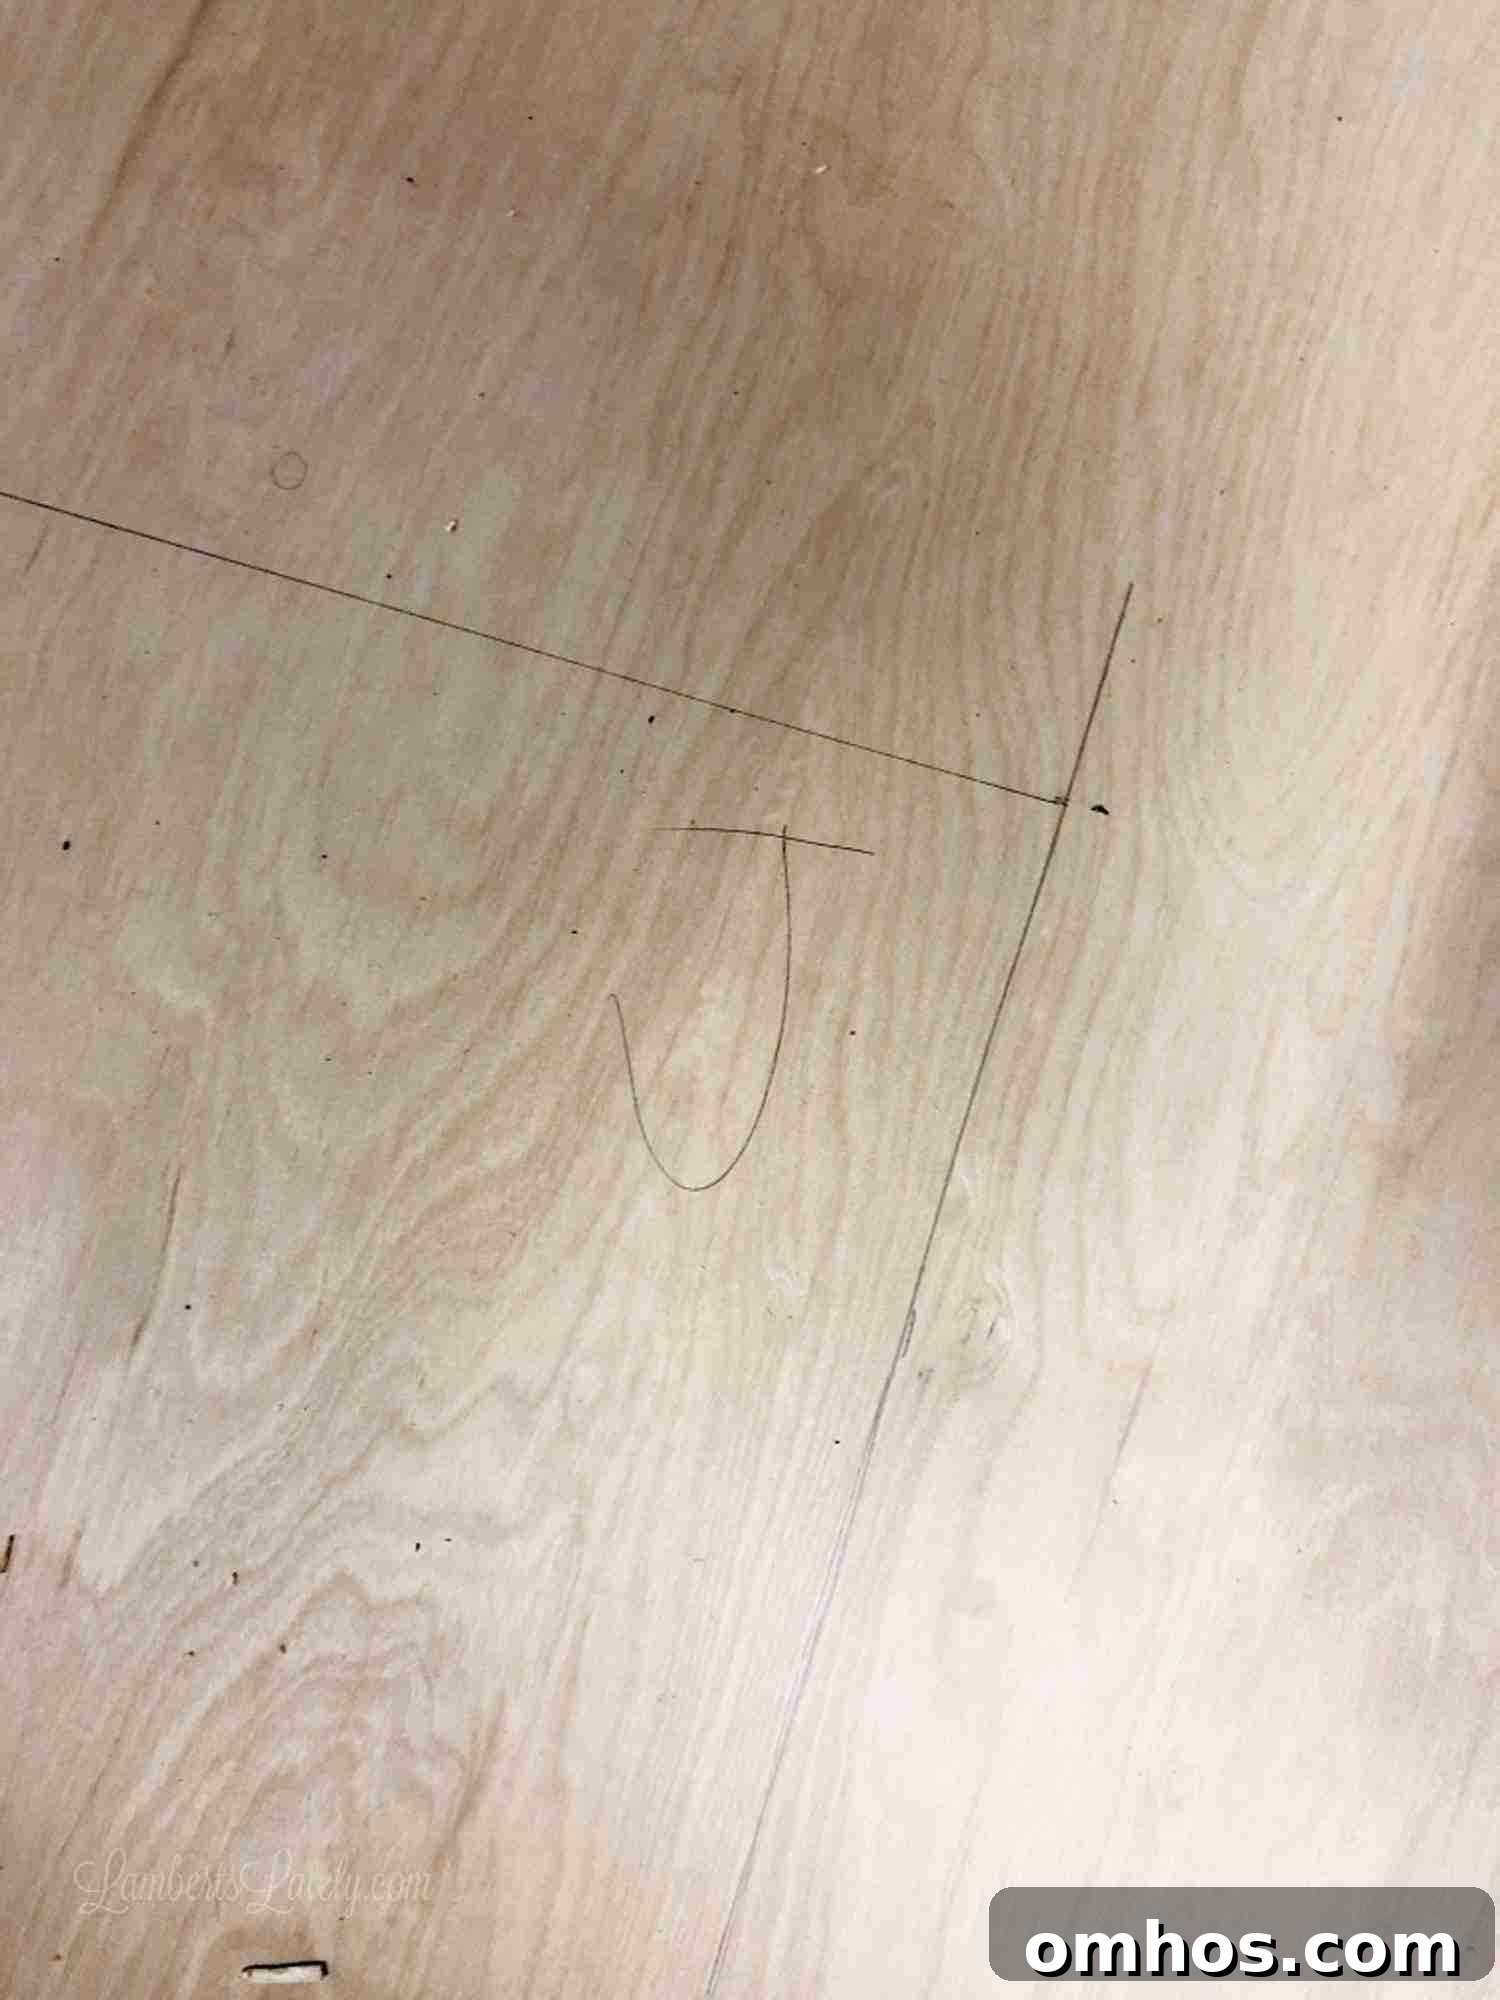
Accuracy matters. Trace the rounded edge template onto the side rails (Part B) and cut with a jigsaw. Drill leg pivot holes with a 5/8″ Forstner bit for clean, true holes.
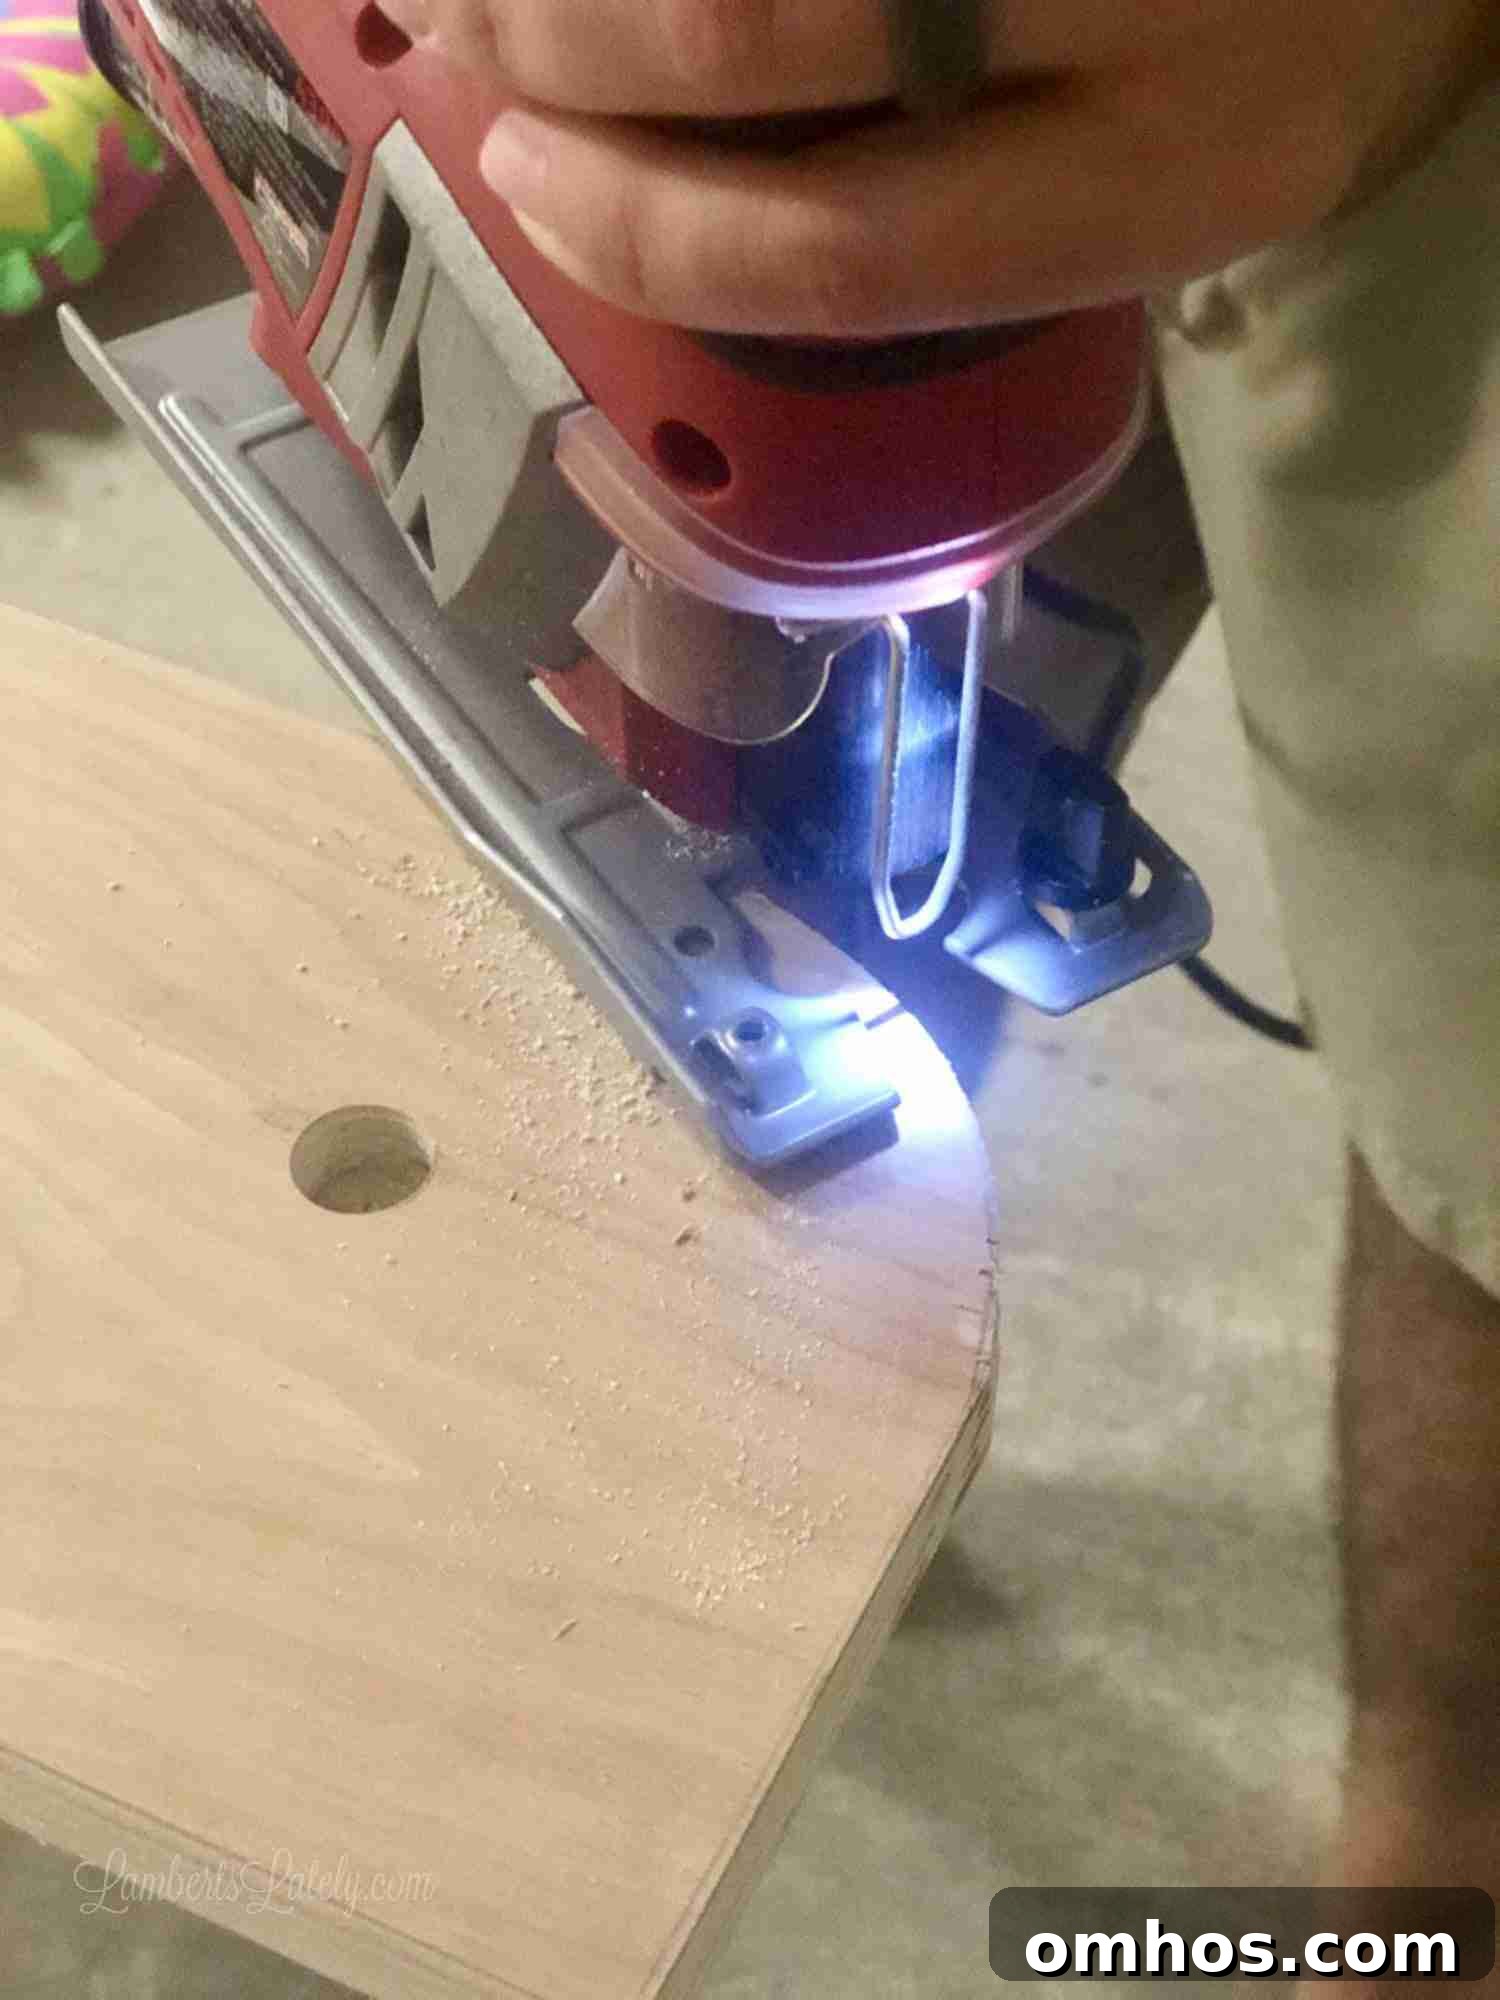
Pro tip: Measure twice and drill once. Pivot plate placement must be exact for the hardware to operate correctly.
Step 4: Final Assembly and Finish
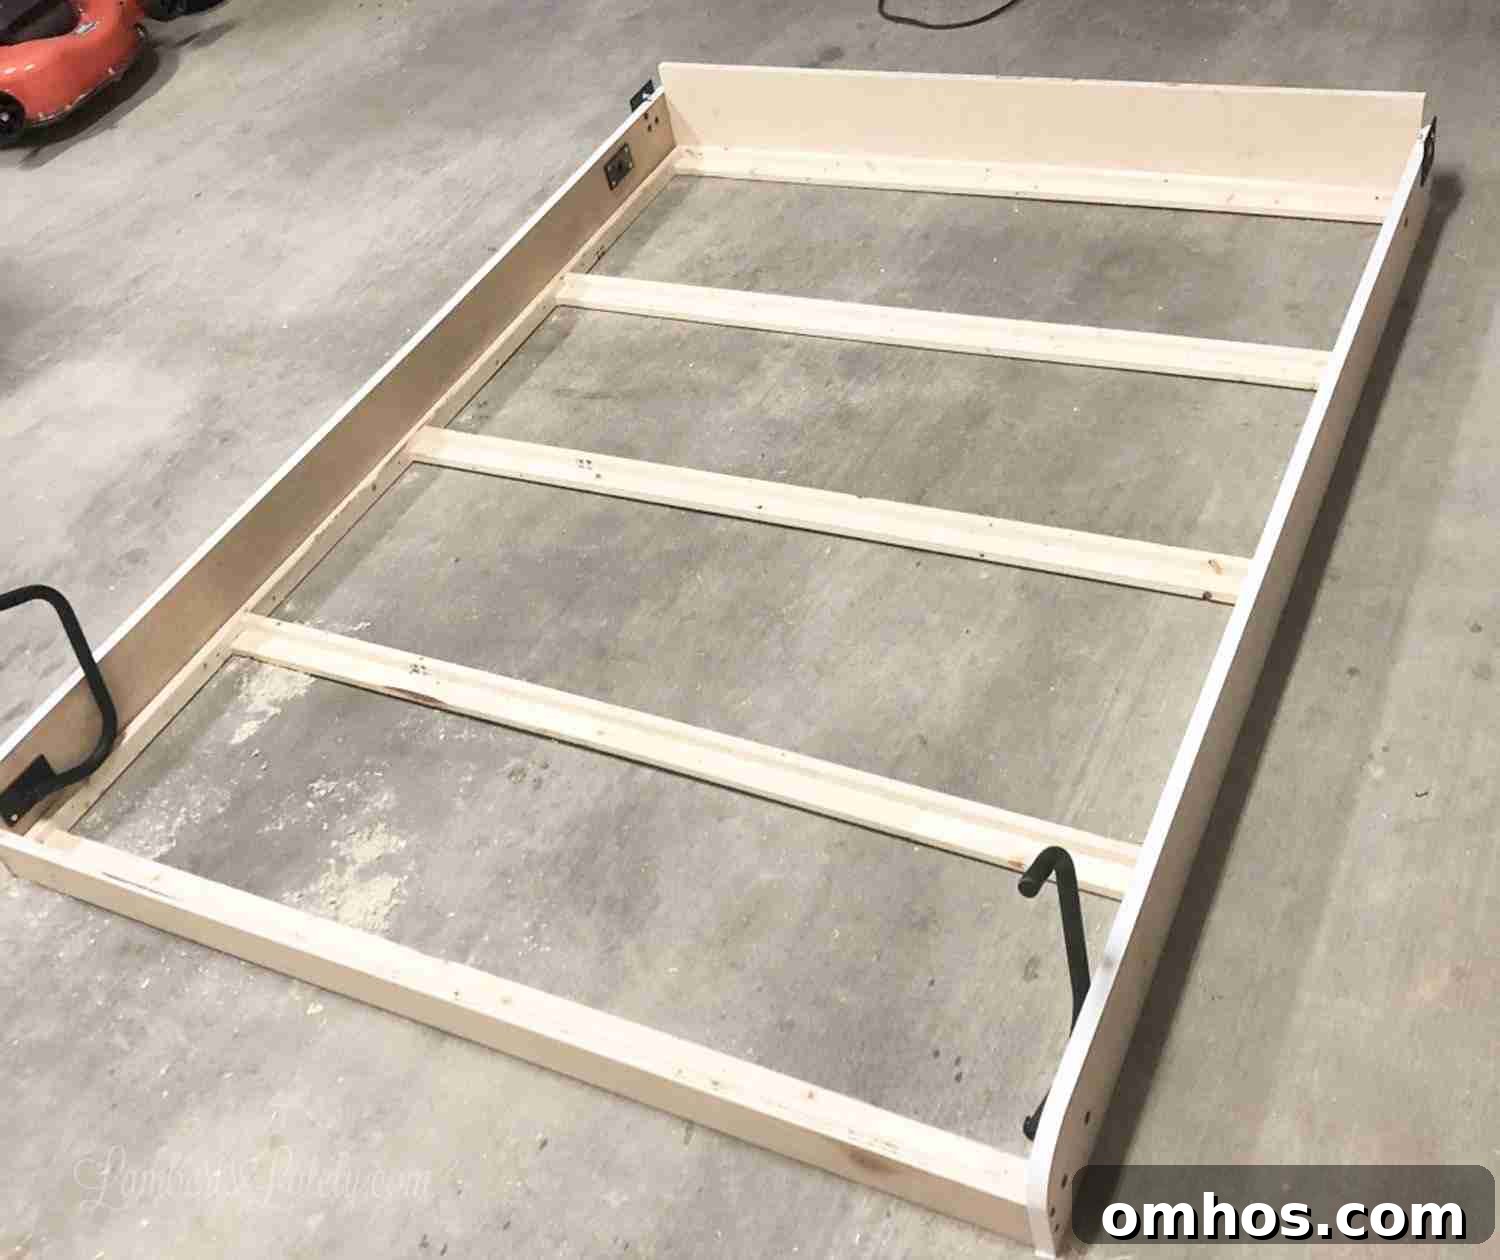
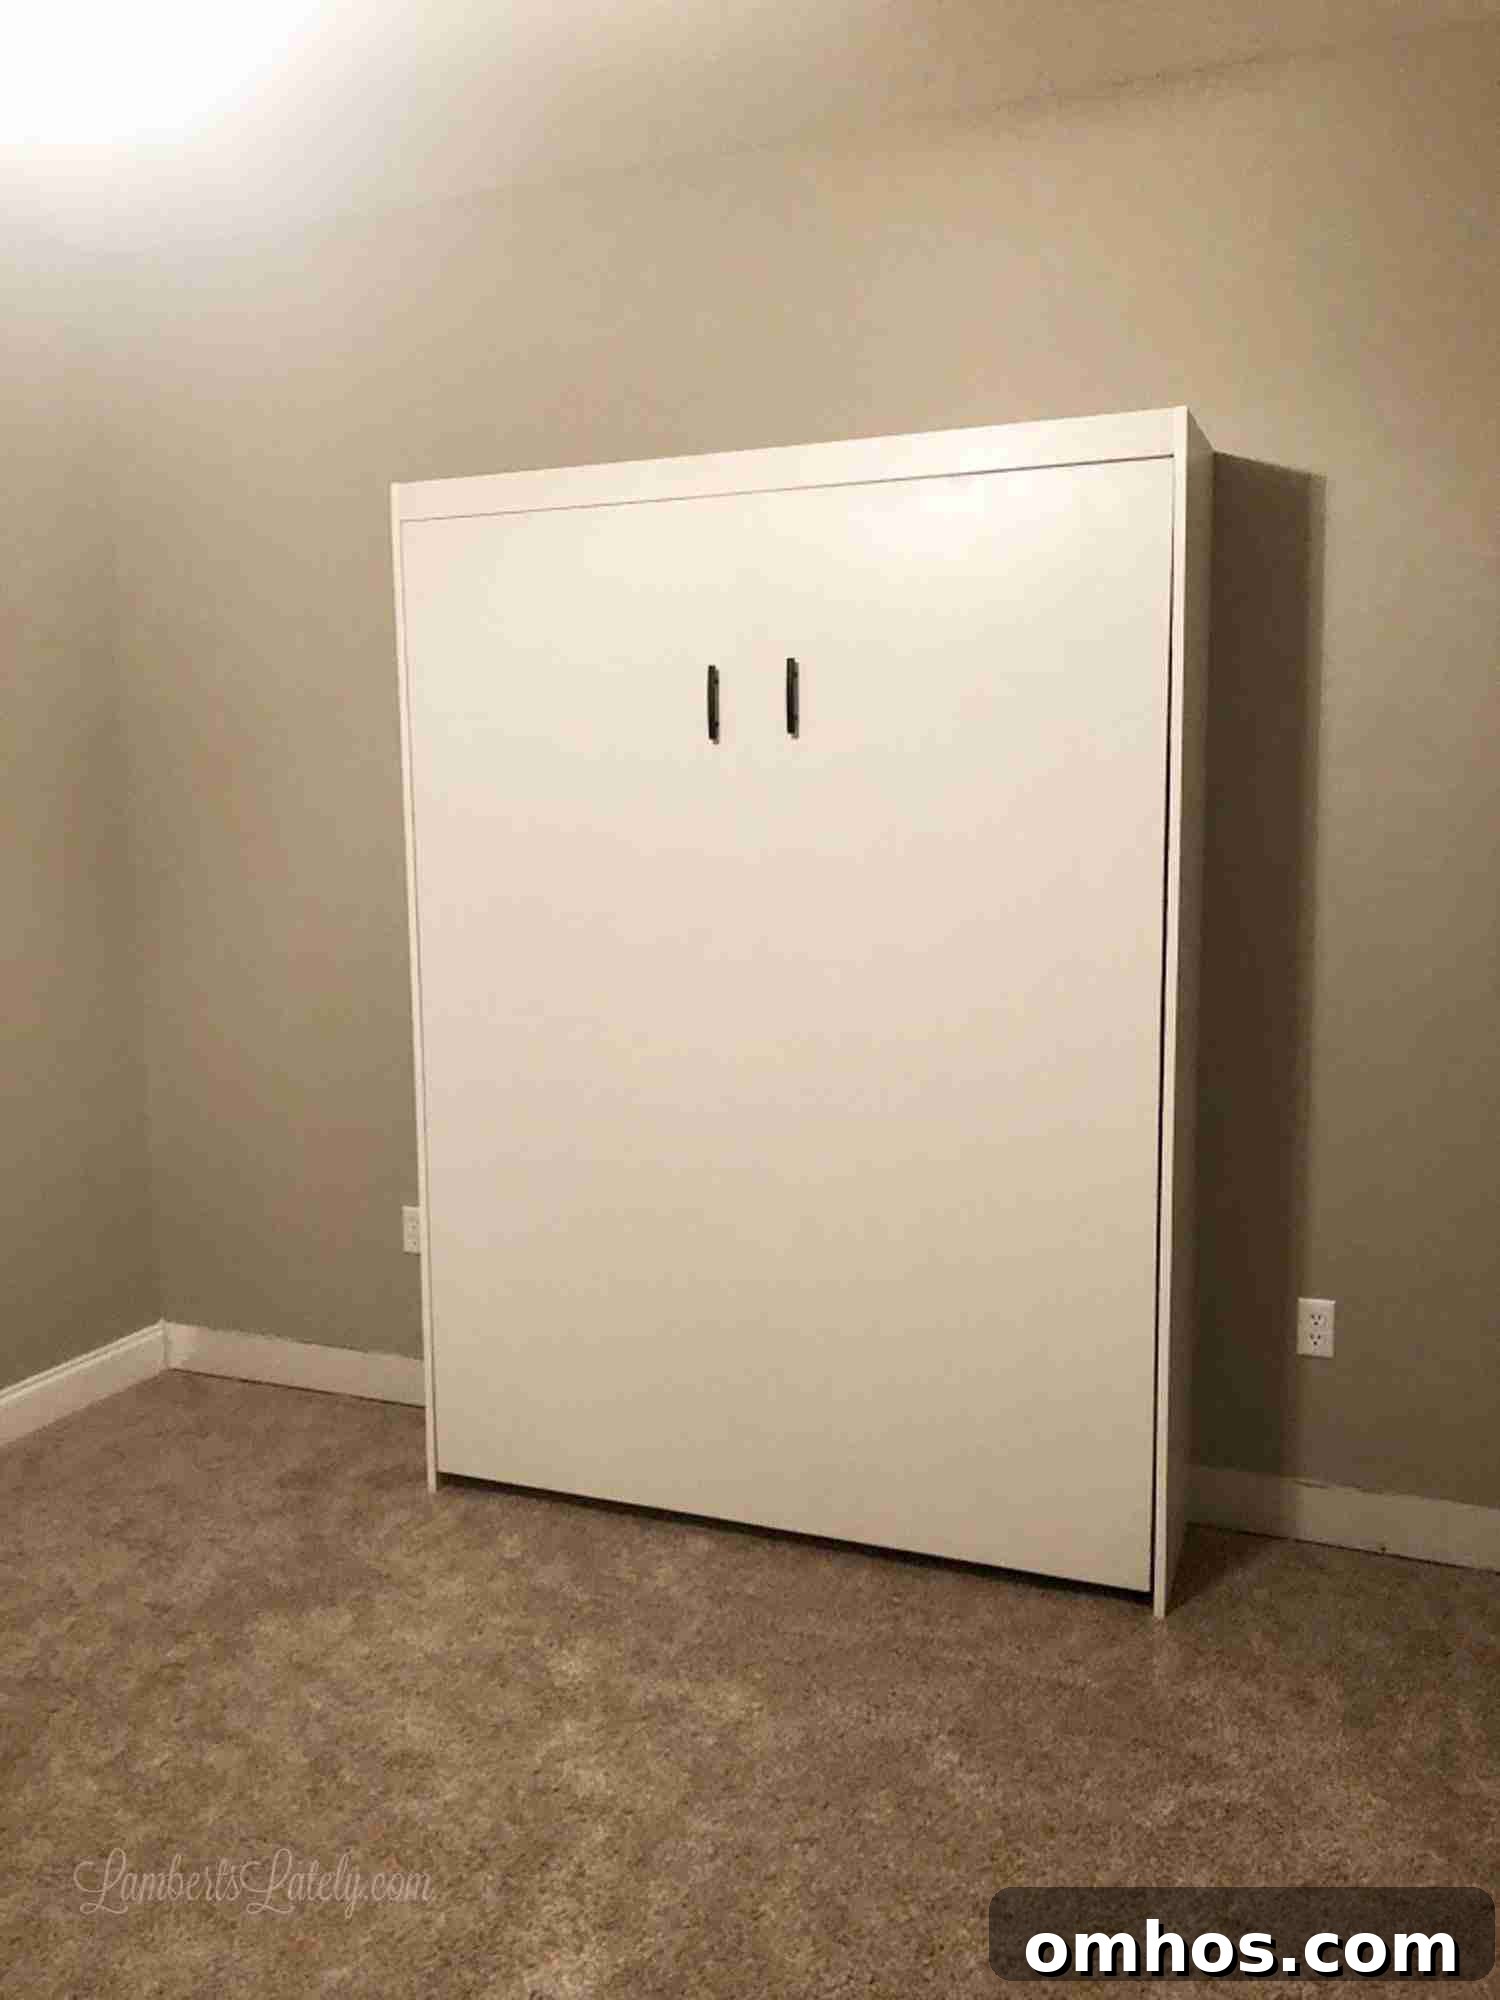
After attaching the rails to the front panels (Part E) the unit begins to look like a bed. Before installing it on the wall, prime, paint, and apply veneer tape to exposed plywood edges — an iron-on veneer tape creates a polished, furniture-like finish.
Part 2: The IKEA Billy Bookcase Hack
To give the whole installation a custom built-in look, we flanked the bed with IKEA Billy bookcases on each side.
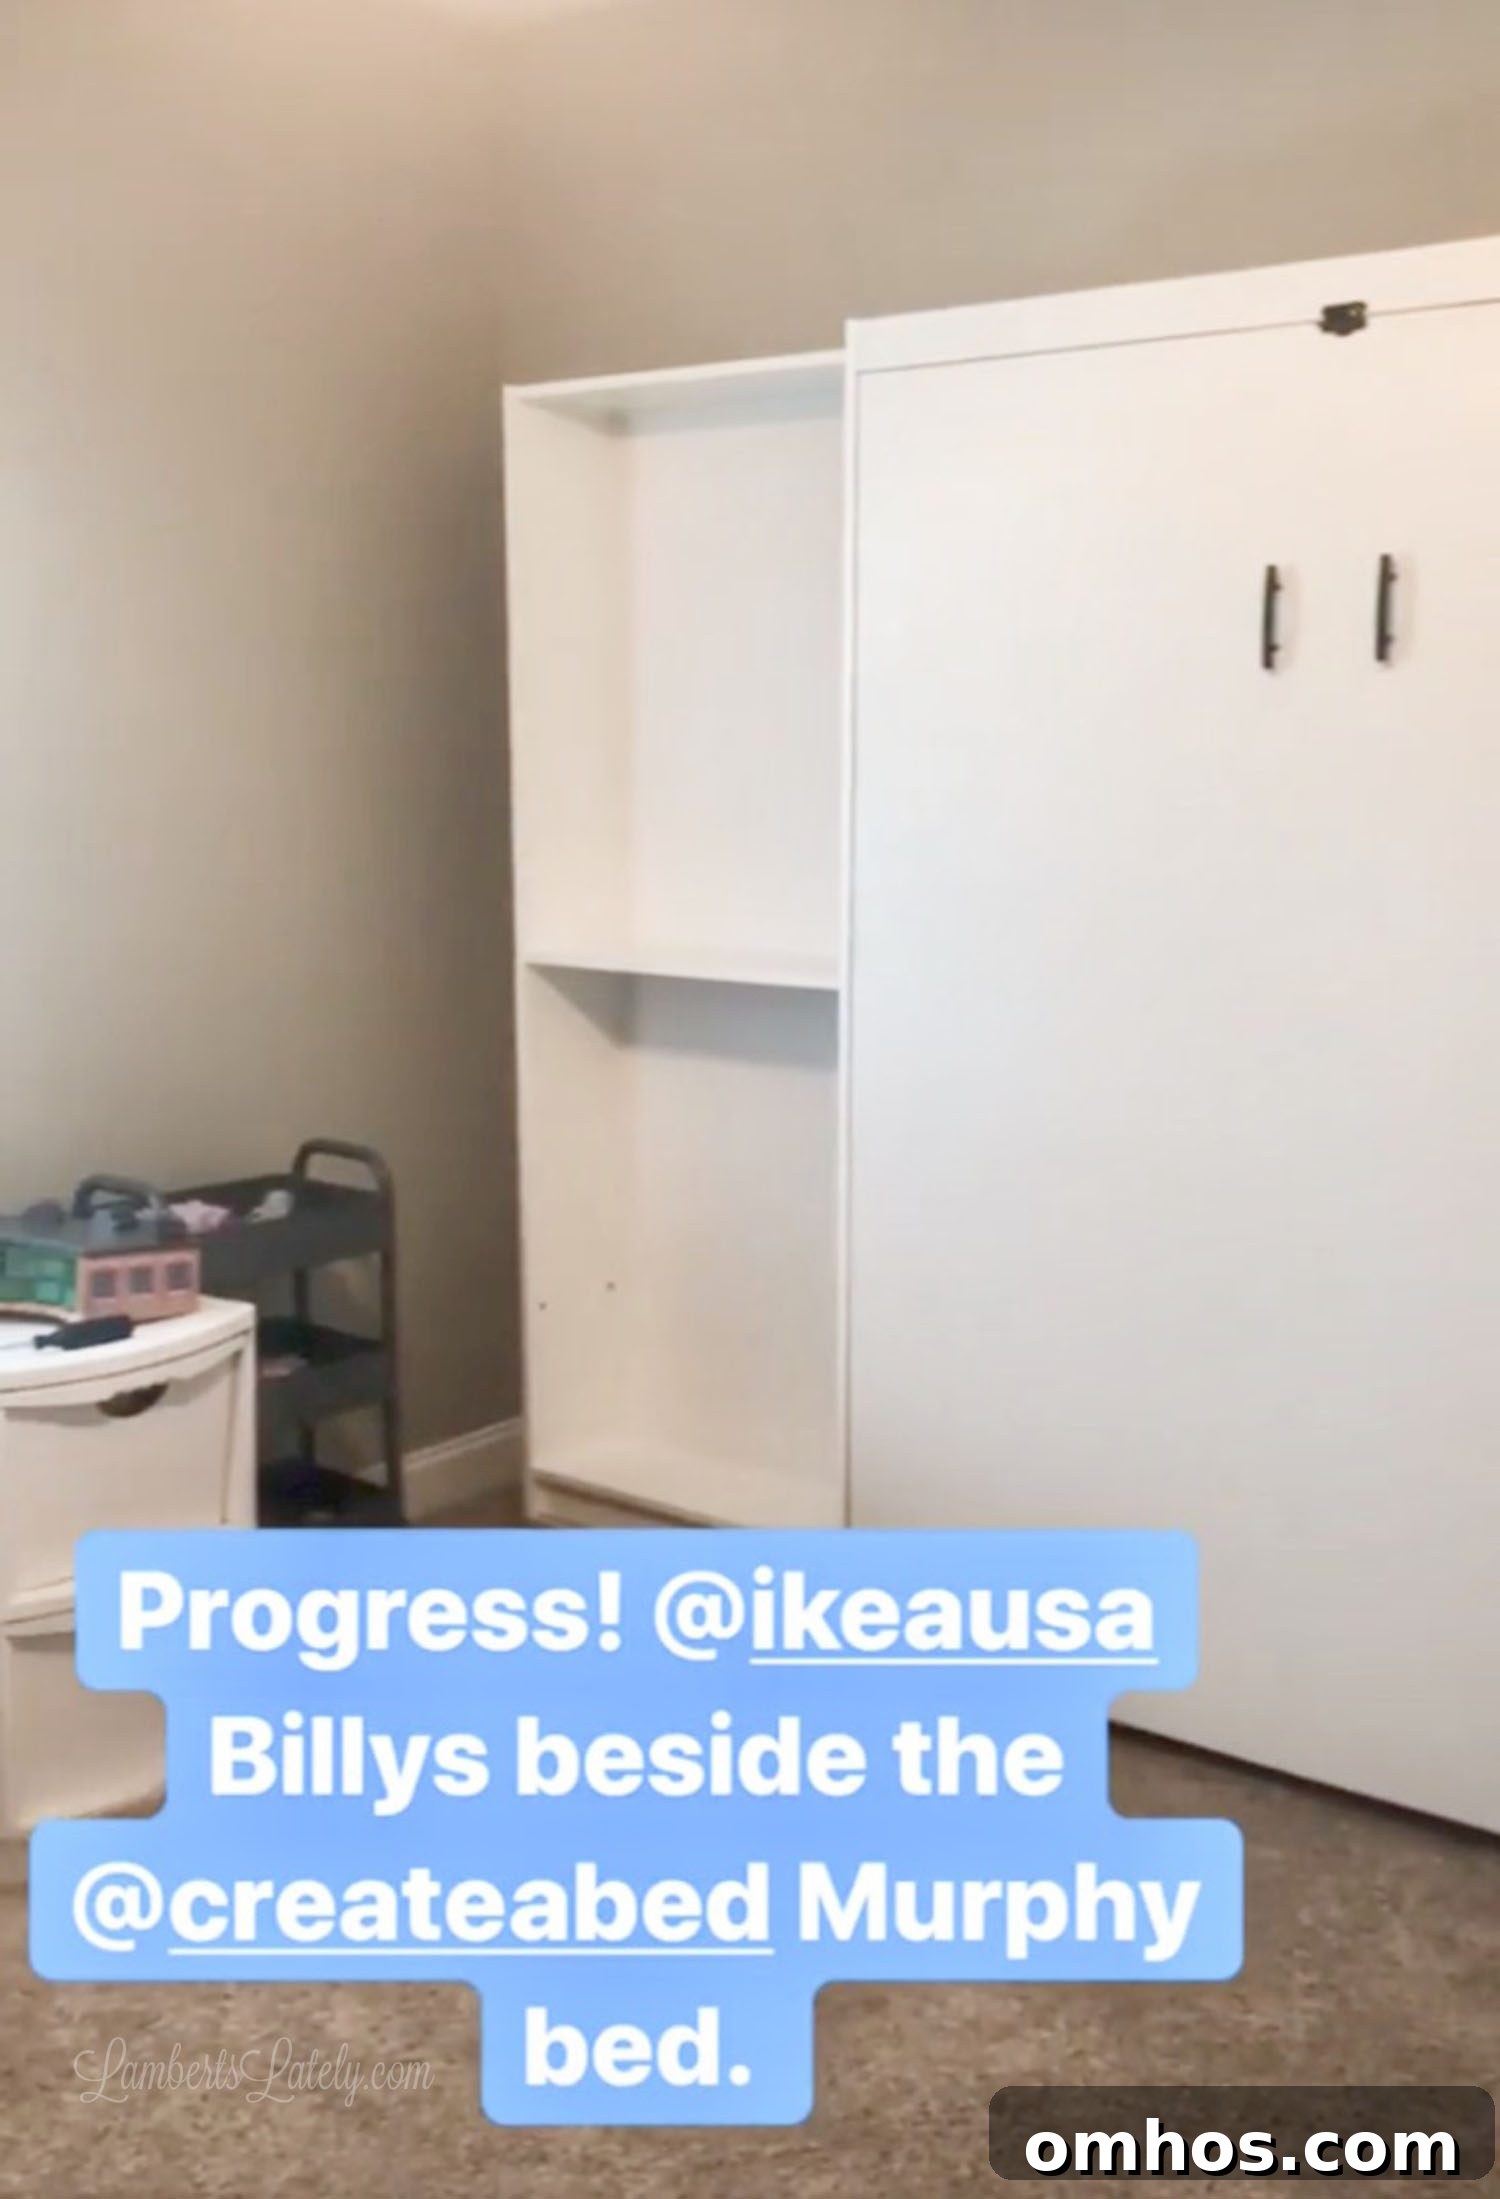
Prepare the base: We set the bookcases on 2×8 and 2×4 scraps so the baseboard runs continuously across the entire unit for a seamless look.
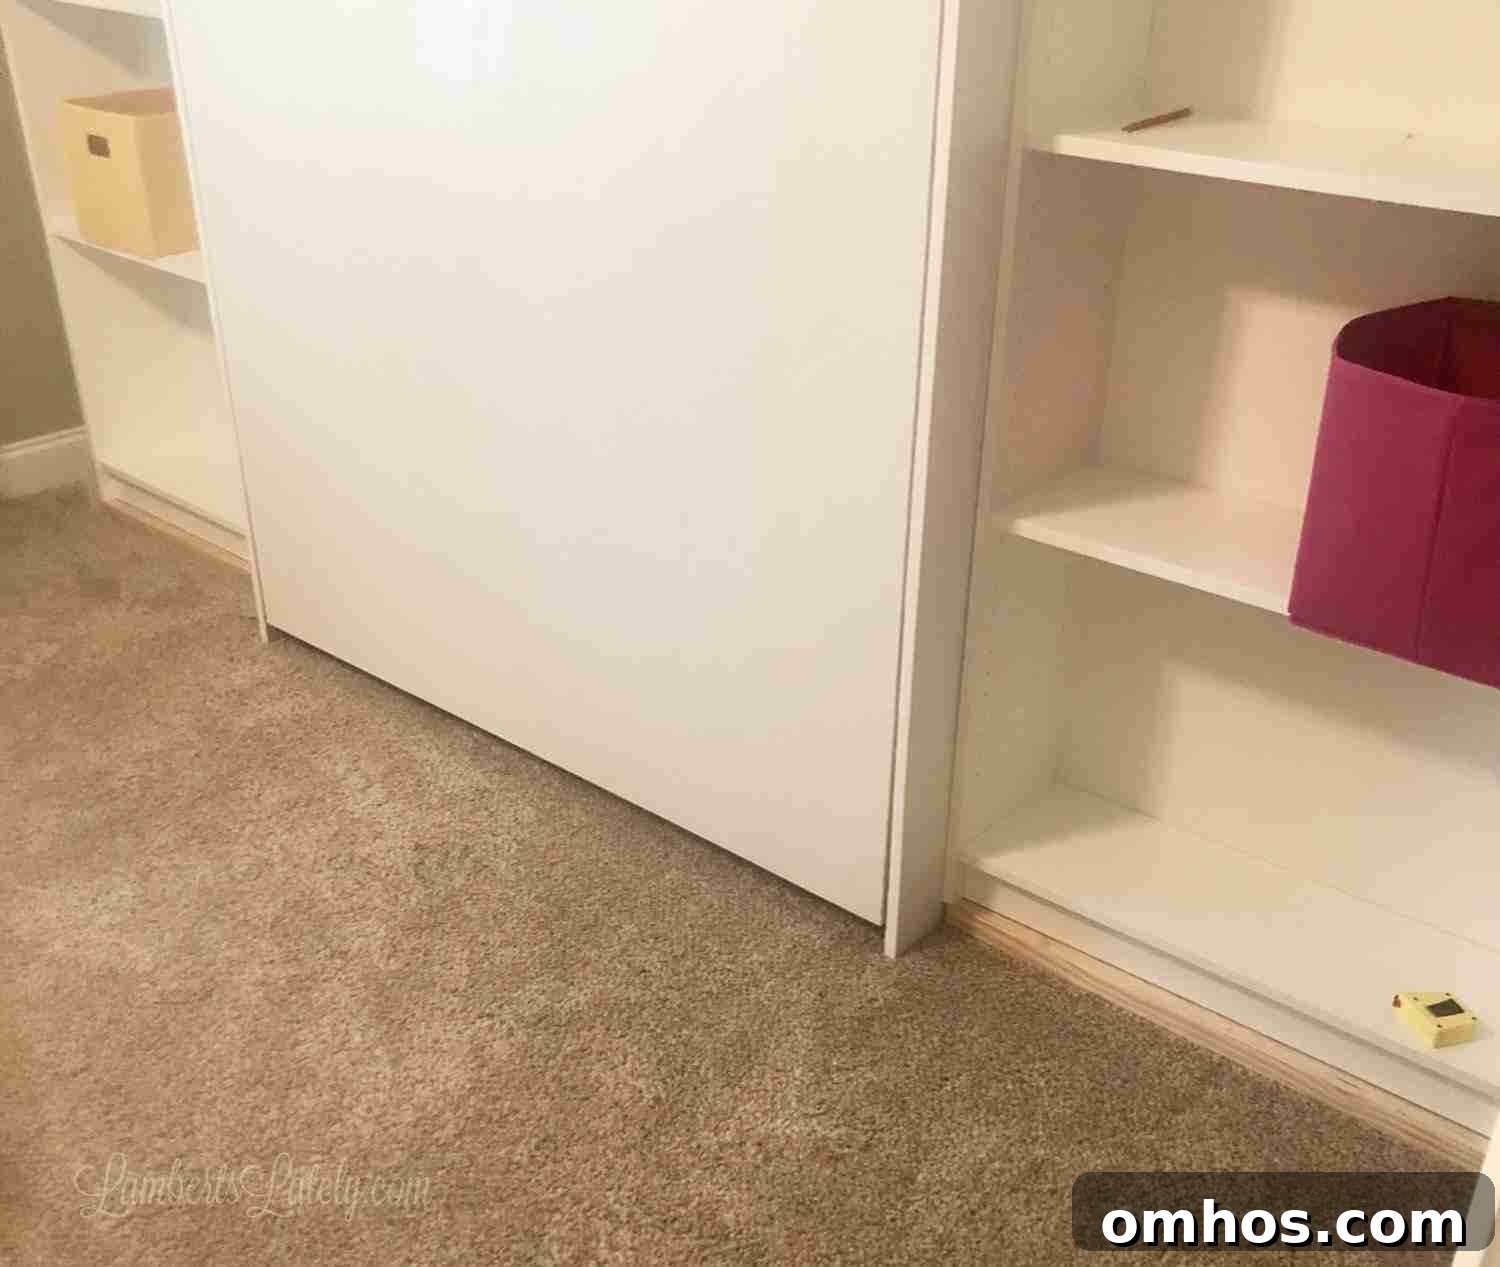
Anchor securely: This assembly is heavy. Anchor both the bookcases and the bed header to wall studs — failure to do so can create a serious hazard when the bed is opened.
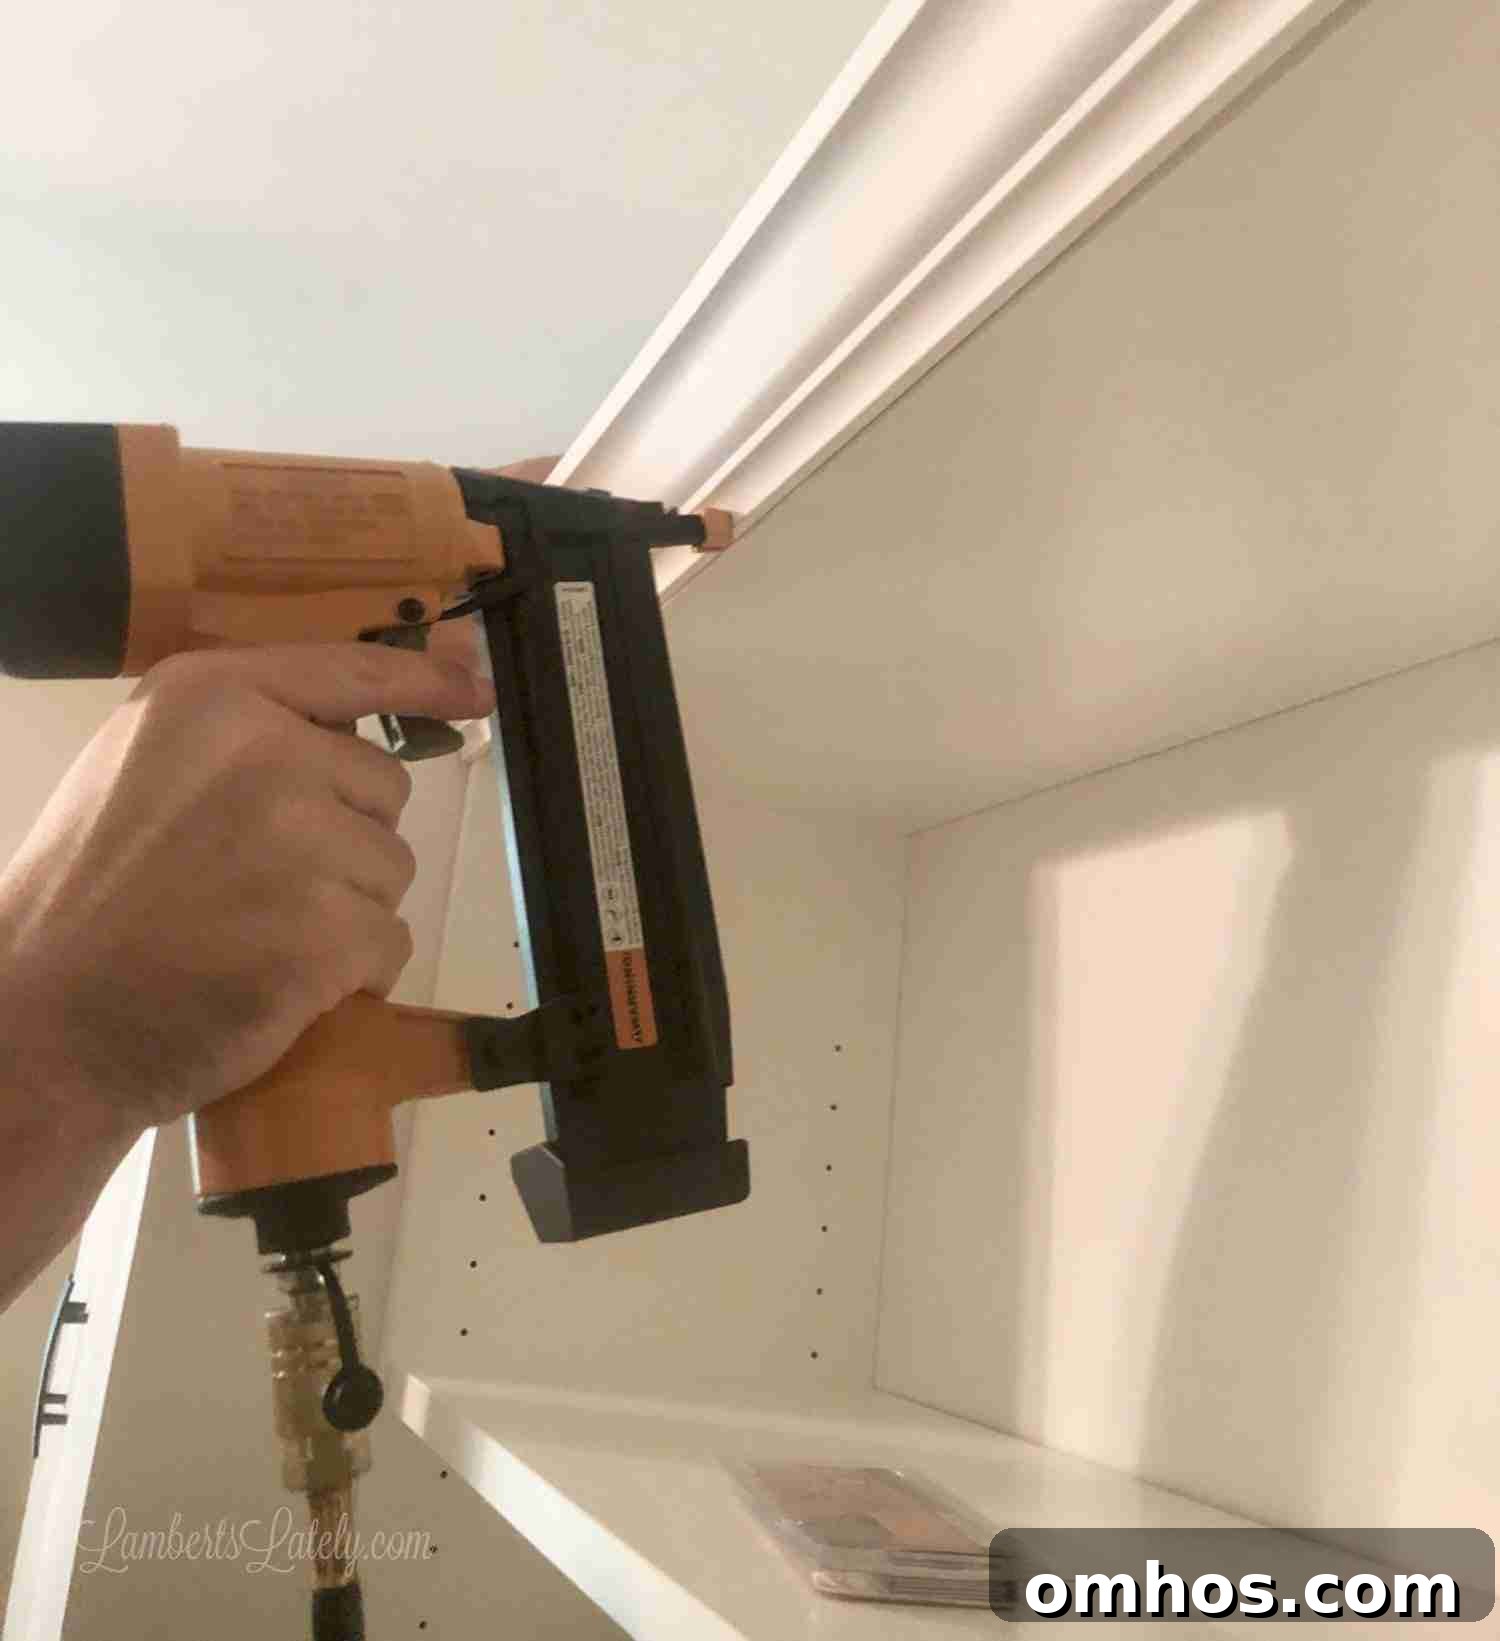
Molding and caulk: Adding crown molding at the top and baseboards at the bottom hides the fact these are standard IKEA shelves. Imperfect miters are easily hidden with finishing caulk and paint, creating a flawless built-in appearance.
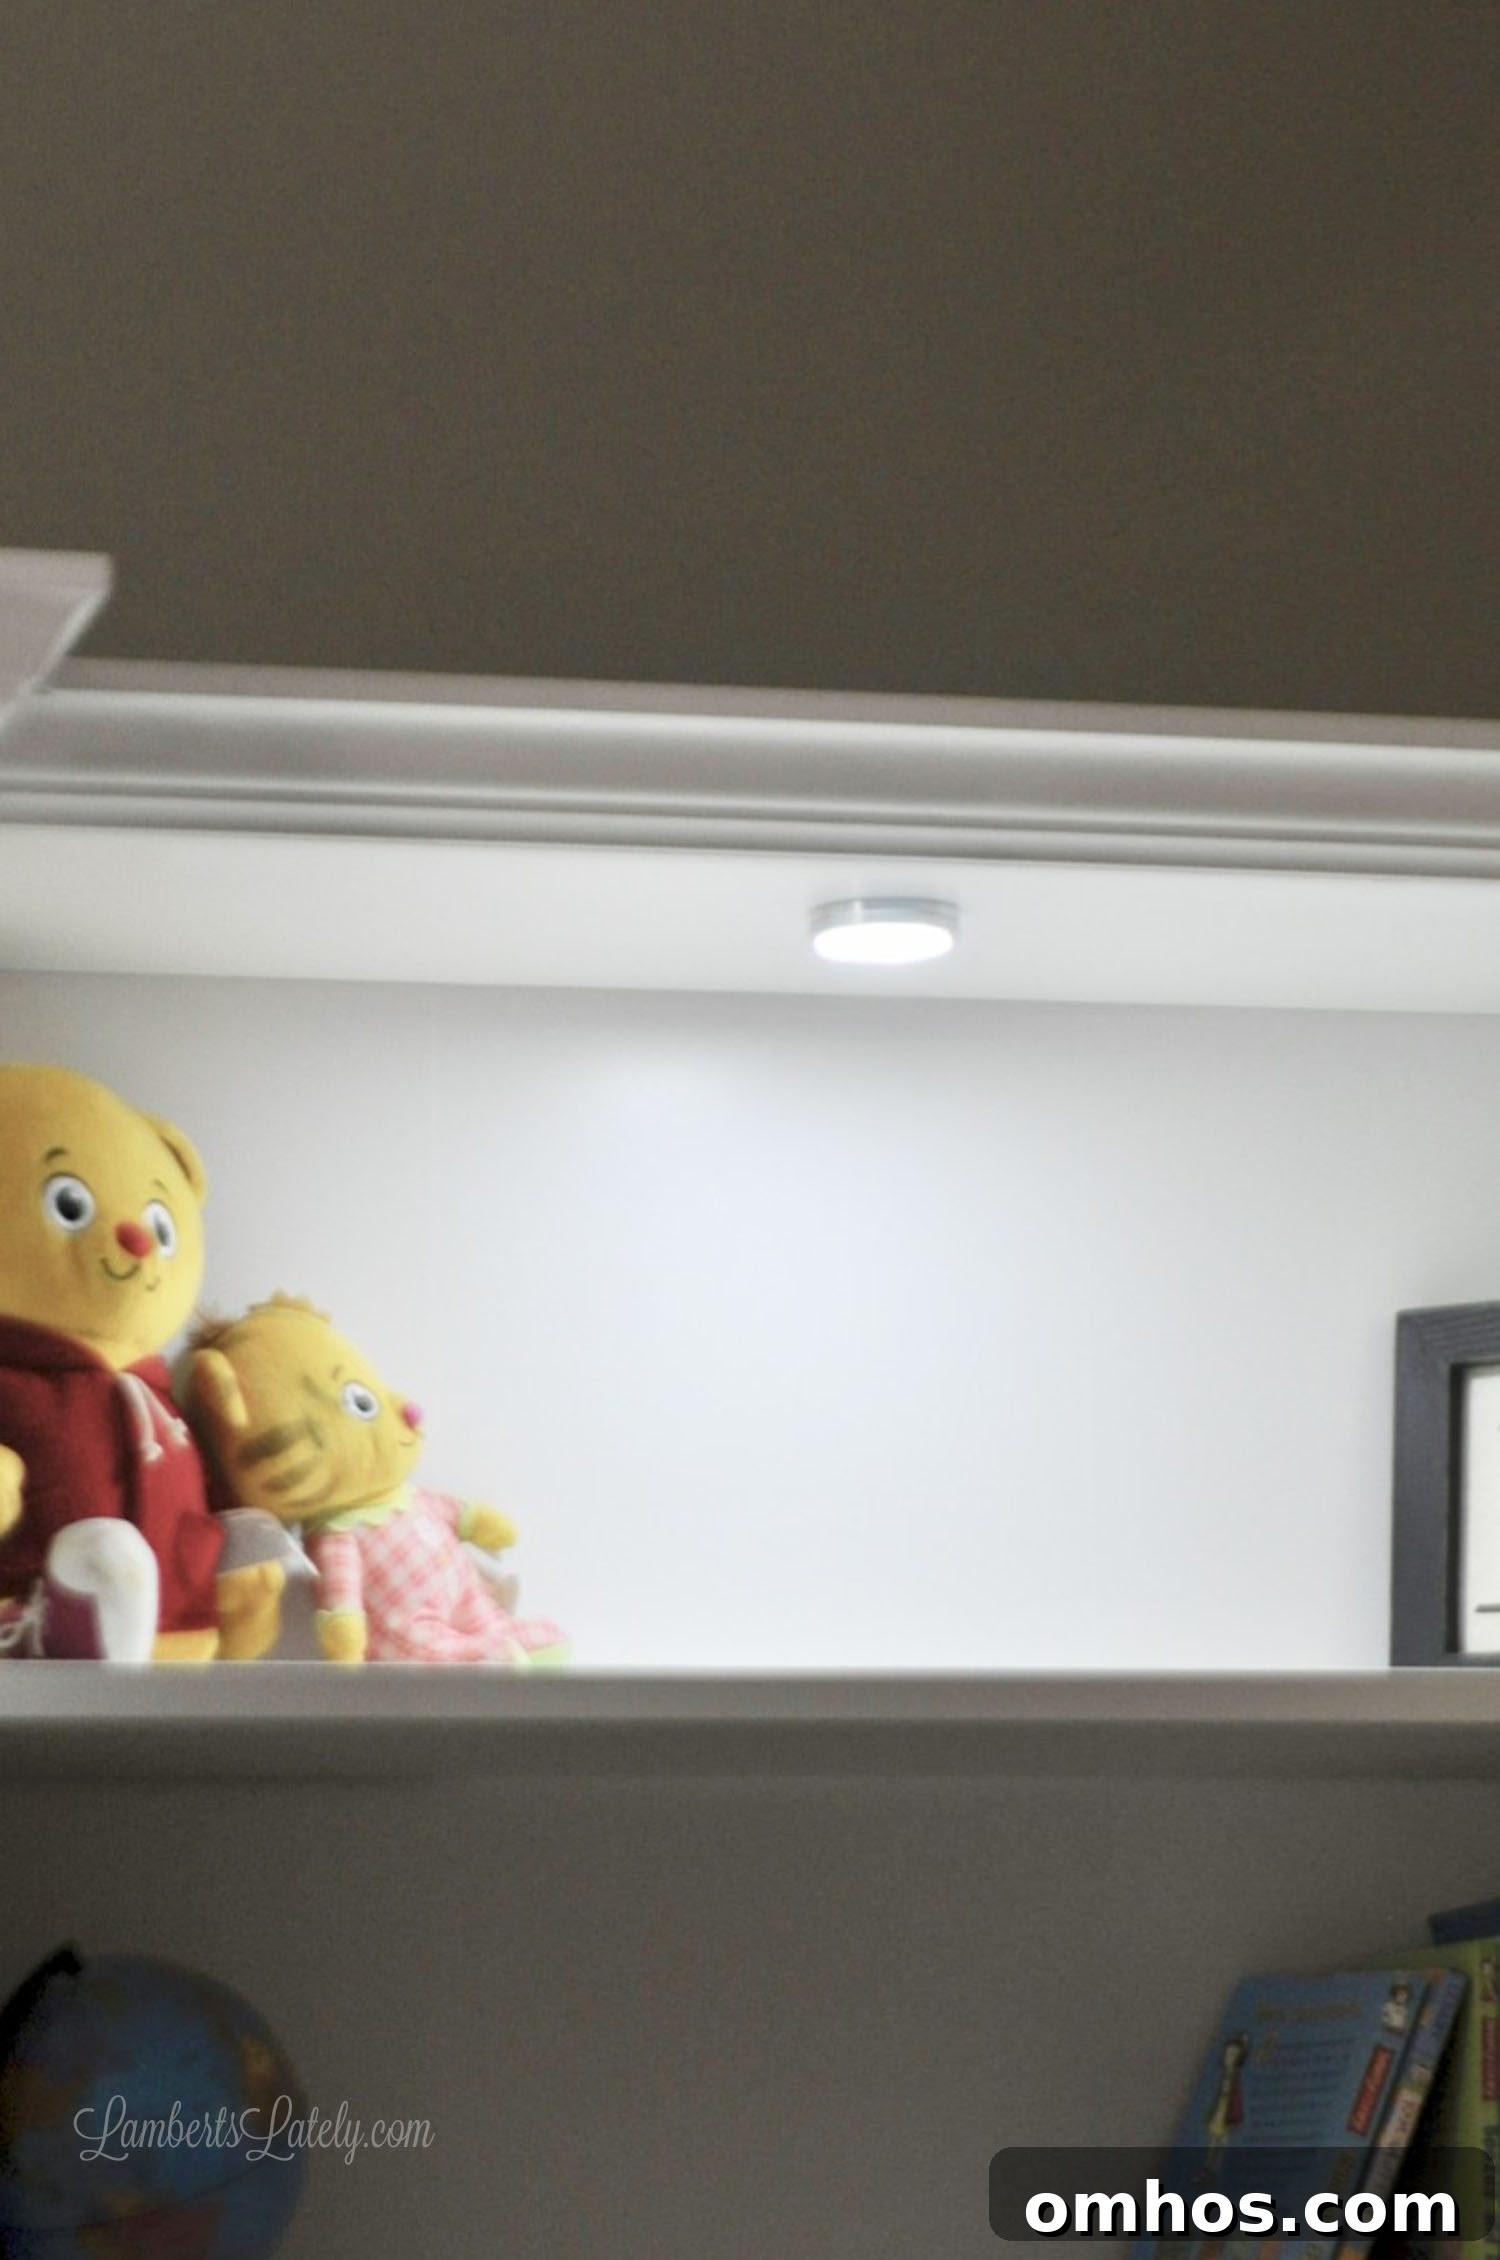
Lighting: We routed extension cords behind the cases before mounting them and installed puck lights on the top shelves for subtle, usable illumination.
Part 3: Adding the Fold-Out Chalkboard Desk
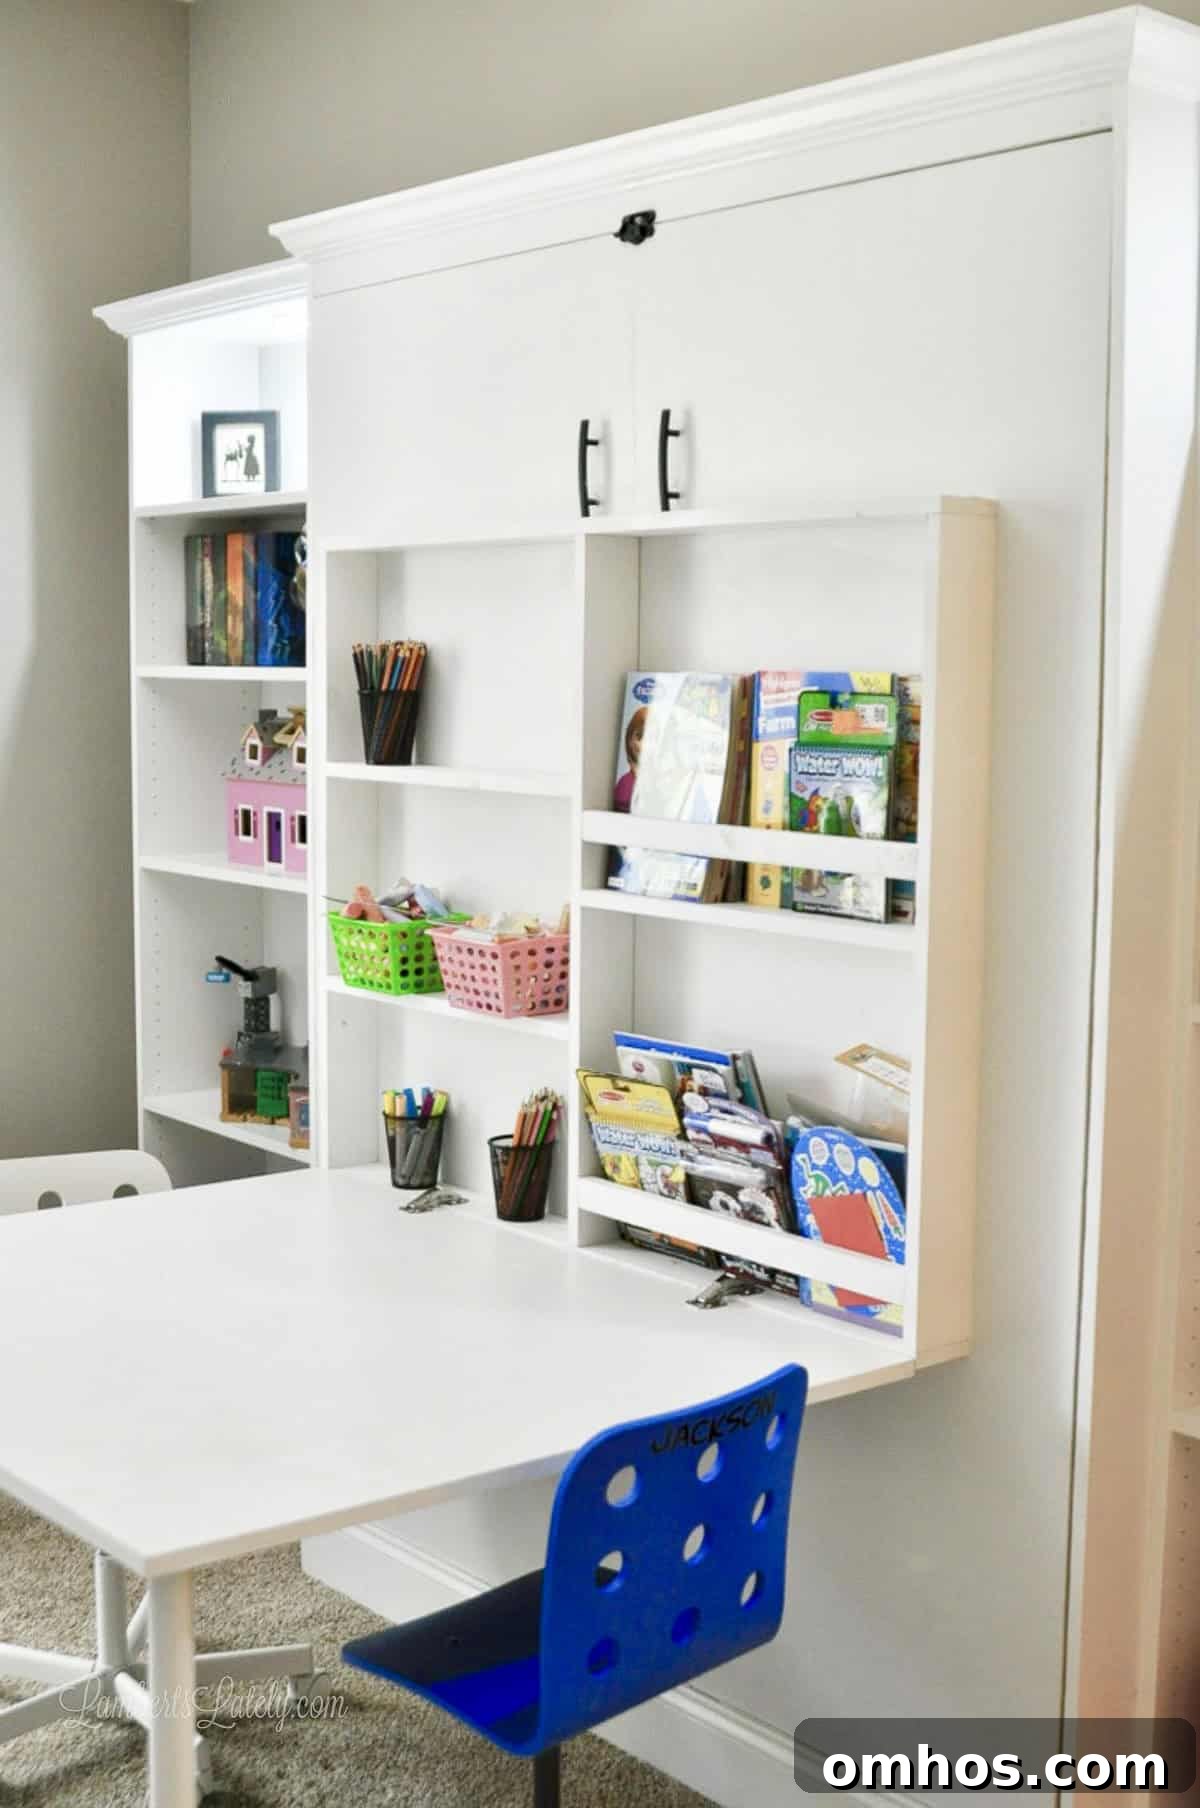
Because this doubles as my office, we added a fold-down desk based on modified flip-down desk plans.
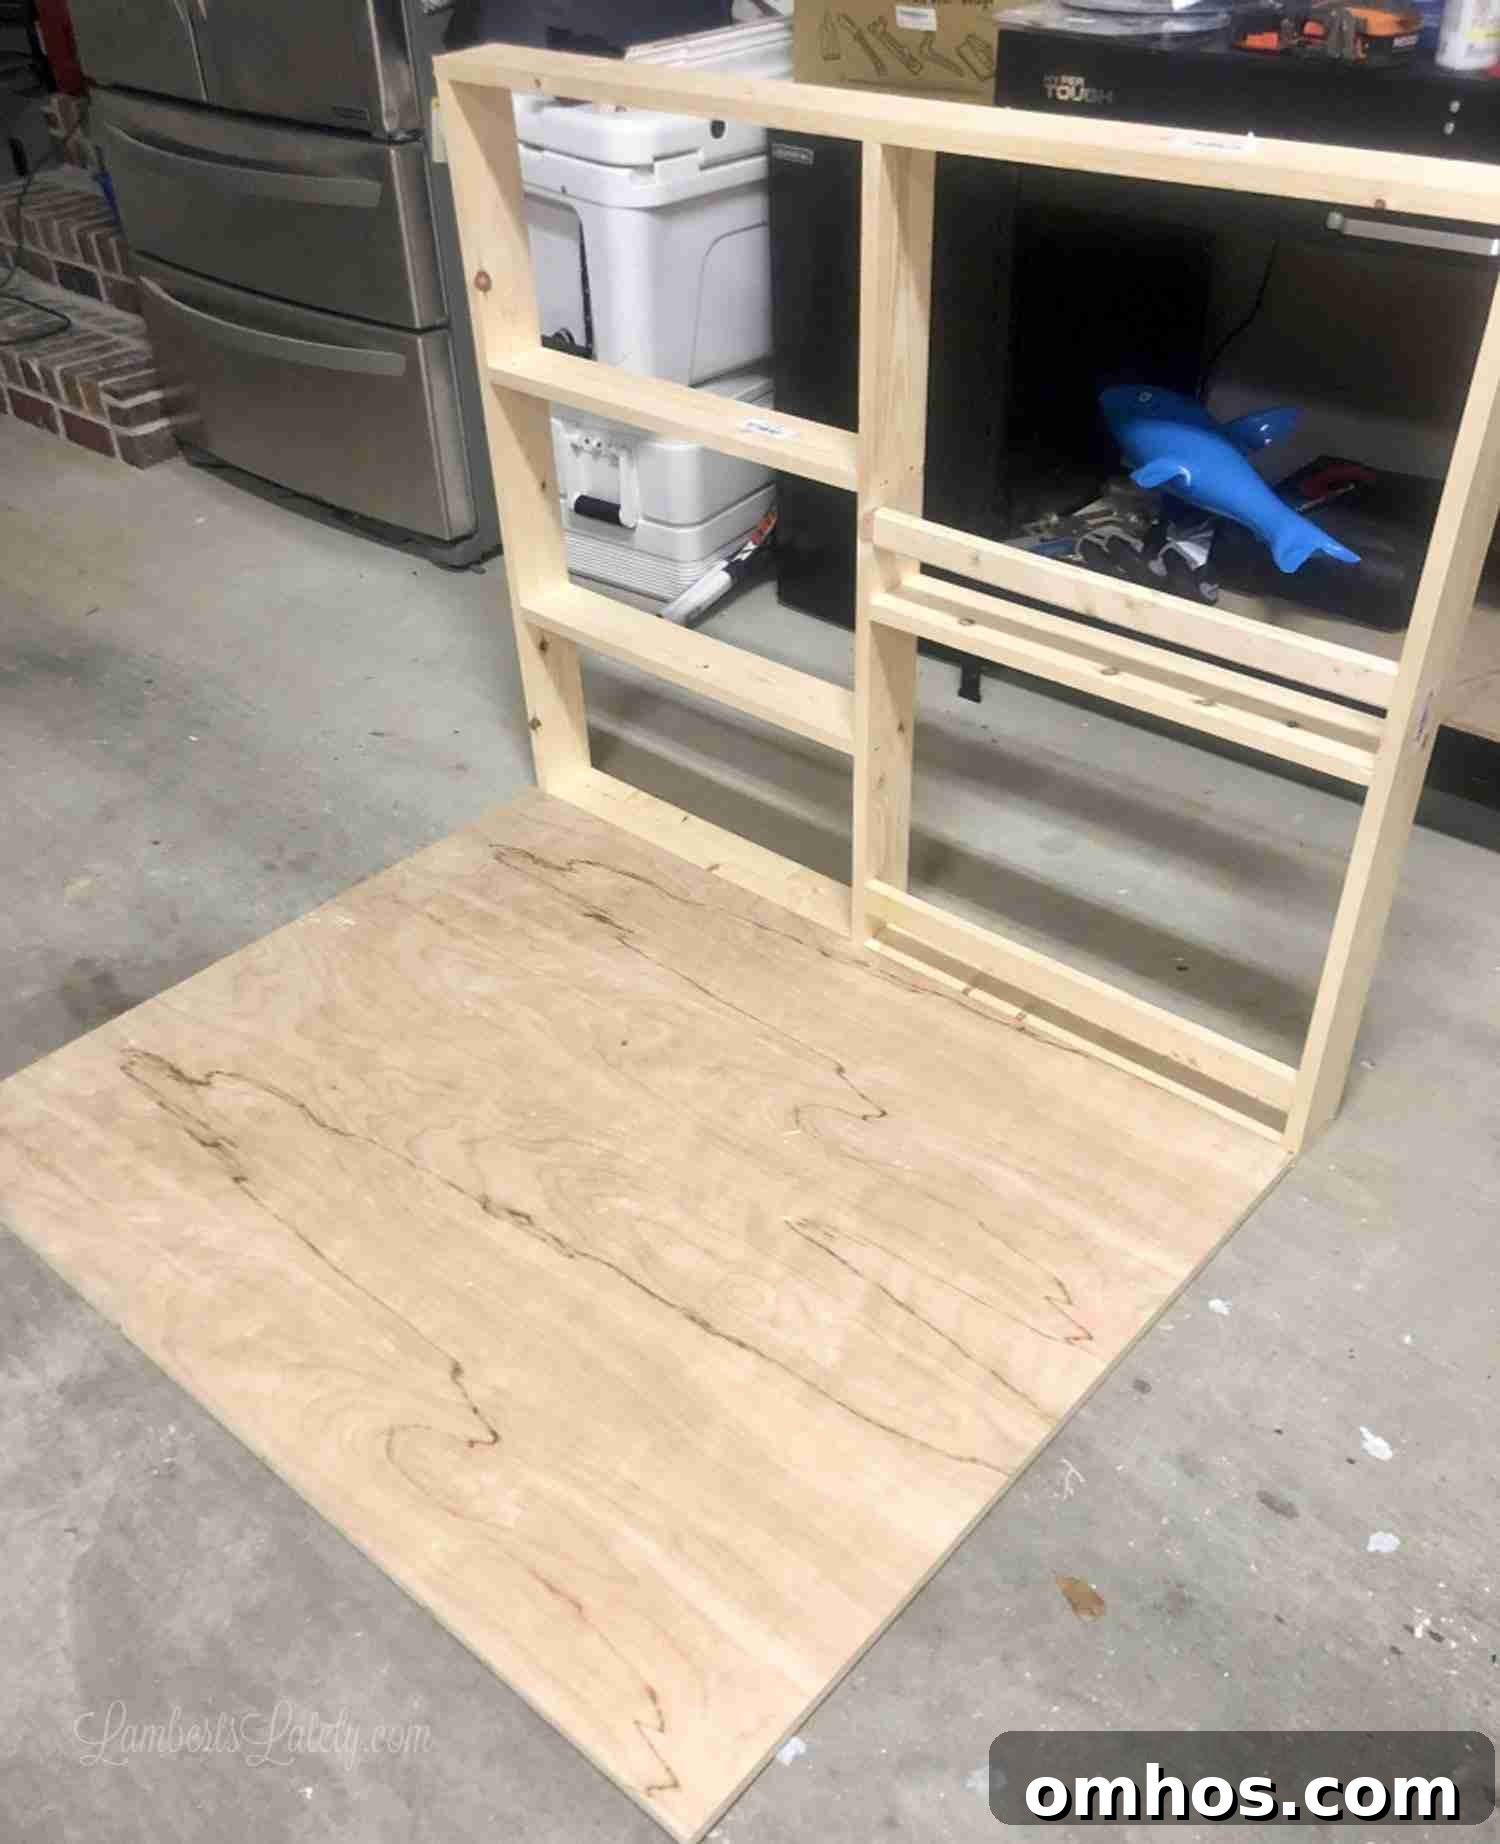
Mounting: The desk frame bolts through the Murphy bed’s front panels. We use a latch and heavy-duty magnets to keep it closed when not in use.
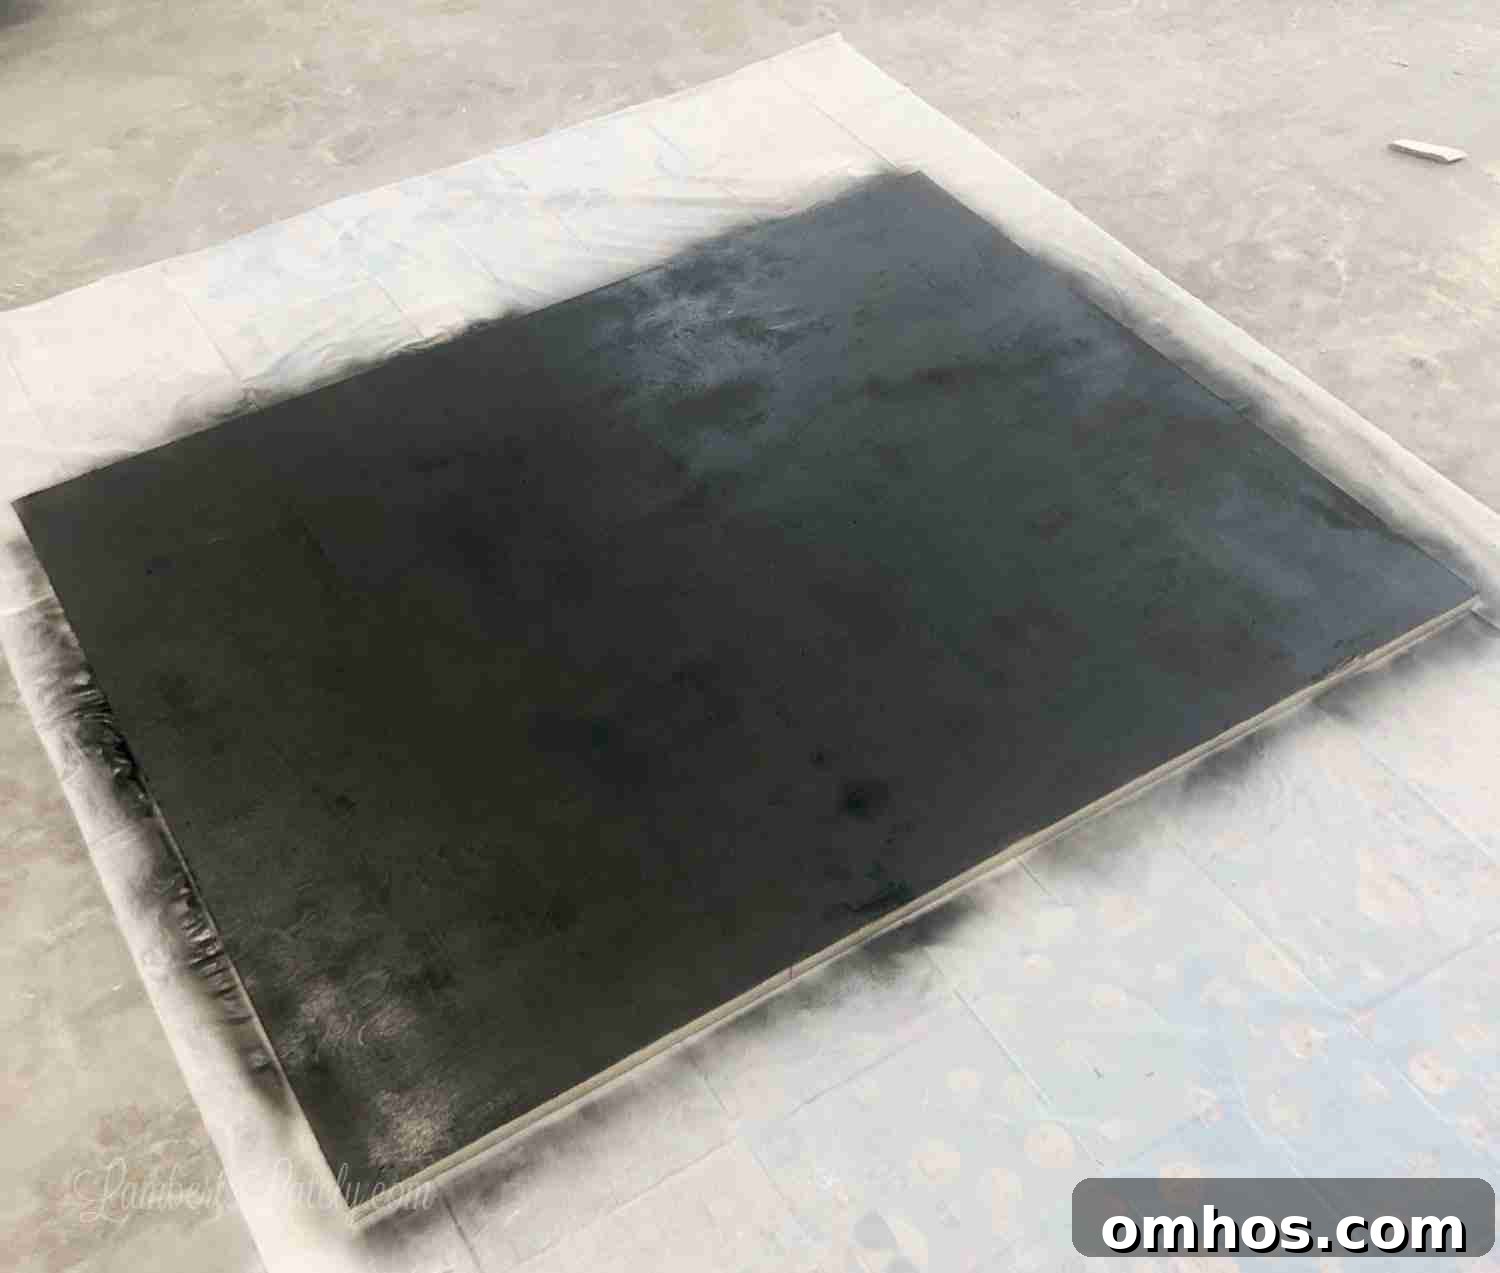
Build and finish: We enlarged the desk to 48″ x 32″ using 1×4 lumber for the frame. The underside was painted with chalkboard paint so the closed bed front becomes a play surface for the kids.
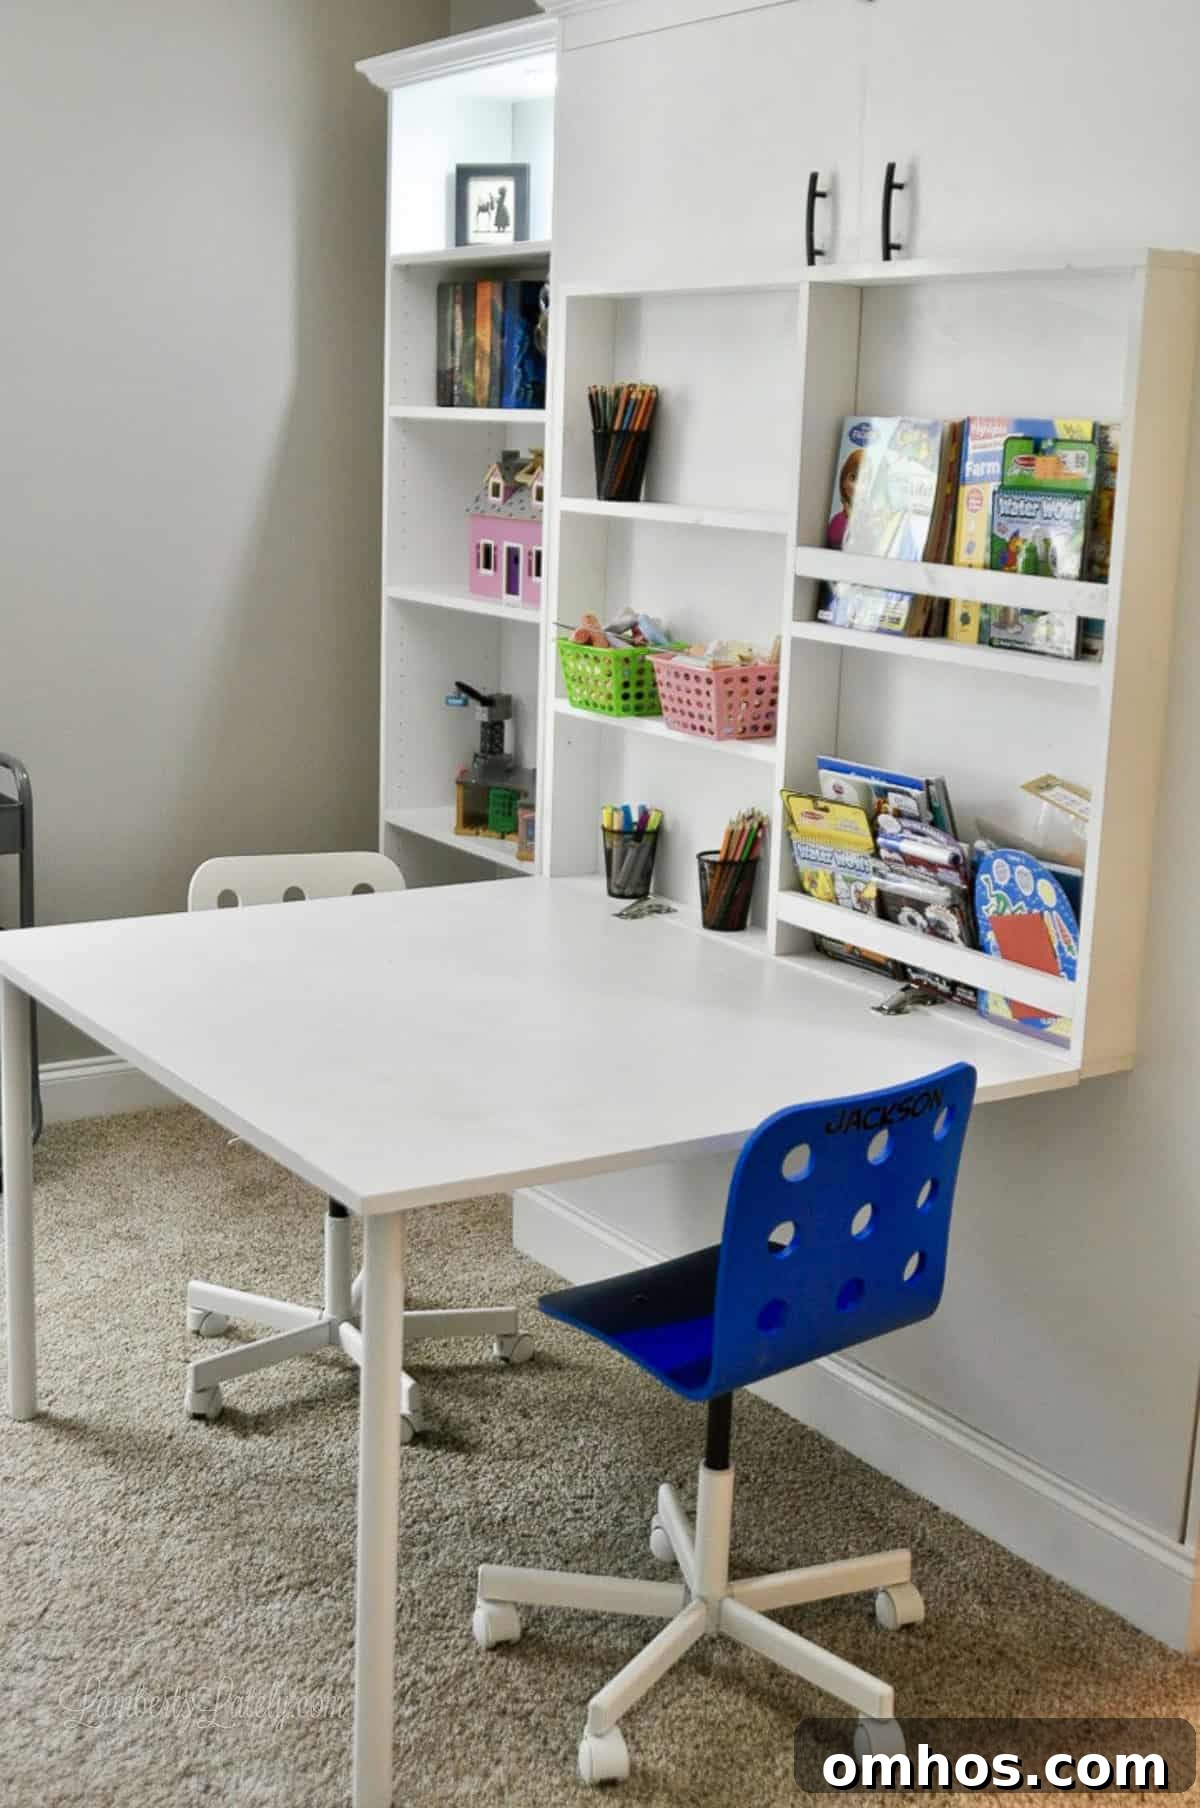
This project took a couple of months from start to finish and required a fair amount of effort, but it’s now the most useful piece of furniture in our home. If you want to save space and keep a room flexible, a Murphy bed built this way is a fantastic option.
FAQs
How much does a DIY Murphy bed cost?
A DIY Murphy bed typically costs between $600 and $1,000, depending on materials, the hardware kit, and how elaborate the finish is. The lifting hardware is usually the priciest component, often $200–$300.
Is it cheaper to build or buy a Murphy bed?
Building a Murphy bed is generally cheaper. Store-bought Murphy beds commonly range from $1,500 to $3,000+, while a DIY build can cut that cost significantly, especially if you use plywood and already own basic tools.
How hard is it to build a DIY Murphy bed?
This is an advanced woodworking project that requires accurate measuring, careful cutting, and safe installation of heavy hardware. It’s manageable with detailed plans and patience, but plan on having at least two people for assembly and installation.
Can you leave bedding on when the bed is closed?
Yes. We keep sheets and a slim comforter on the mattress and fold the sides in when closing the bed. Moving pillows to the center makes preparing the bed for guests quick and easy.
Is a DIY Murphy bed safe?
A Murphy bed is safe when it is properly anchored to wall studs, uses high-quality hardware, and follows the hardware kit’s weight limits. The primary safety risk is improper installation, especially if the unit isn’t anchored correctly.
What’s the difference between vertical and horizontal Murphy beds?
A vertical Murphy bed folds down from the long side and is the most common style. A horizontal bed folds out sideways, which can be better for rooms with lower ceilings or limited vertical wall space.
What kind of mattress should I use?
Most DIY Murphy beds work best with a standard innerspring or foam mattress between 8–12 inches thick. It should be reasonably lightweight and slightly flexible so it closes smoothly. Always check your hardware kit’s weight recommendations.
How long does it take to build?
Expect 2–4 weekends for most DIY Murphy bed projects. The total time depends on your experience, tool availability, and whether you get the plywood cut at the hardware store beforehand.
More Craft Room Makeover
This post is part of a series on how we transformed a cluttered guest room into a functional craft room. Explore other posts in the series for more ideas and step-by-step projects.
- Craft Room Ideas on a Budget
- How to Build a DIY Peg Board for a Craft Room