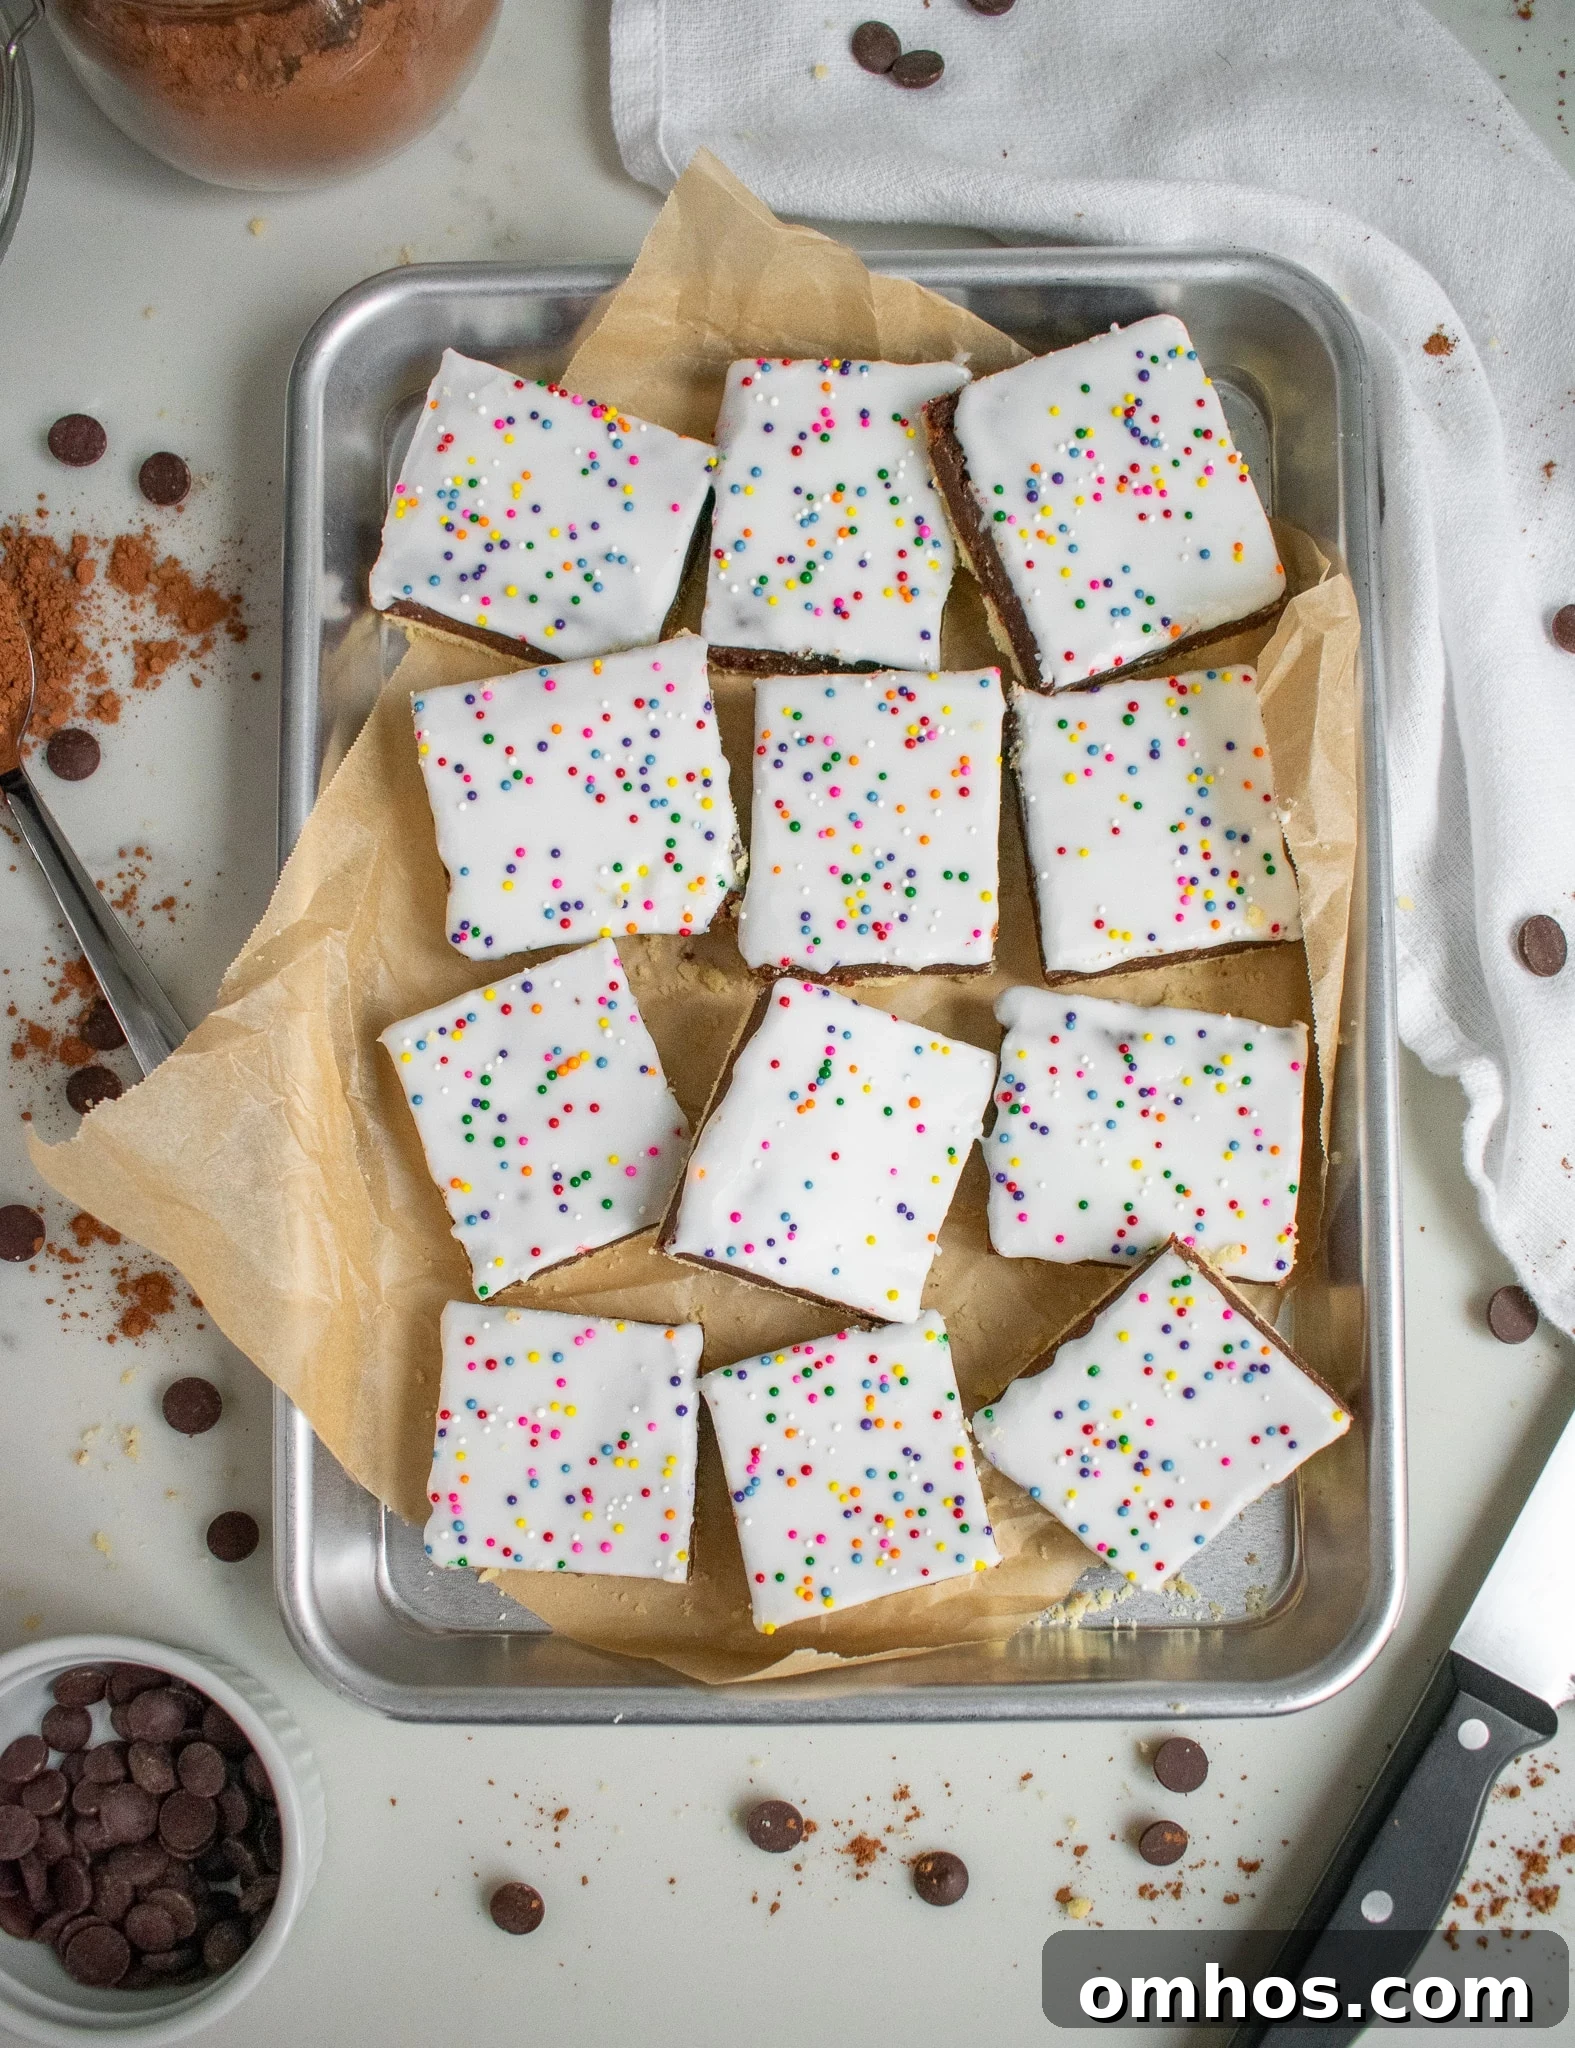
Returning to the Classics!
It’s been a while since we posted a traditional Danish pastry recipe, and today we’re excited to revisit a true classic. When this blog began, we quickly shared favorites like spandauer, kanelsnegle, and tebirkes, and later explored a few creative variations. Now we’re returning to the core recipes we haven’t yet featured. This post is dedicated to studenterbrød, a humble yet irresistible Danish treat.
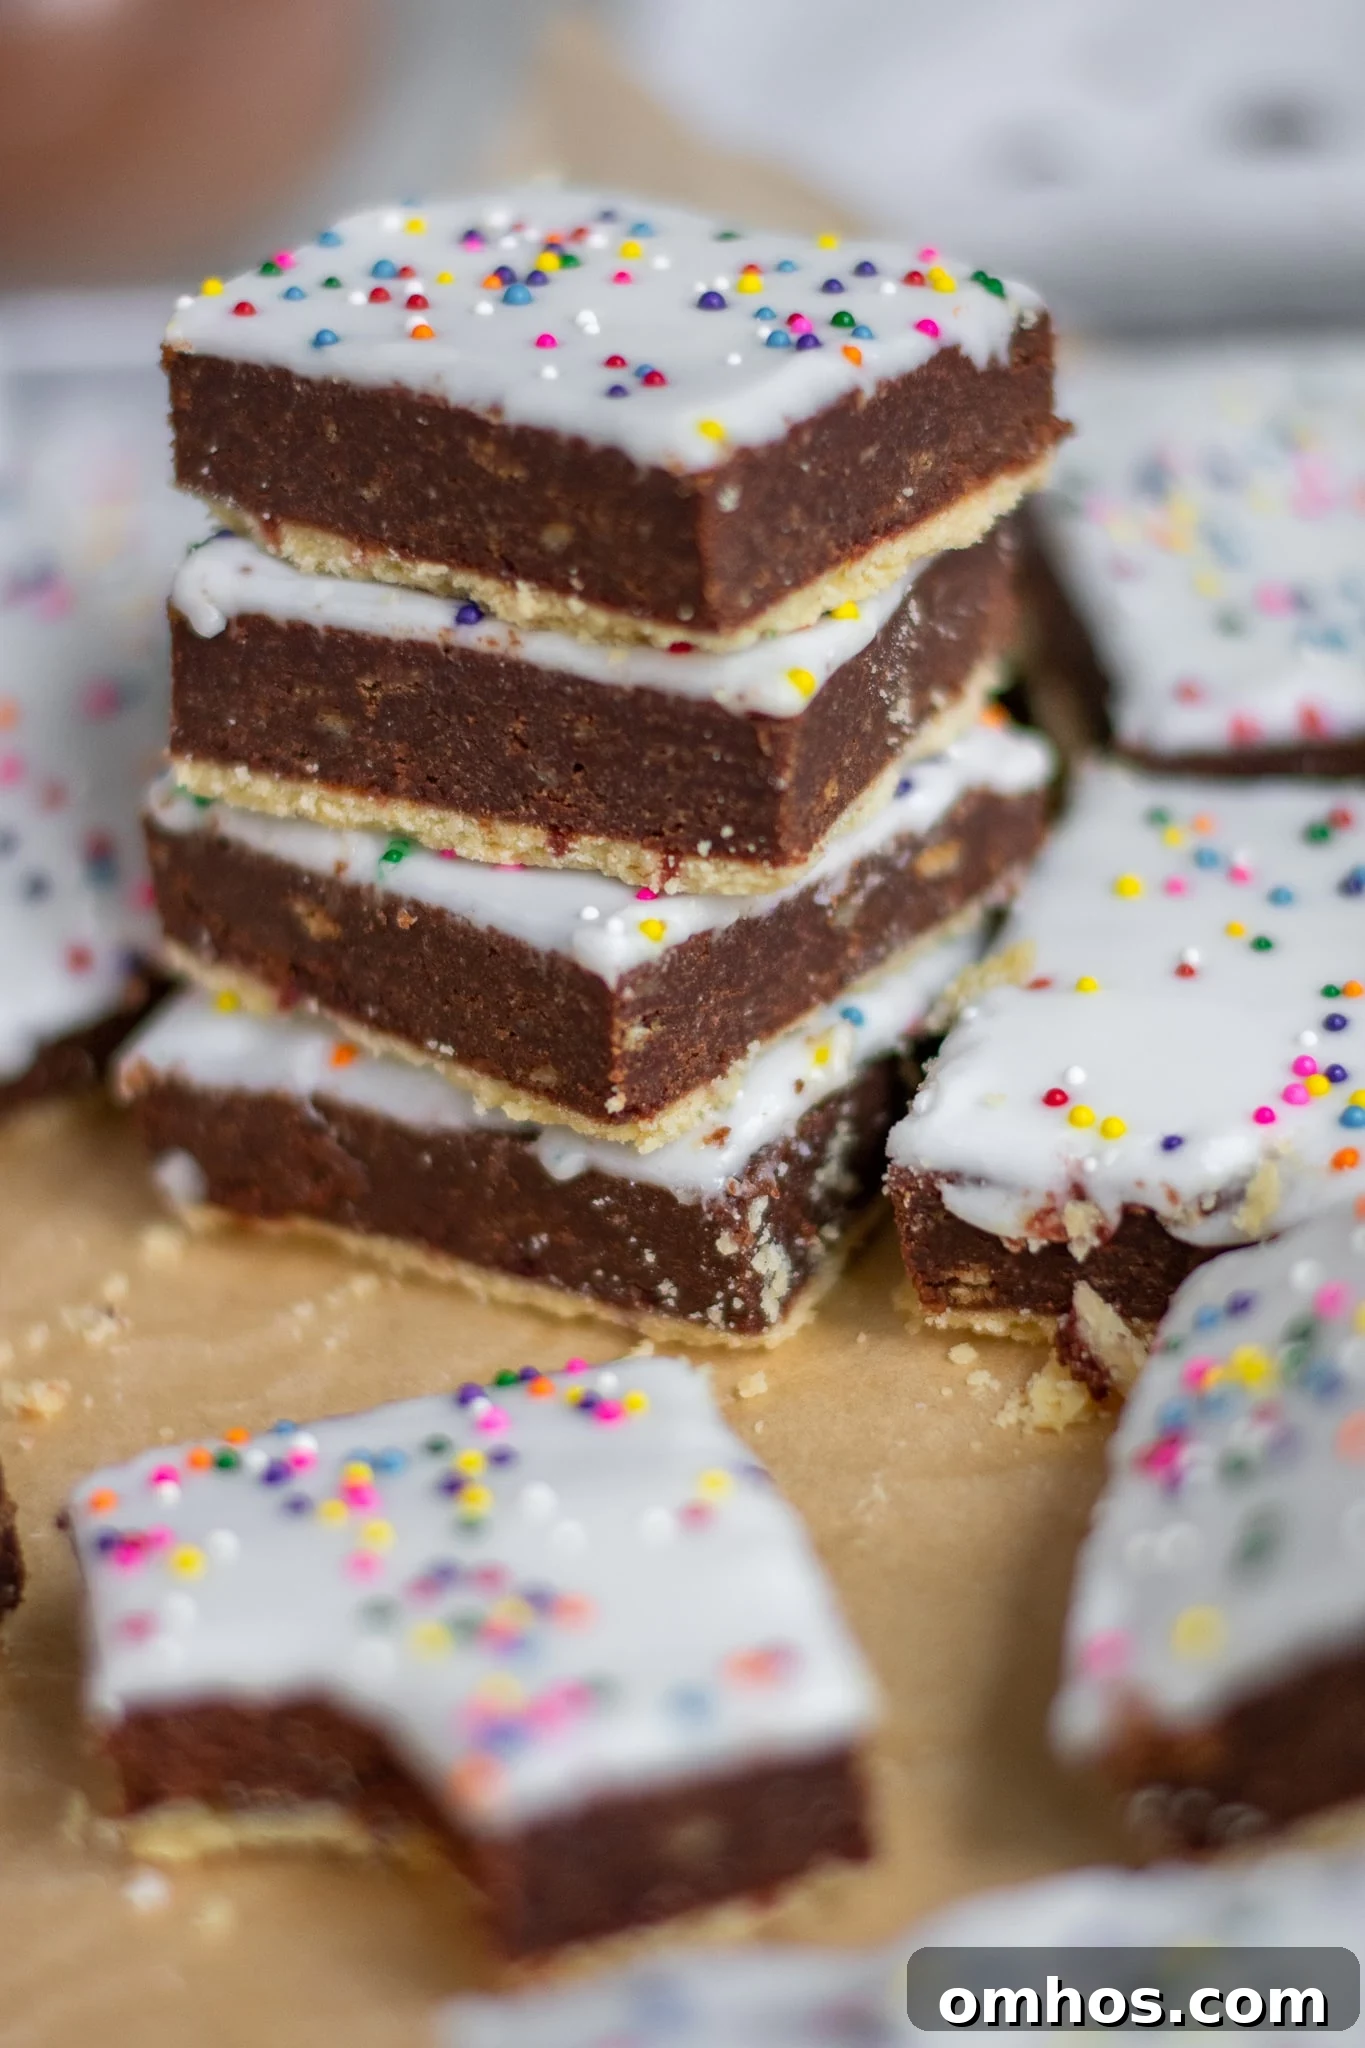
What is studenterbrød?
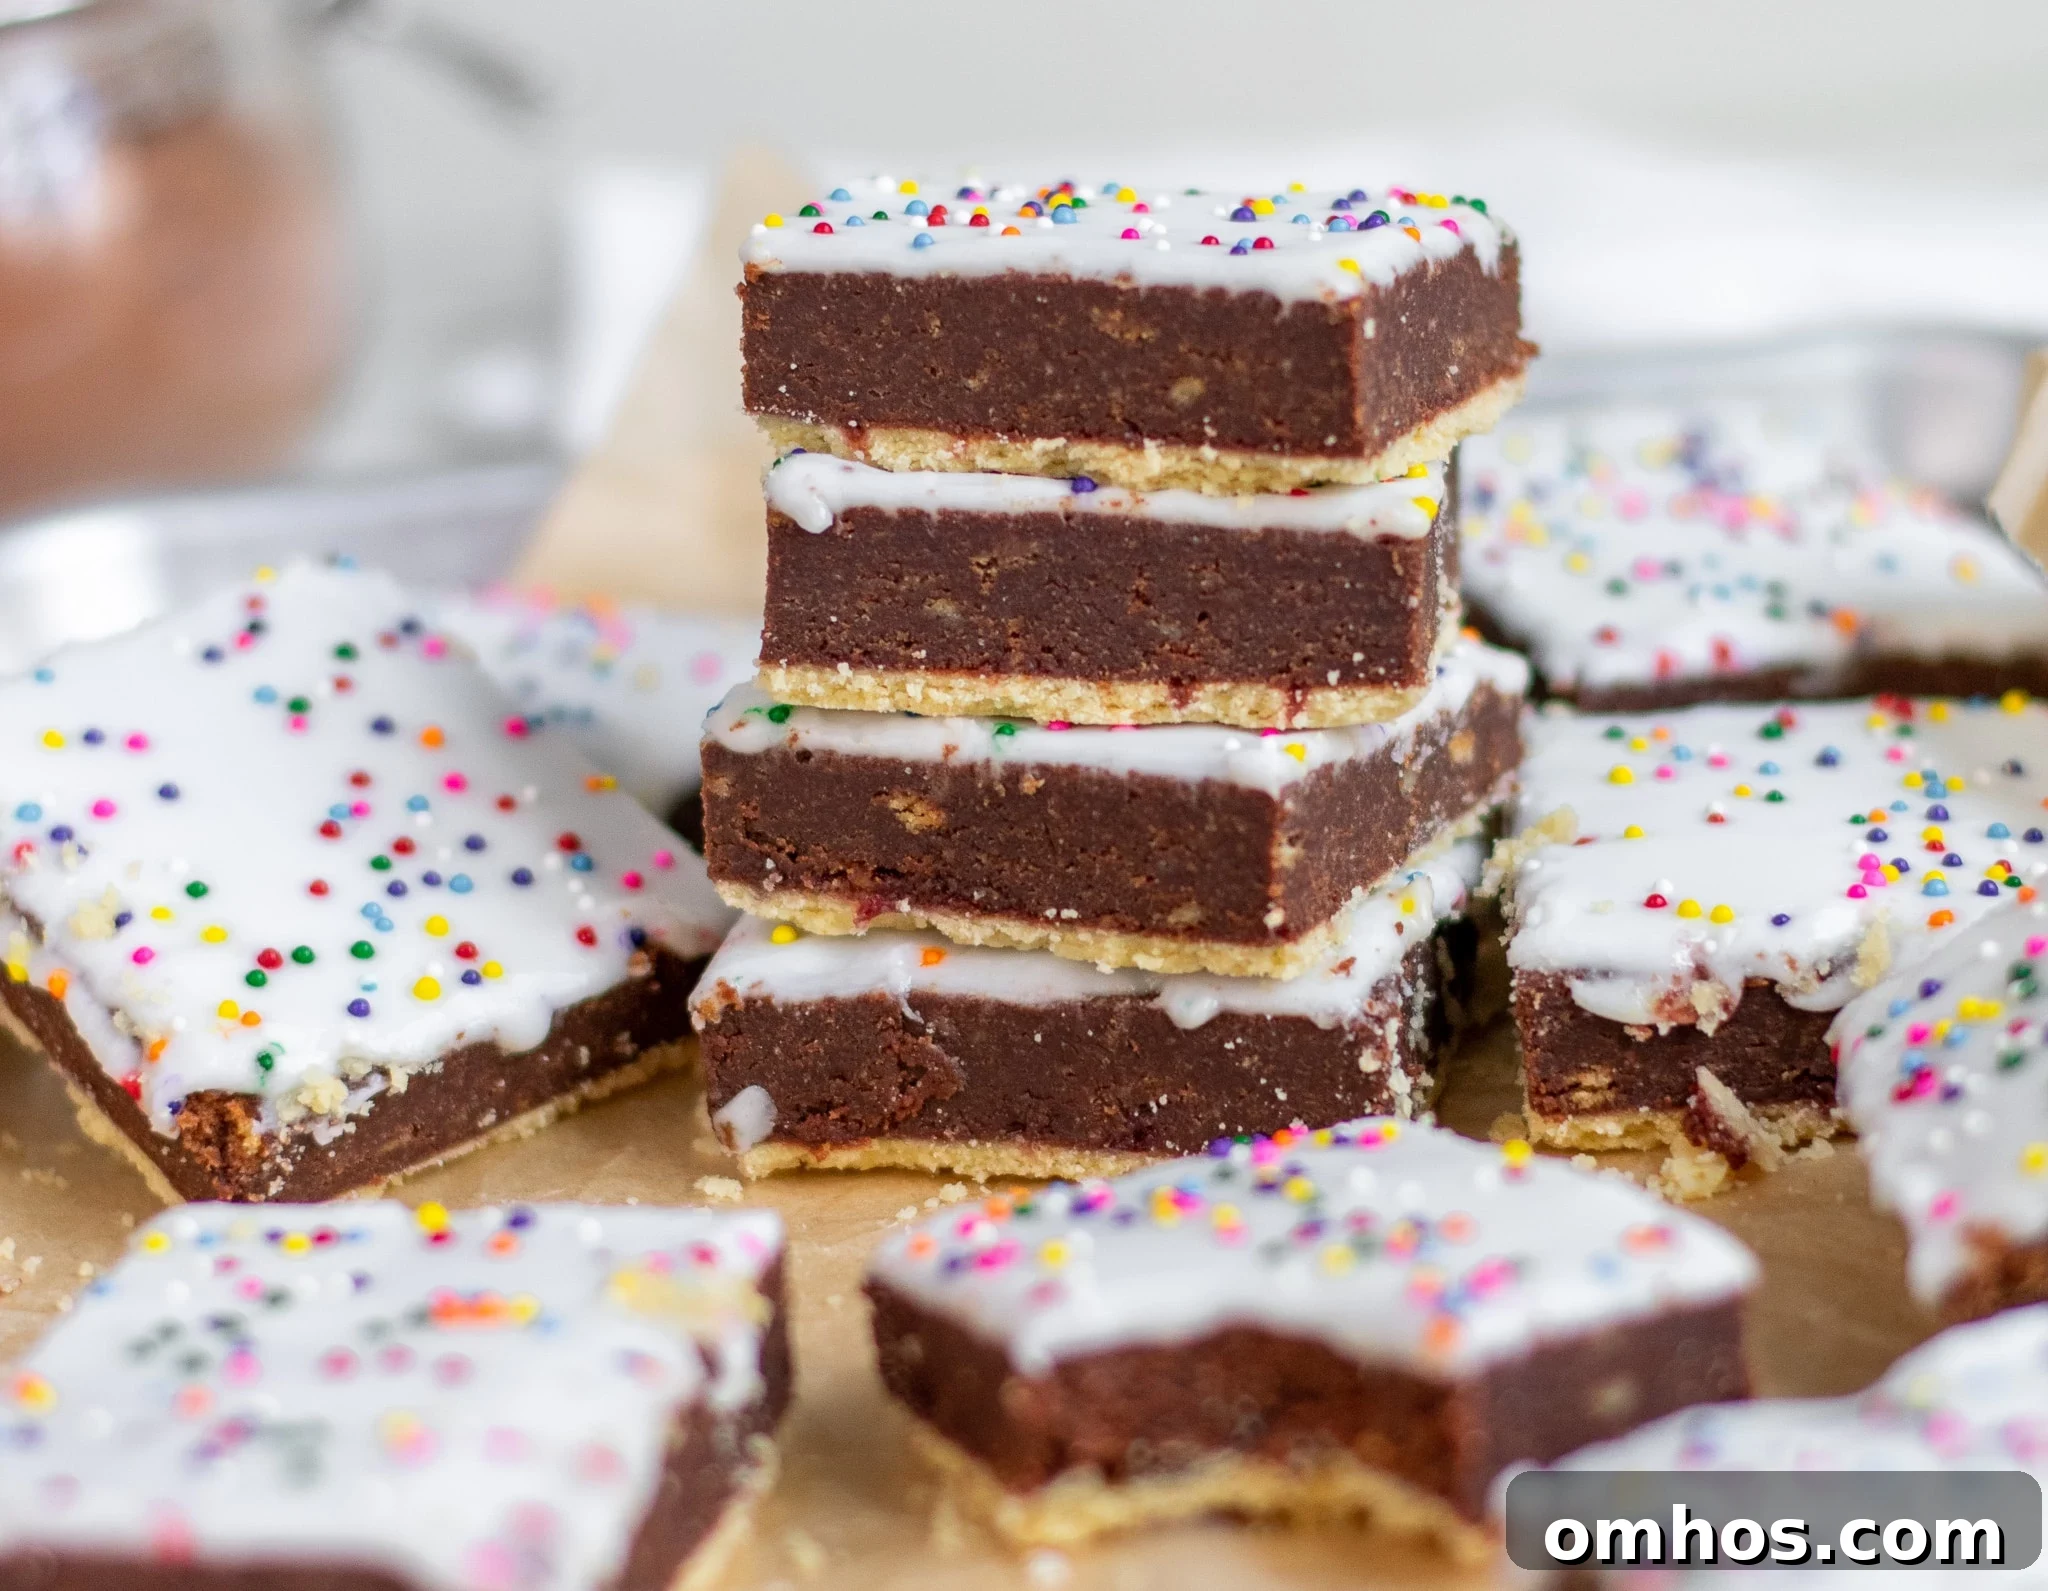
Studenterbrød — literally “student bread” — is a common sight in Danish bakeries. The name reflects its origin as an affordable pastry popular with students: bakeries traditionally make the filling from leftover cakes, buns, or other sweet scraps. That practical approach reduces waste and keeps costs down, while delivering a chocolatey, satisfying pastry that’s become a Danish favorite.
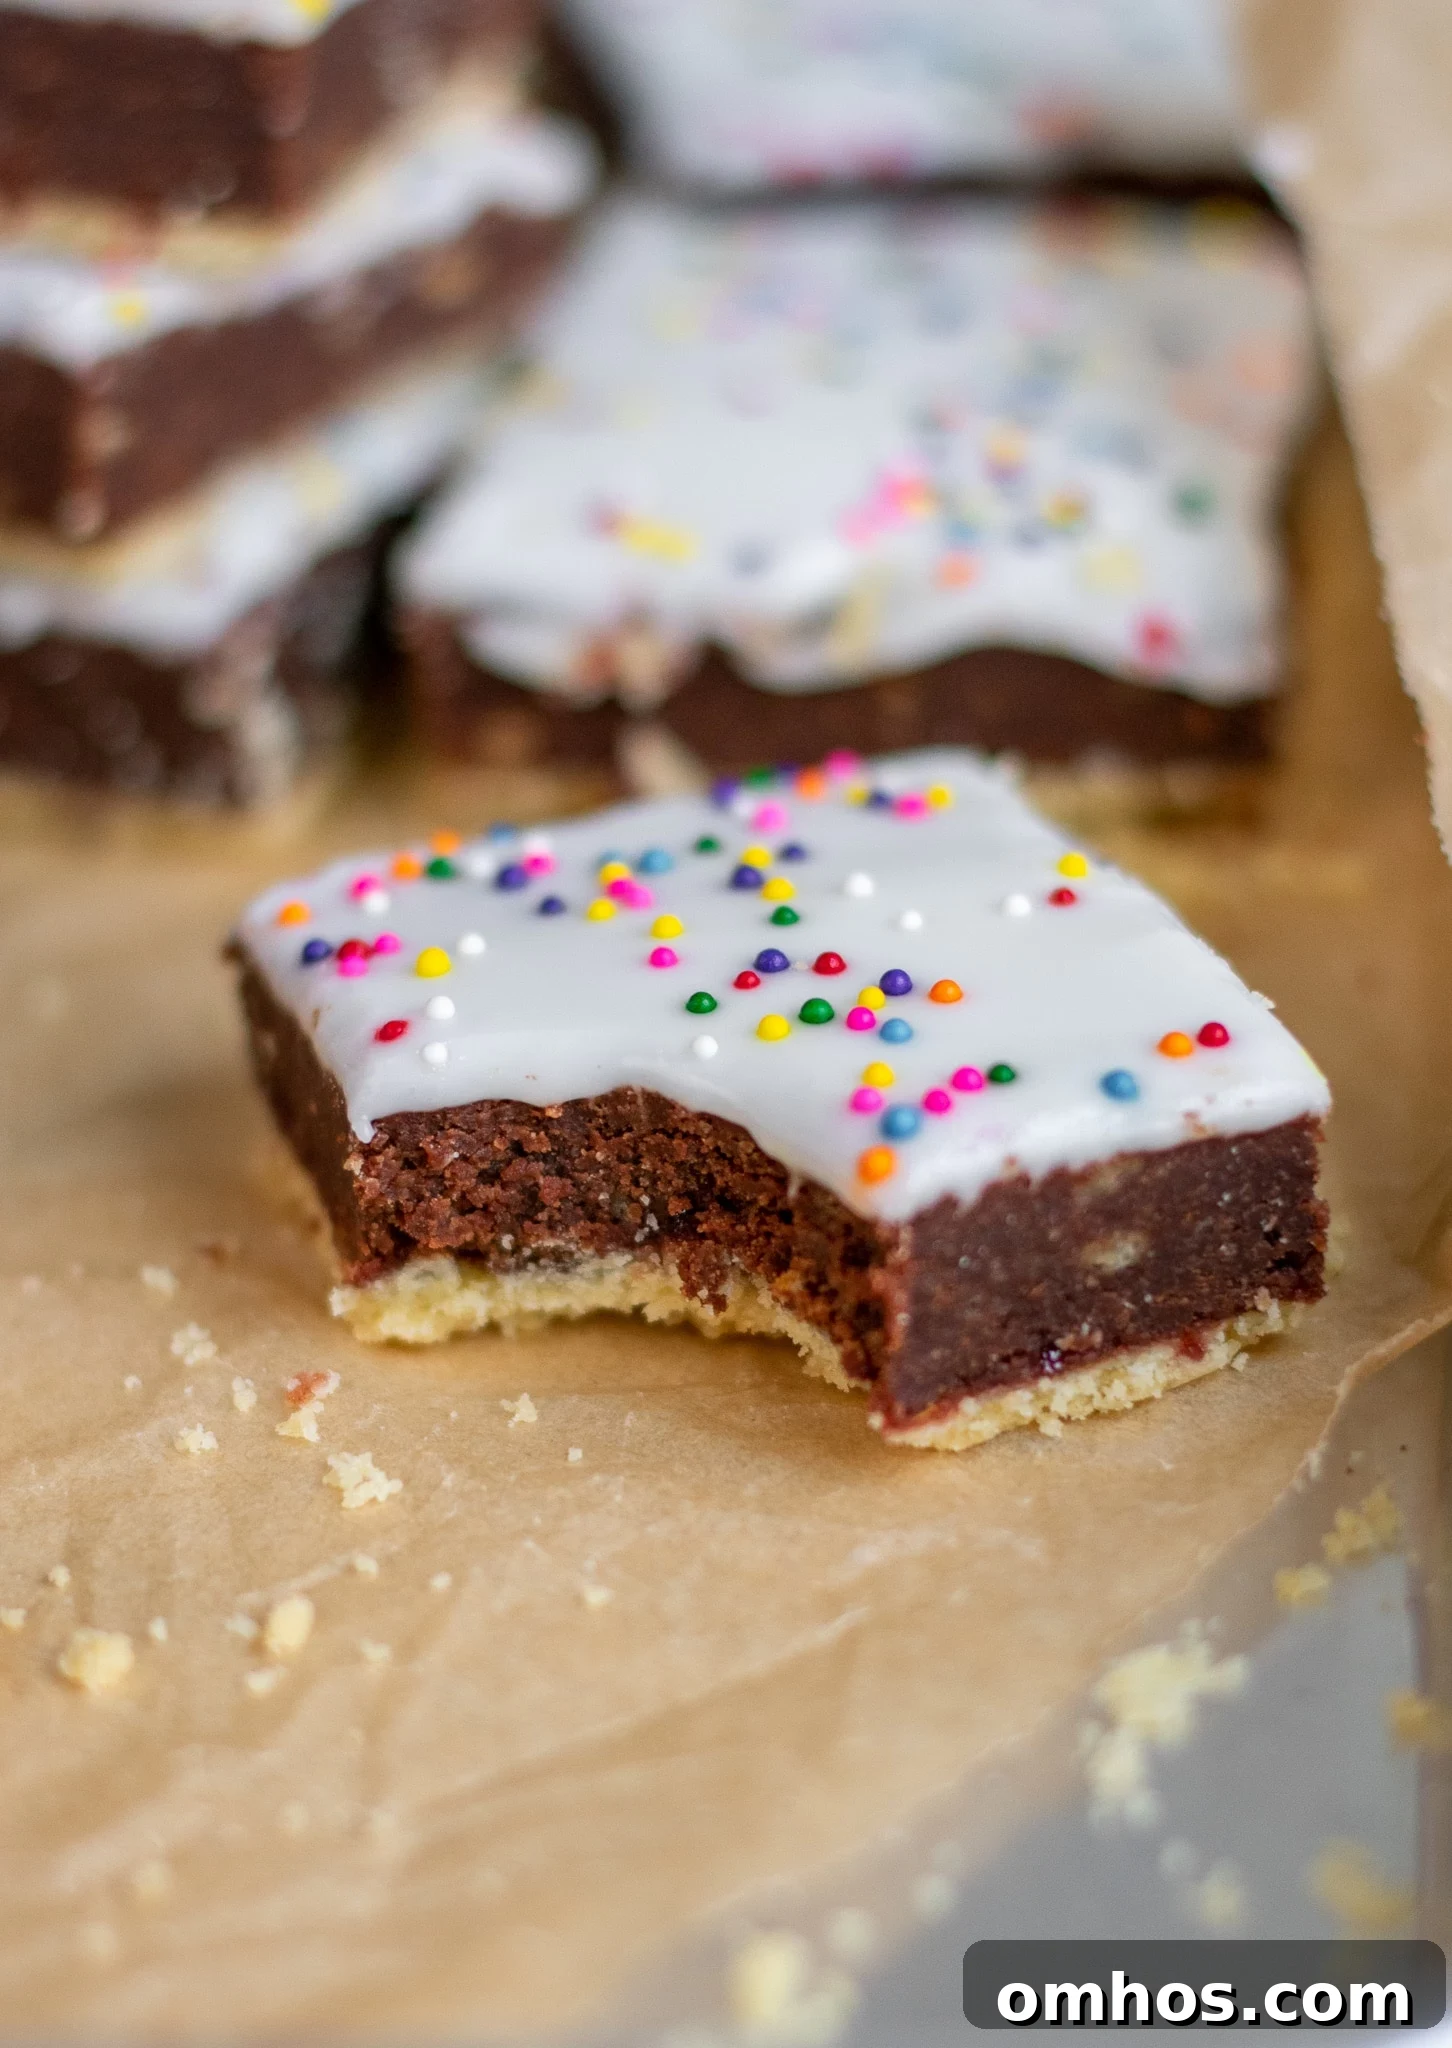
Homemade Studenterbrød
Making studenterbrød at home is a smart way to use leftover cake, muffins, or cookies, but many of us also make the extra cake on purpose because the final pastry is so delicious. The assembled result is a shortcrust base topped with a dense chocolate layer made from crumbled cake and melted chocolate, finished with a sweet white icing and sprinkles. It’s a great recipe to redeem a baking mishap or to turn assorted leftovers into a crowd-pleasing dessert.
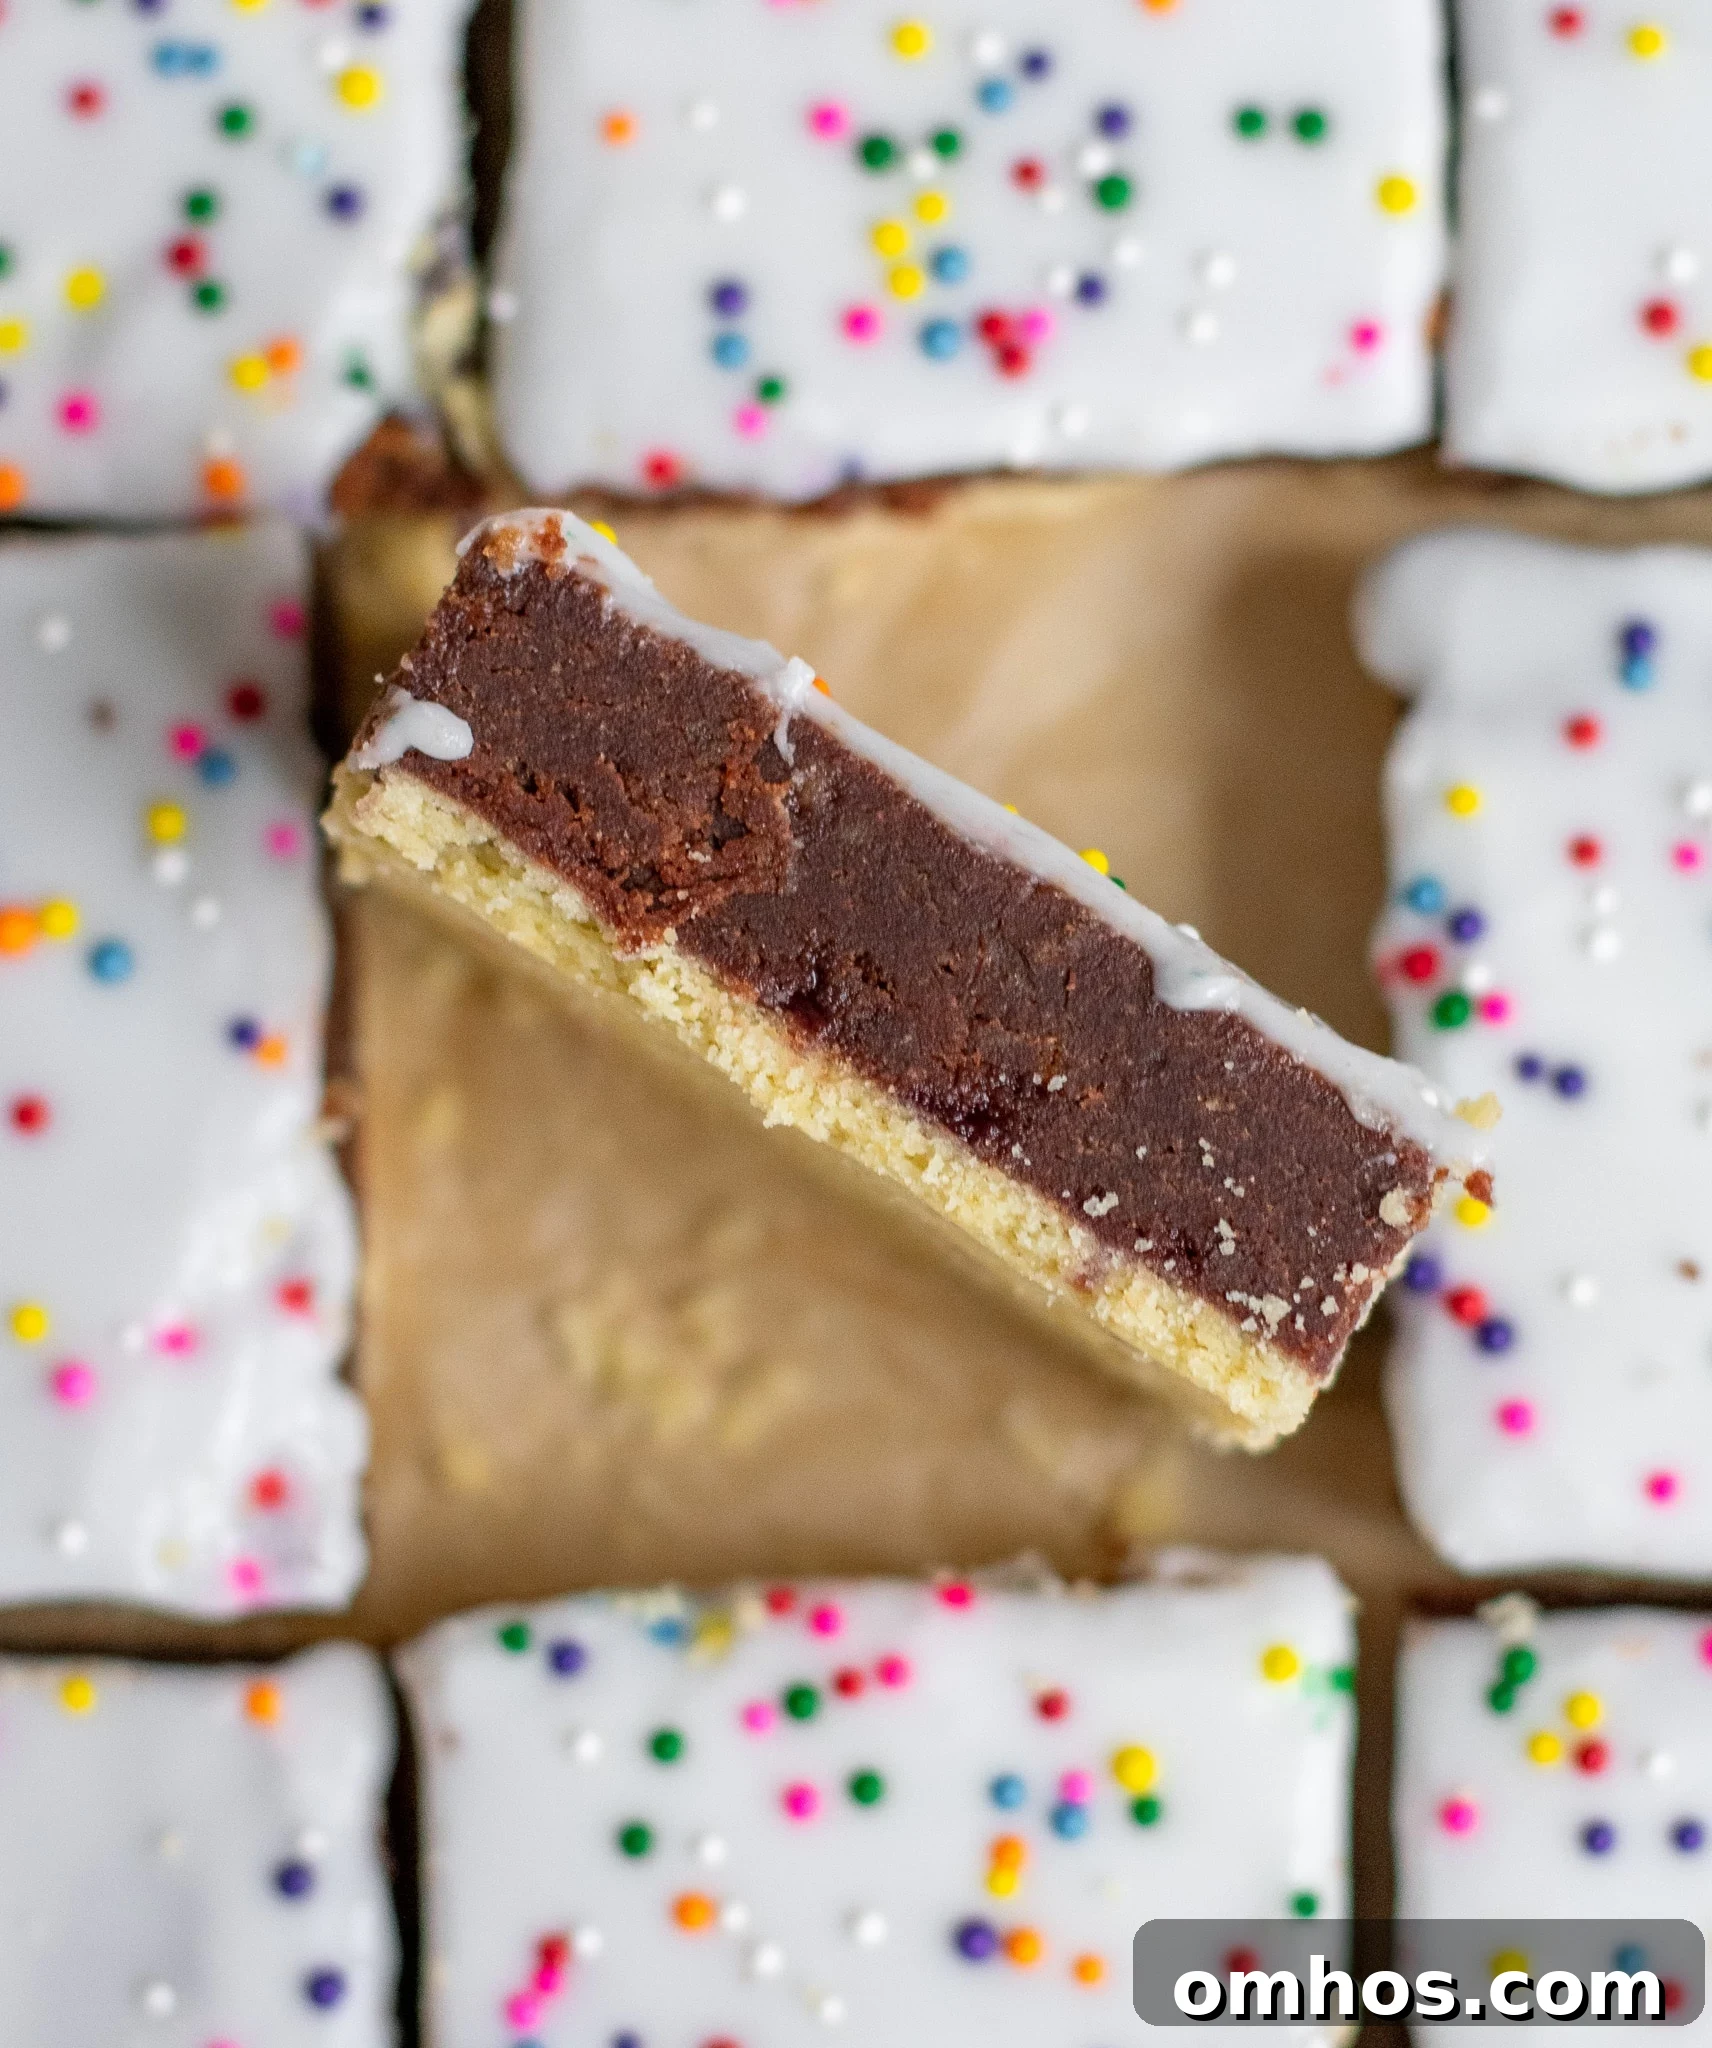
How to make Studenterbrød
The method is straightforward: prepare a shortcrust pastry, blind-bake it until lightly golden, then allow it to cool. Meanwhile, mix the chocolate layer by combining finely crumbled cake or other baked leftovers with melted dark chocolate, cocoa, jam, and a splash of rum (optional). Spread a thin layer of jam over the cooled pastry, press the chocolate mixture evenly on top, chill briefly to firm it up, then finish with a smooth icing and sprinkles. Trim the edges and cut into squares before serving. If you try this, leave a comment to let us know how it turned out!
Studenterbrød (“Student Bread” Pastry)
15 servings
45 mins
20 mins
1 hr 5 mins
IMPORTANT NOTE:
This recipe is developed using metric measurements (grams and milliliters) and a digital scale. Cup conversions may be less precise. The method assumes a convection (fan) oven unless noted otherwise.
Ingredients
PASTRY BASE
- 150 grams (1 1/8 cup) all purpose flour
- 25 grams (1/4 cup) powdered sugar
- 1/8 tsp salt
- 100 grams (7 tbsp) unsalted butter, cold
- 1 egg yolk
- 1/2 tsp vanilla extract
CHOCOLATE LAYER
- 600 grams pound cake, leftover cake, muffins, or cookies, crumbled
- 150 grams (about 1 1/2 bars) dark chocolate, melted
- 4 tbsp unsweetened cocoa powder
- 5 tbsp jam (raspberry or strawberry work well)
- 3-4 tbsp rum (optional)
ICING
- 240 grams (2 cups) powdered sugar
- Splash of water
- Sprinkles (optional)
Instructions
-
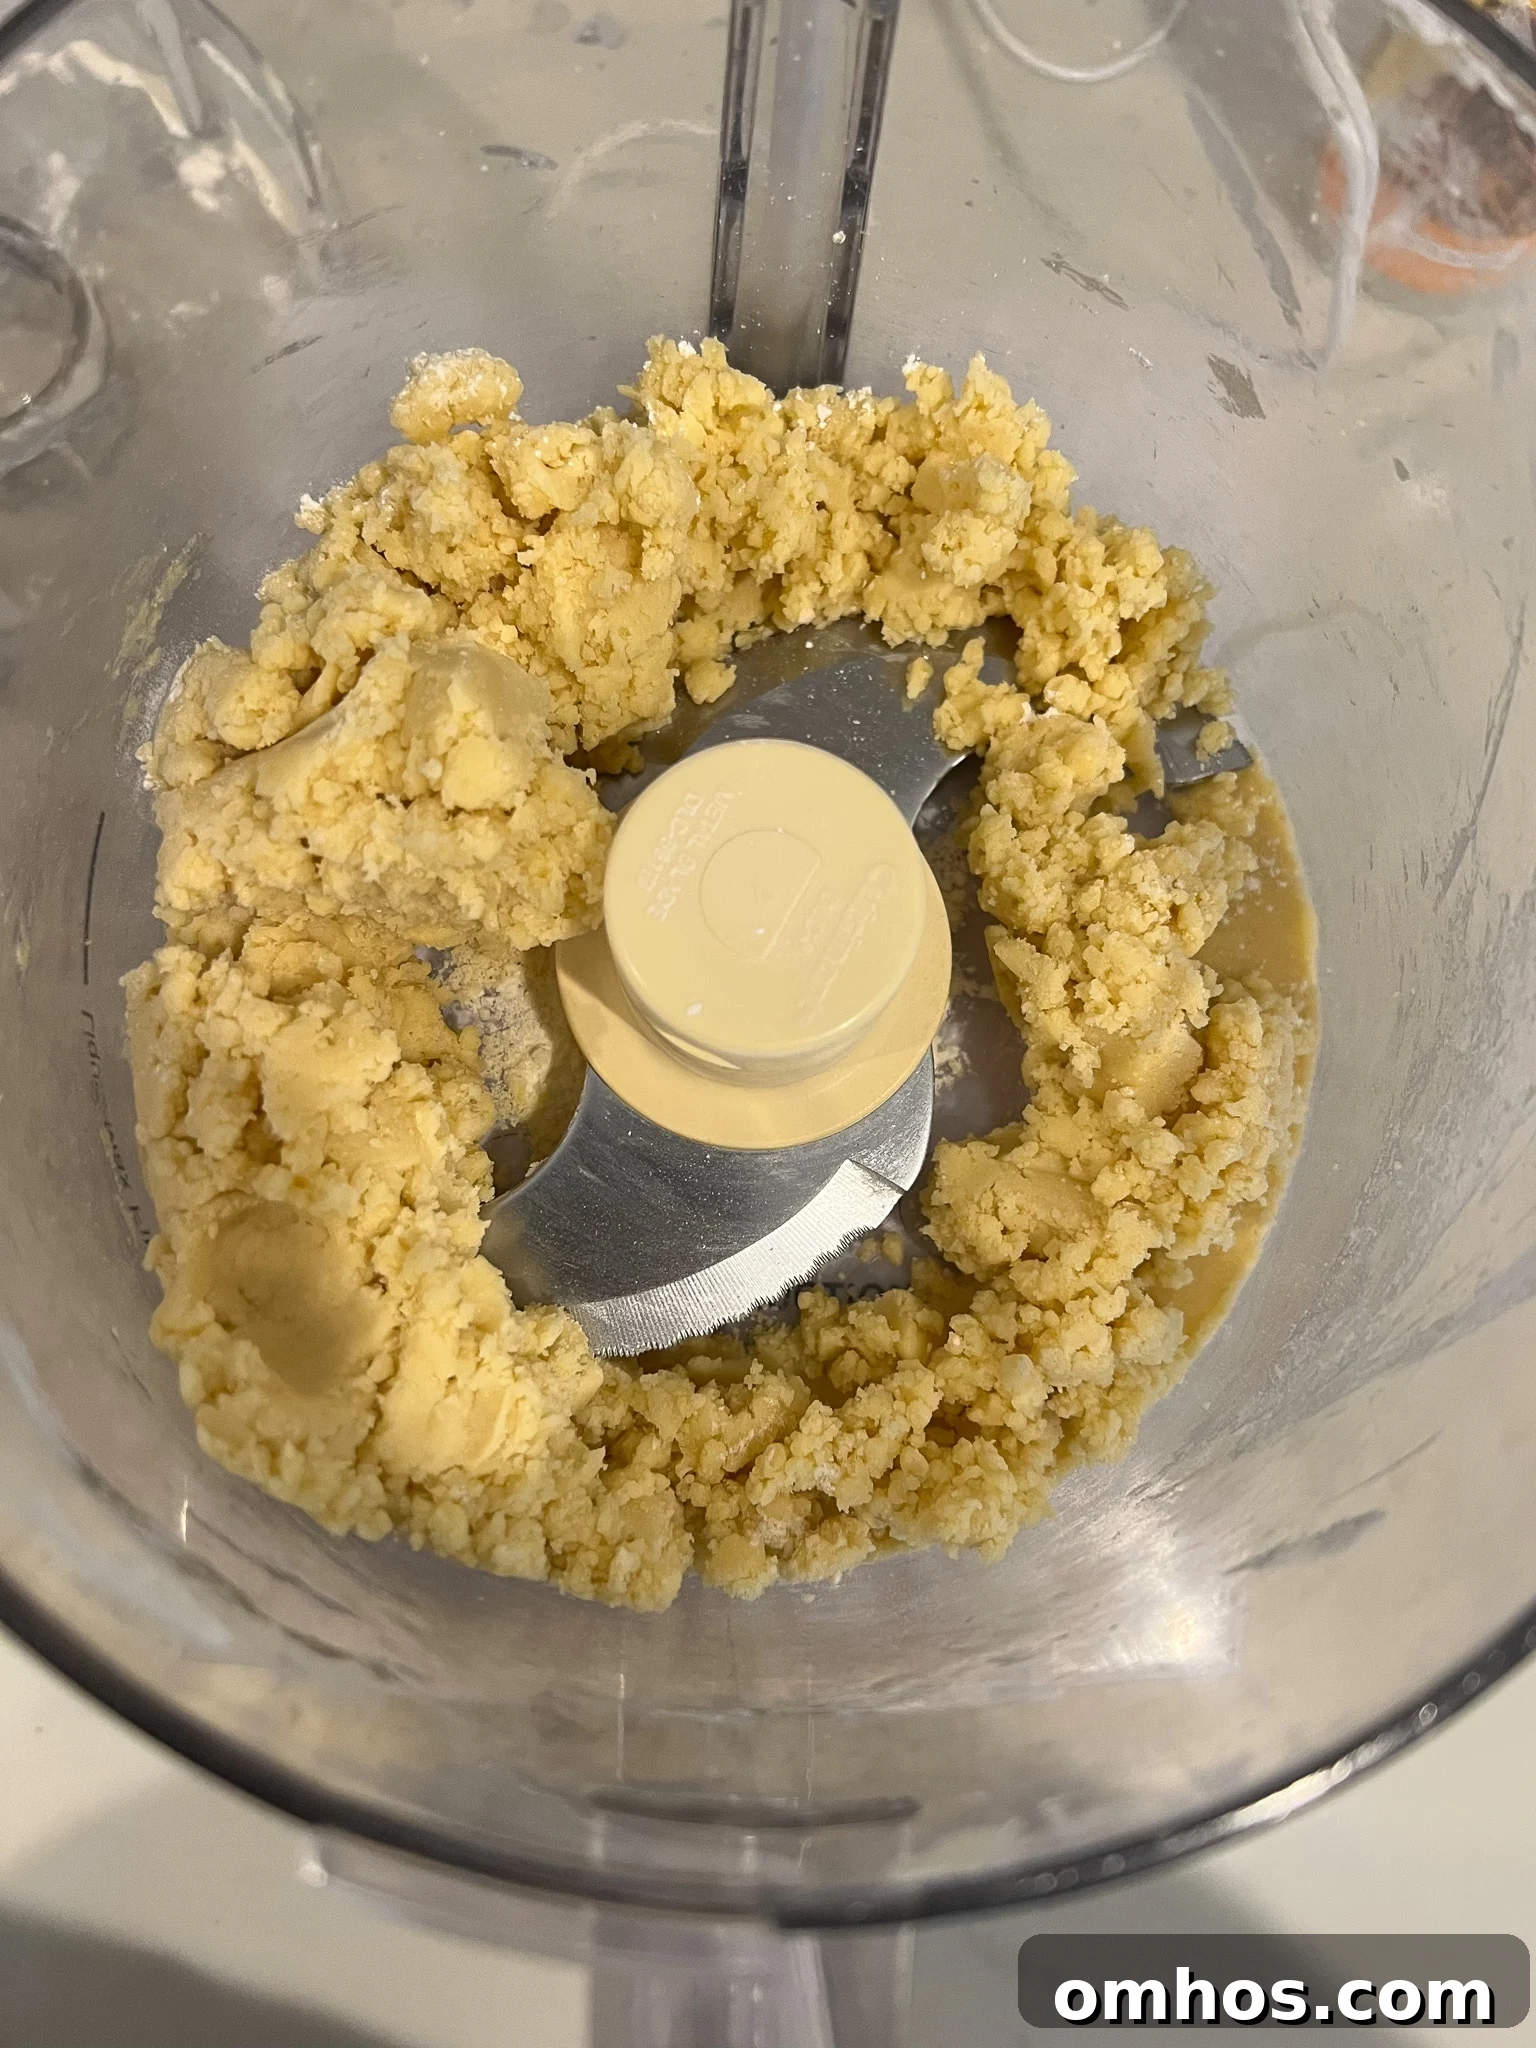
Combine the flour, powdered sugar, and salt in a food processor and pulse briefly, or mix by hand in a large bowl. Add the cold butter and pulse until the mixture resembles coarse sand. If working by hand, rub the butter into the flour with your fingertips until similar in texture. Add the egg yolk and vanilla and blend just until the dough starts to come together; a little crumbliness is fine.

-
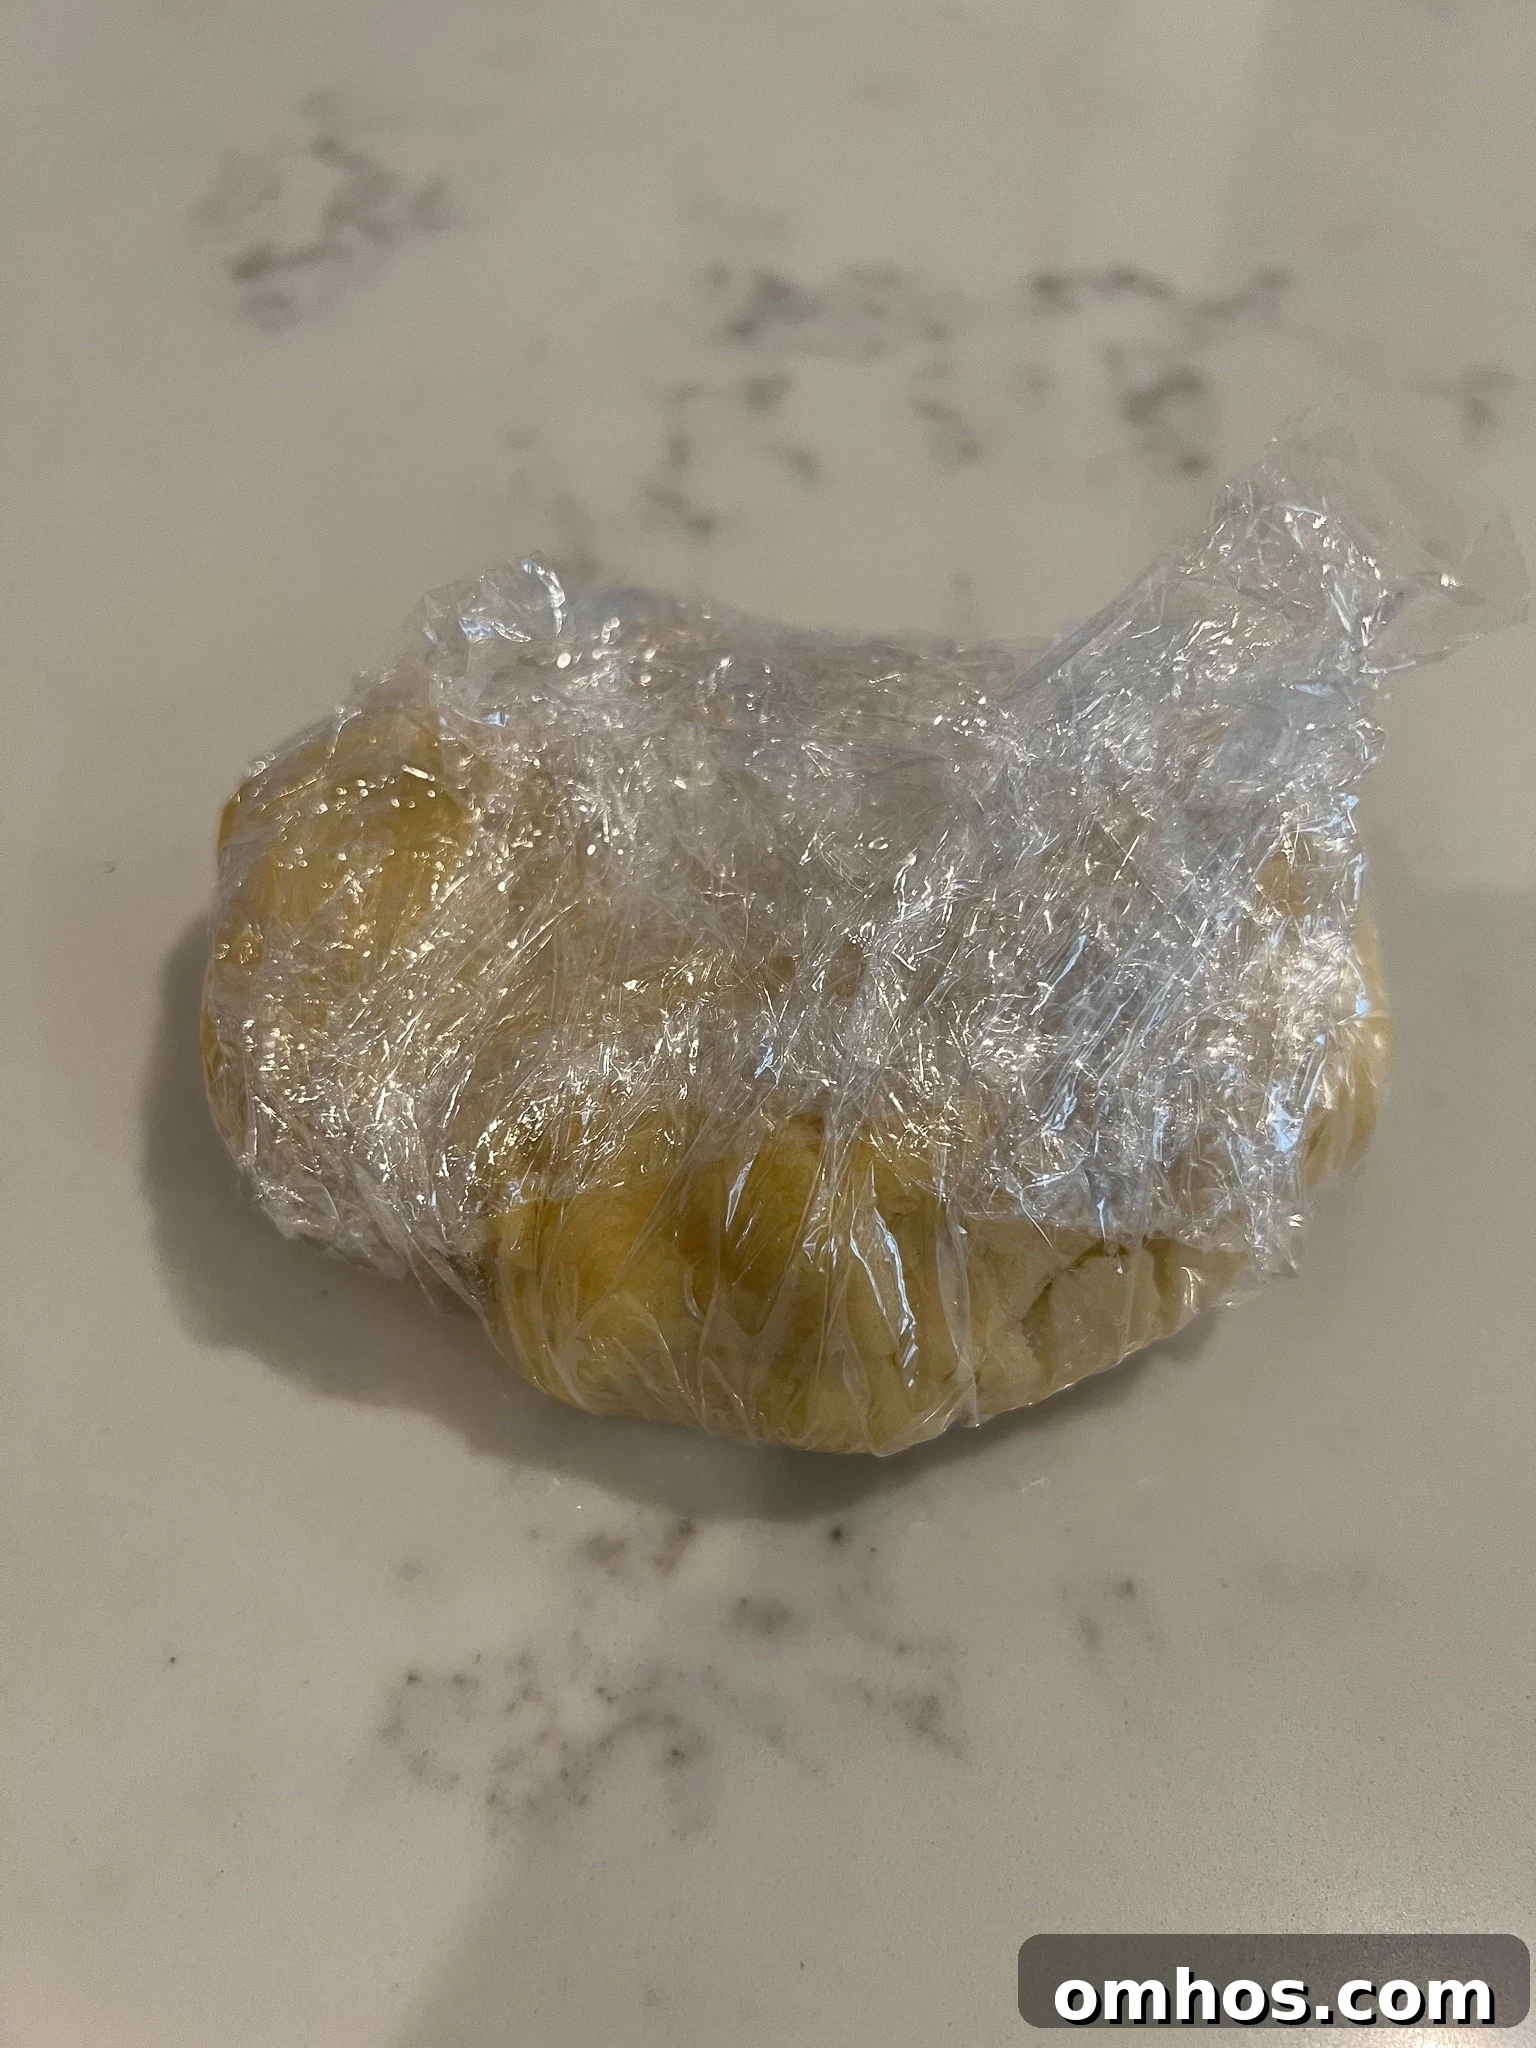
Wrap the dough in plastic wrap and chill in the refrigerator for about 30 minutes to firm up.
-
Preheat the oven to 350°F (175°C). Line a large baking sheet or pan with parchment paper.
-
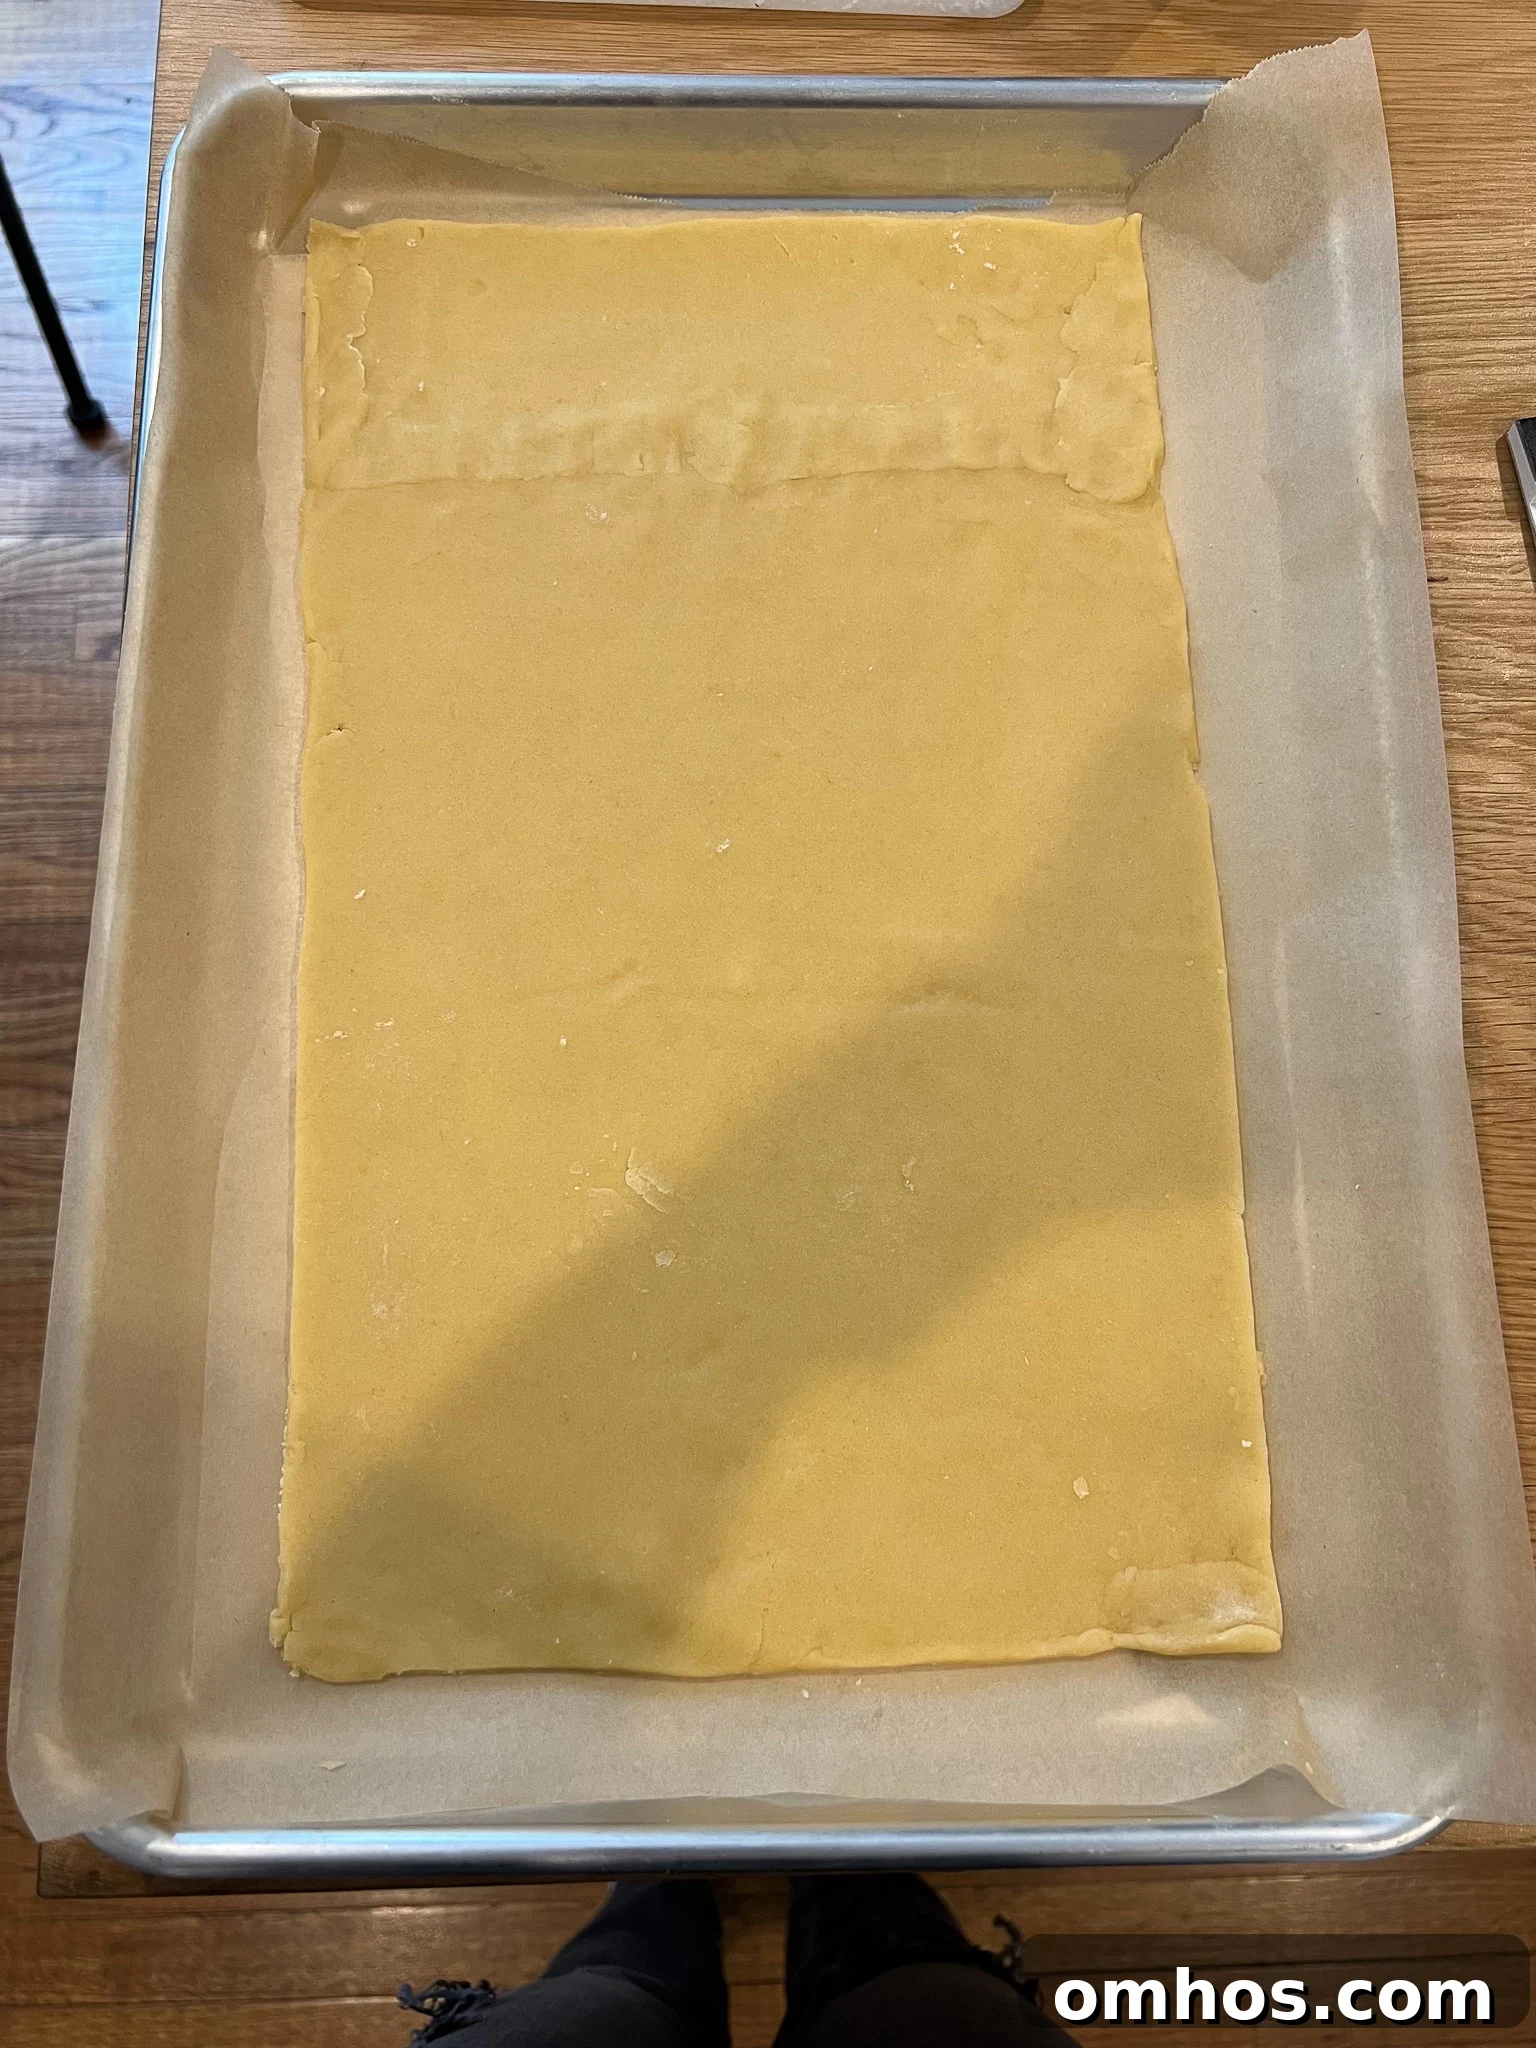
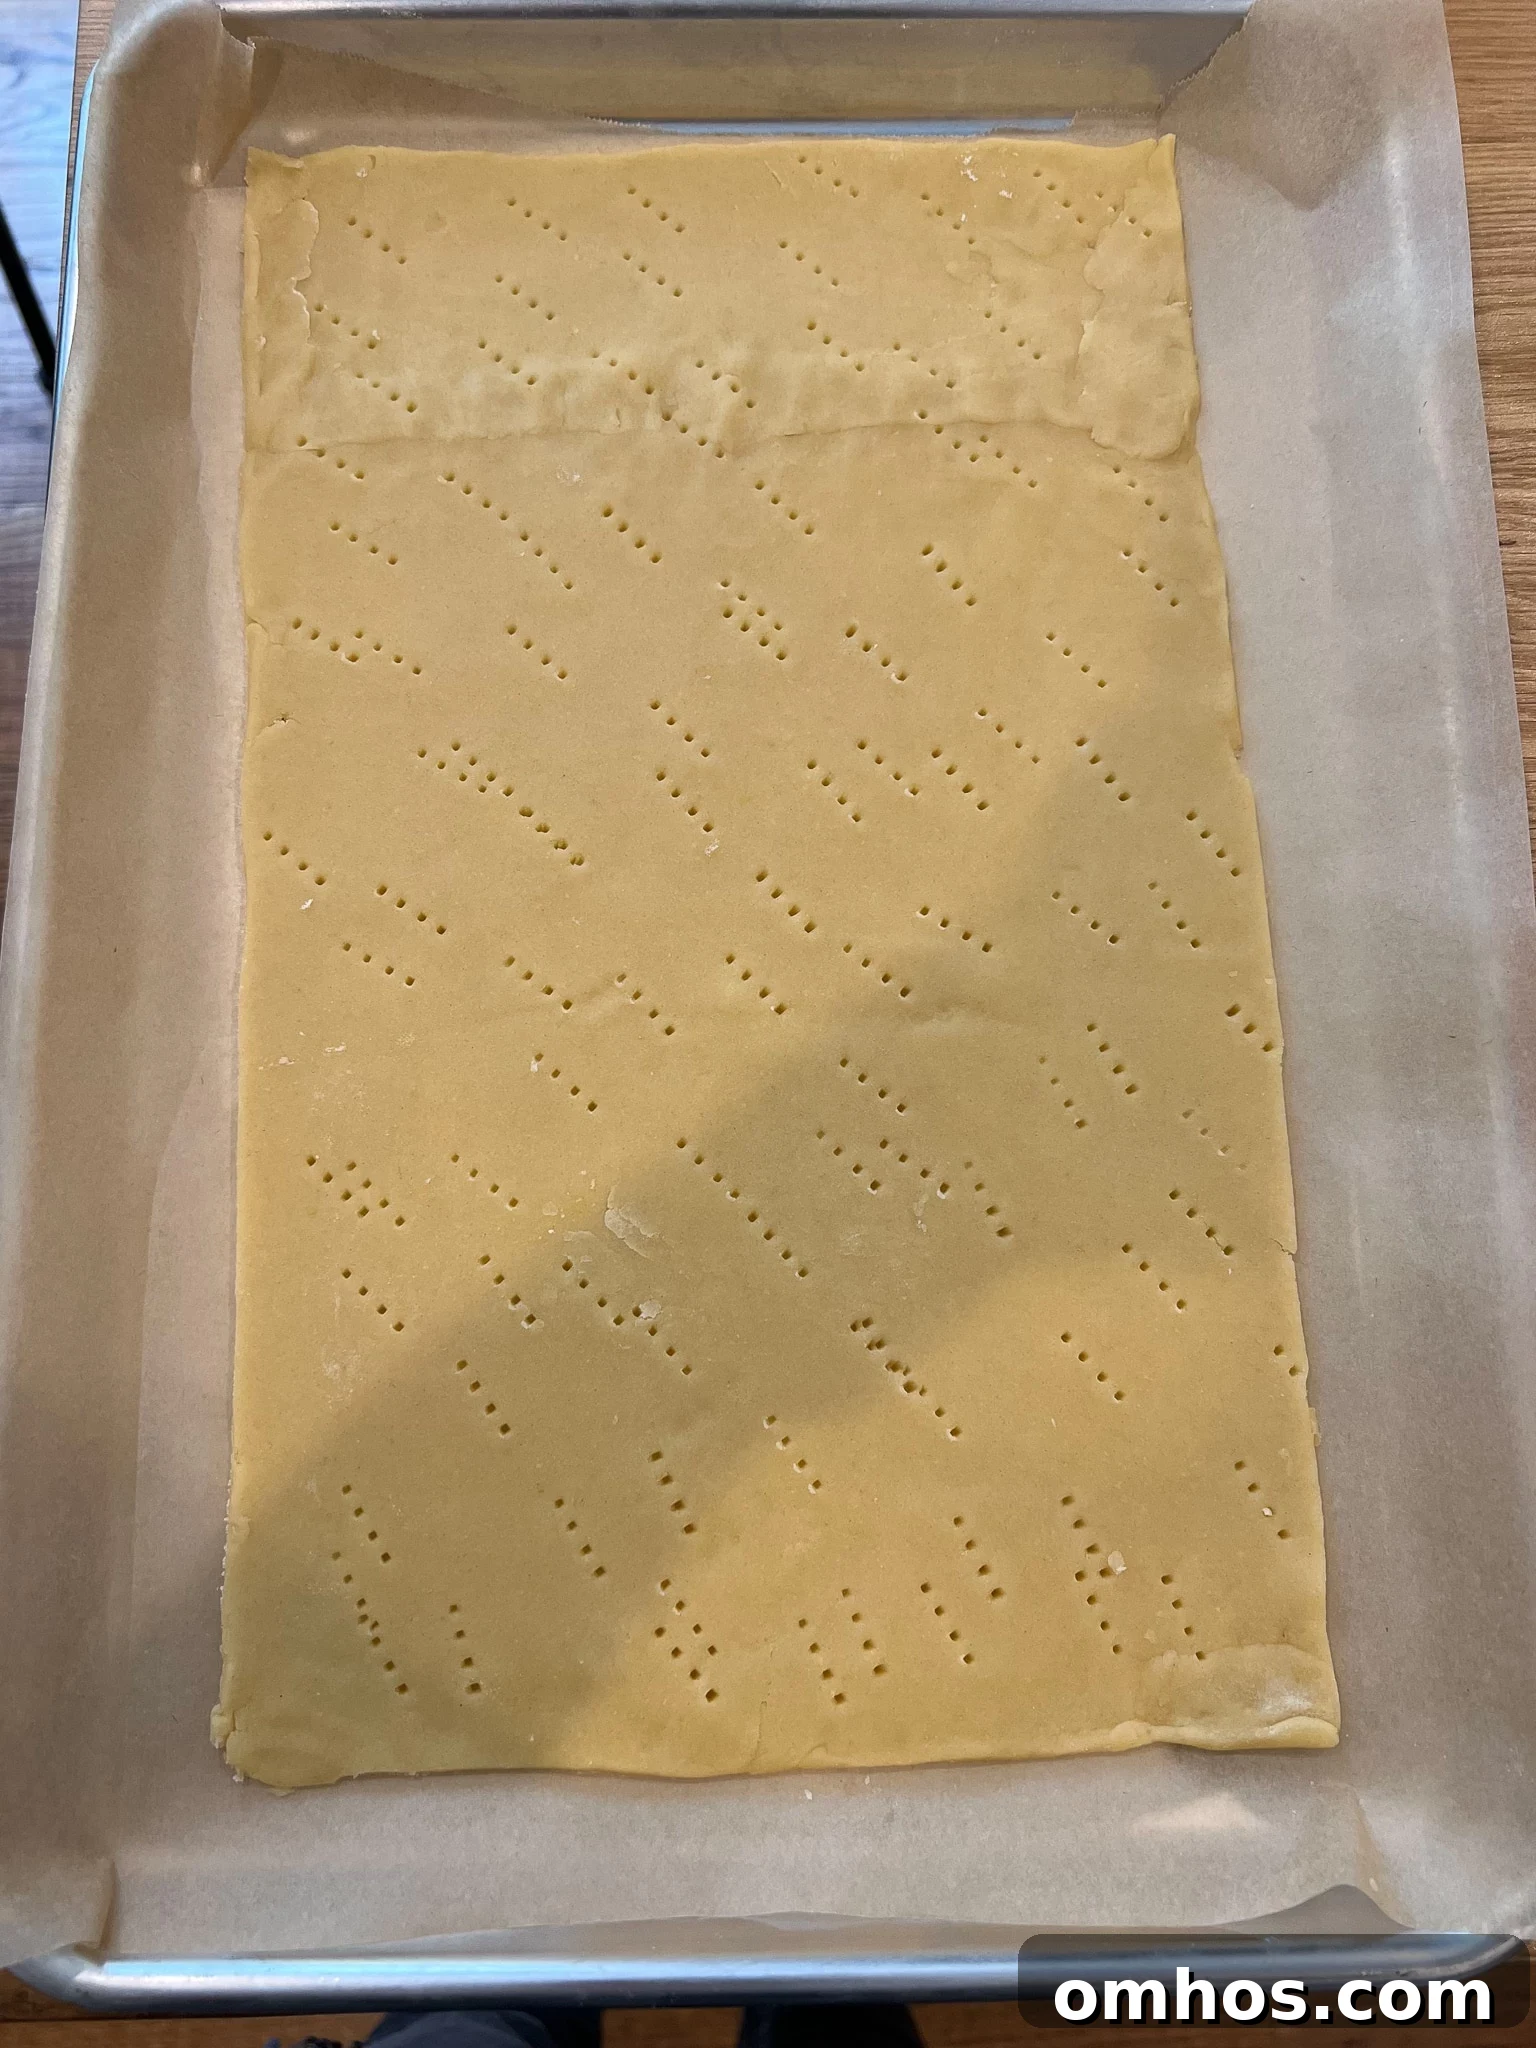
Roll the chilled dough into one large rectangle. Trim edges if necessary and transfer the rectangle to the prepared baking sheet.
-
Prick the surface of the dough with a fork to prevent large air pockets from forming during baking.
-
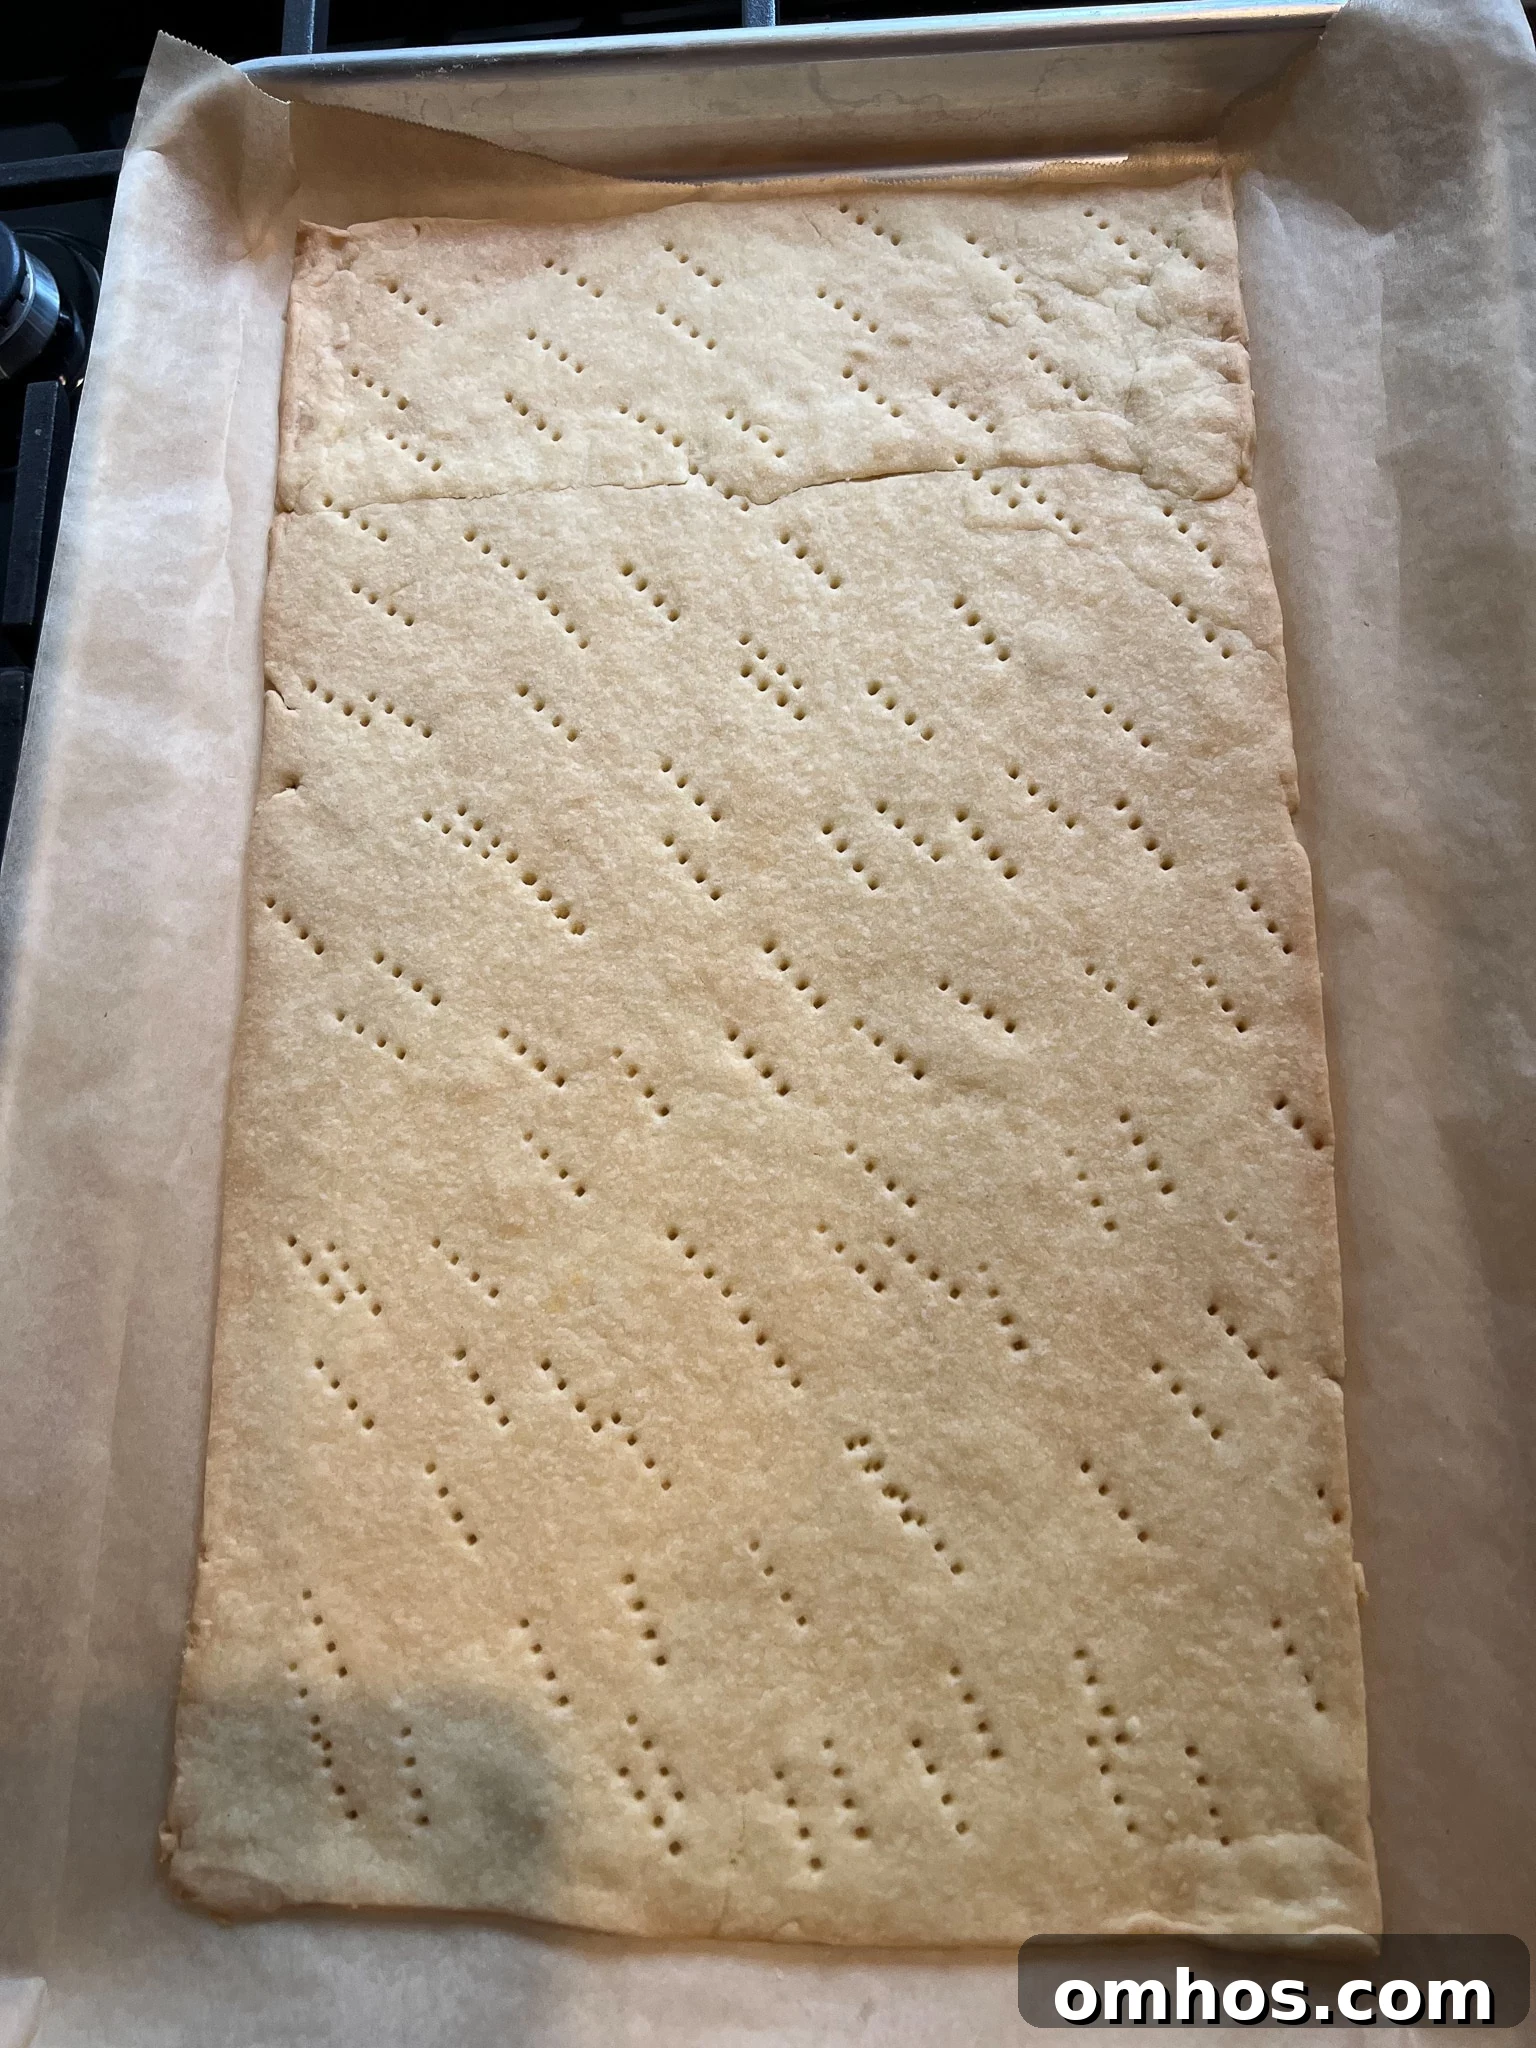
Bake for about 15–20 minutes, until the edges are lightly golden. Check at 15 minutes if your oven runs hot. Allow the crust to cool completely on a rack.
-
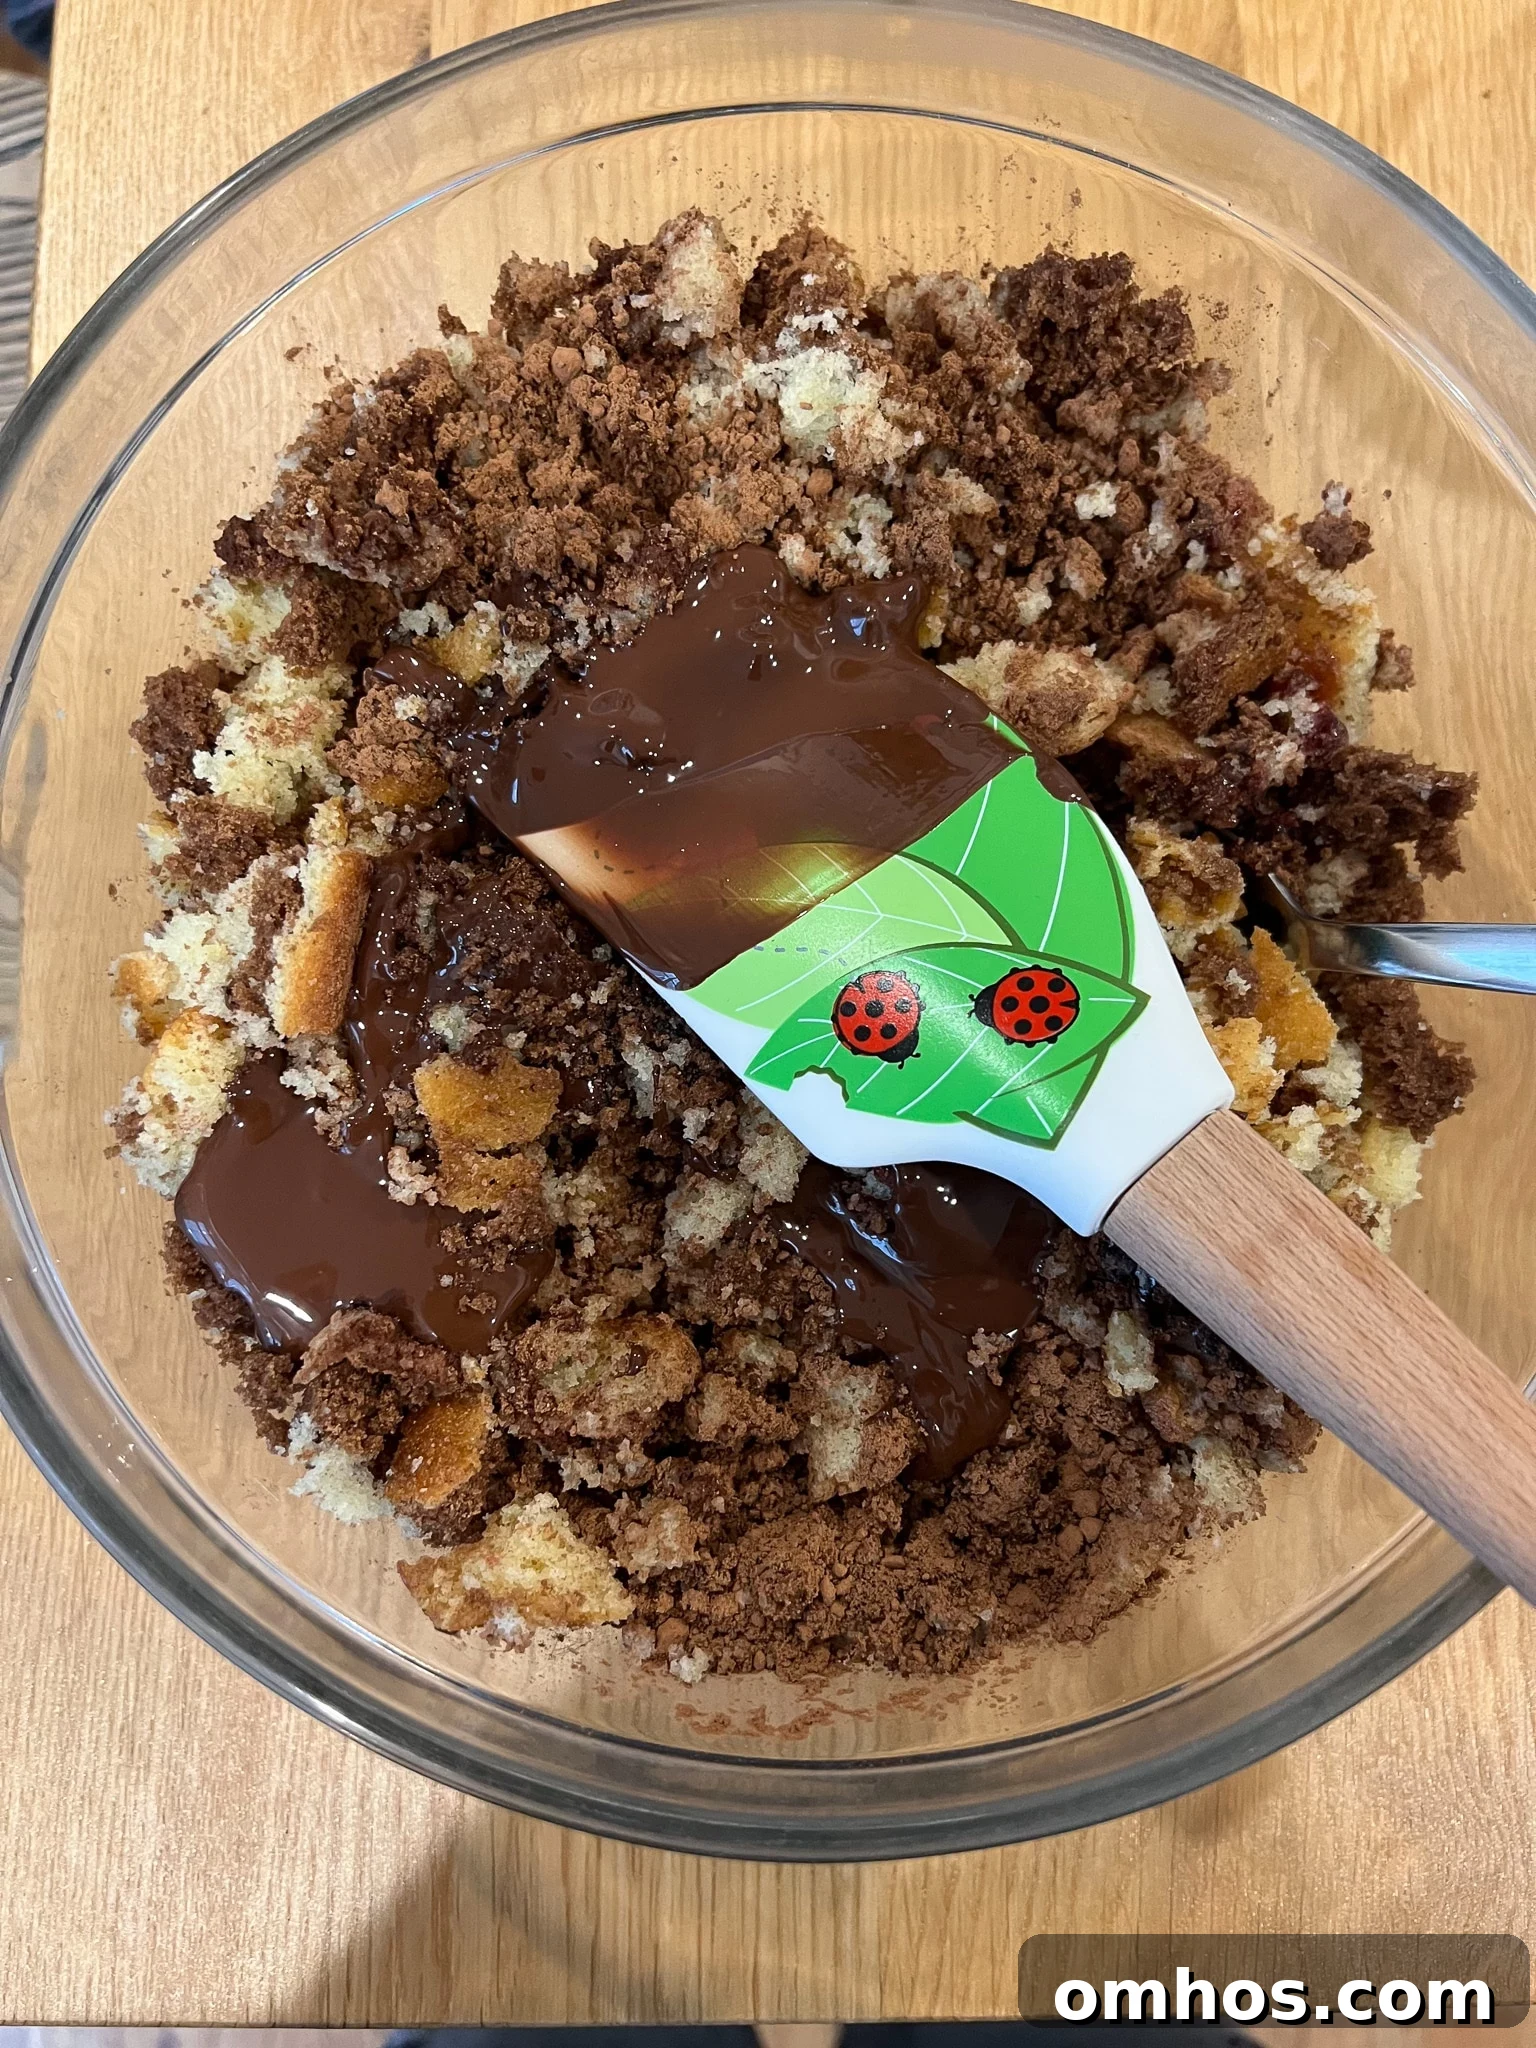
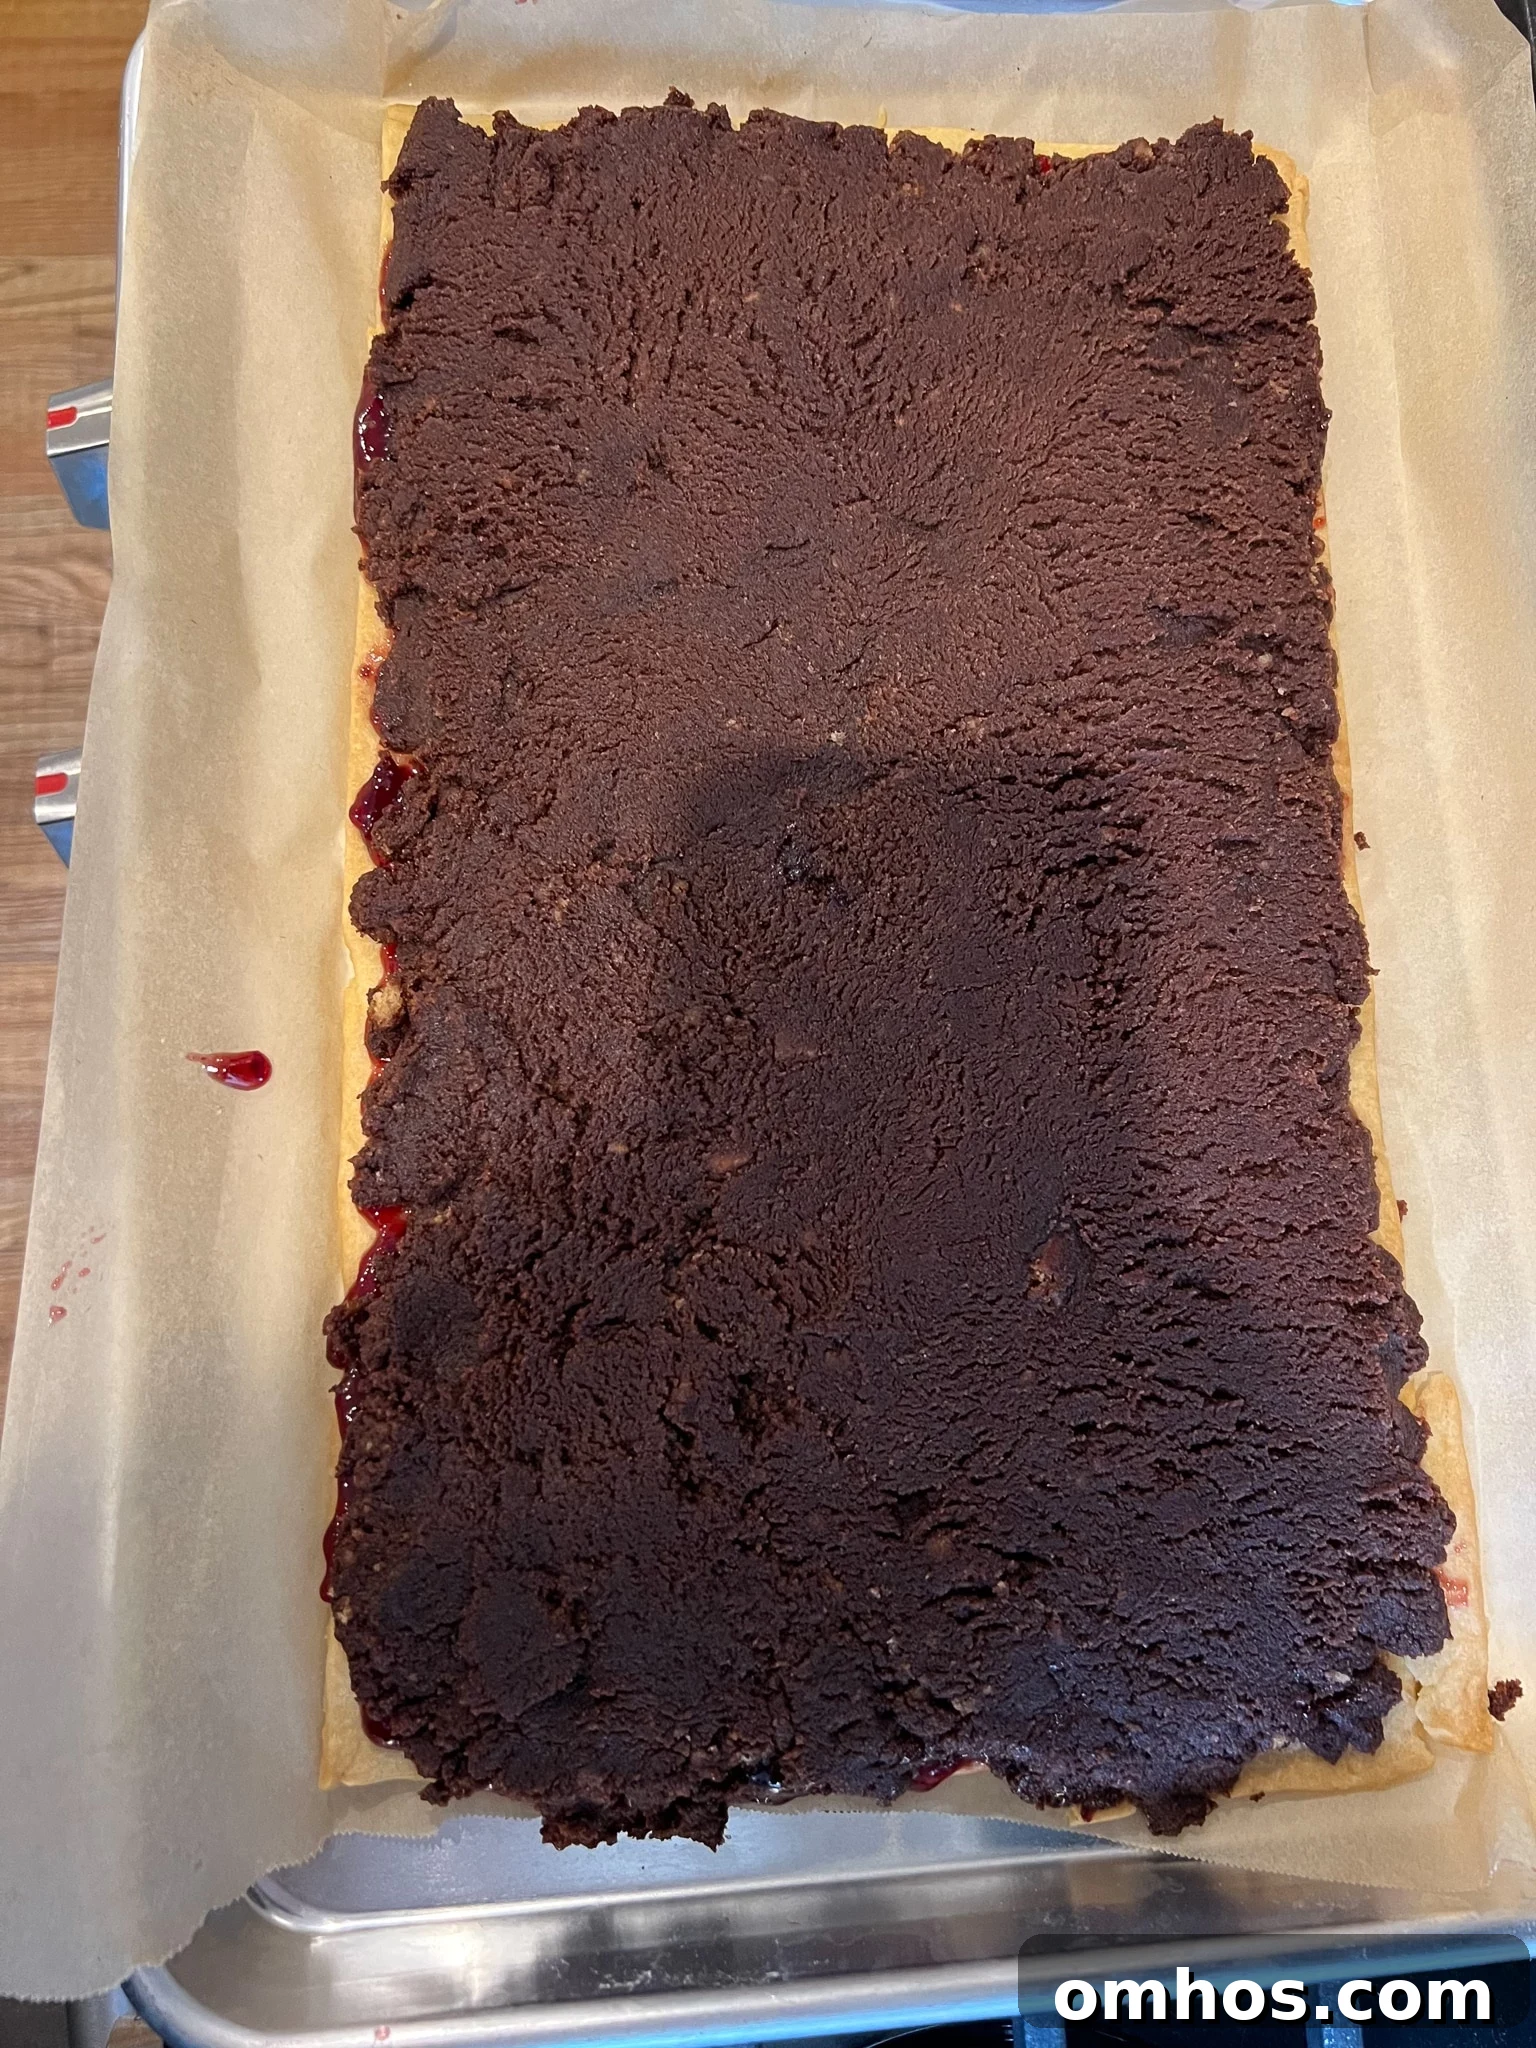
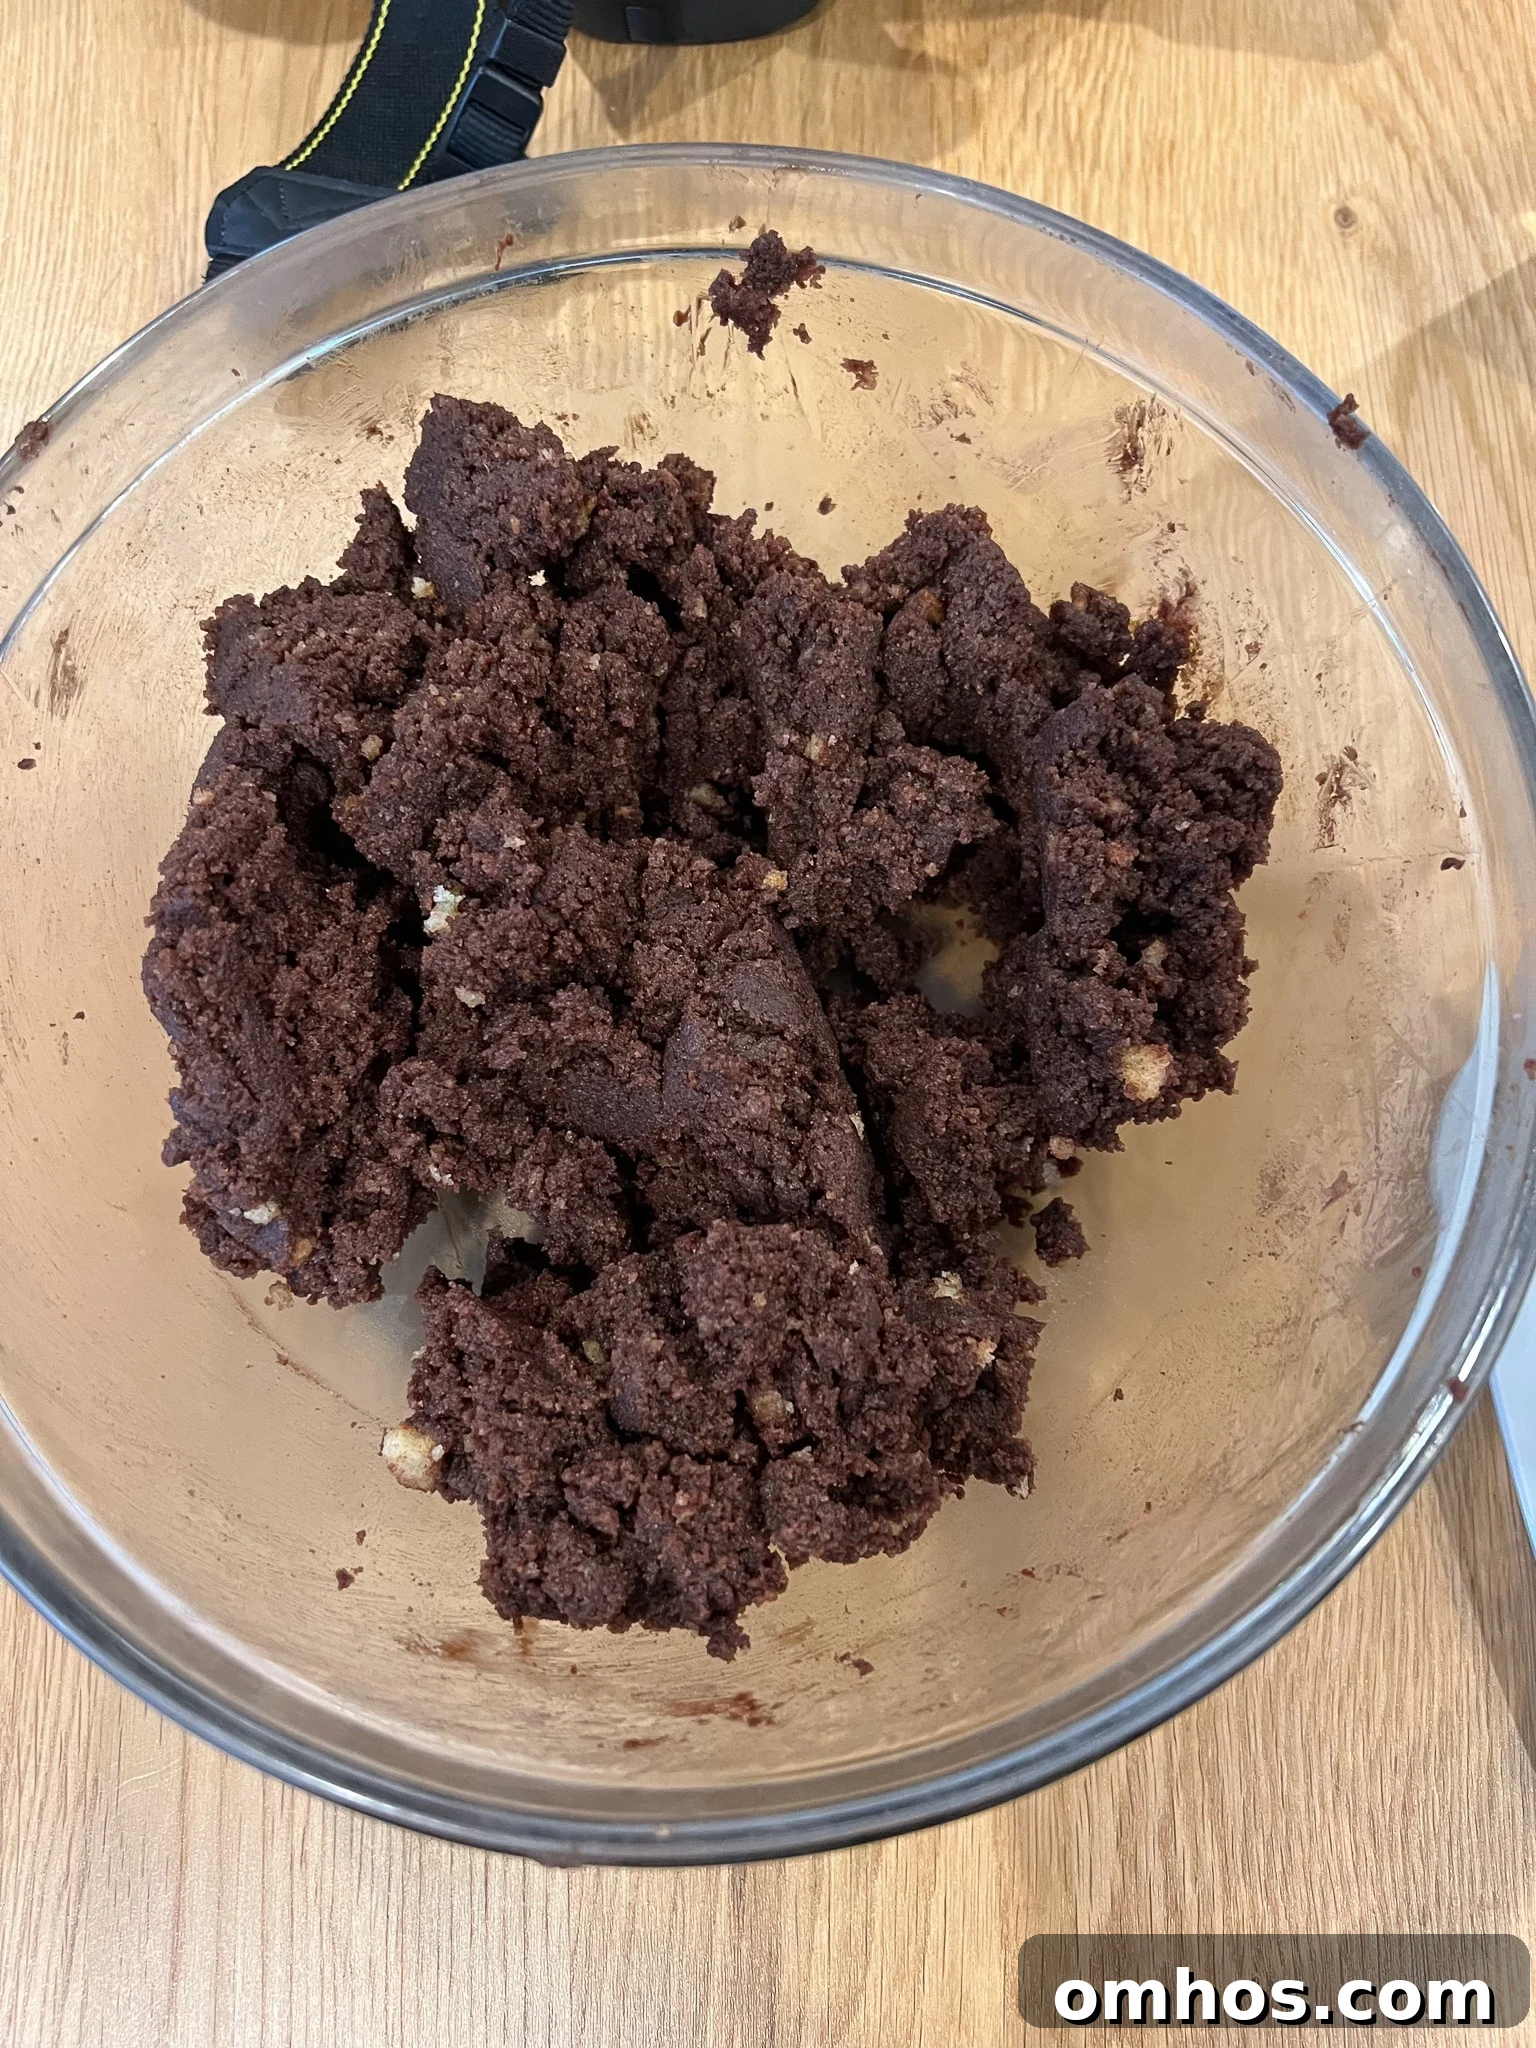
While the base cools, make the chocolate filling. Crumble the leftover cake (or muffins/cookies) into a bowl. Add the cocoa powder, melted chocolate, 4 tablespoons of jam (reserve one tablespoon for the base), and the rum if using. Mix and press the ingredients together until they form a thick, cohesive paste.
-
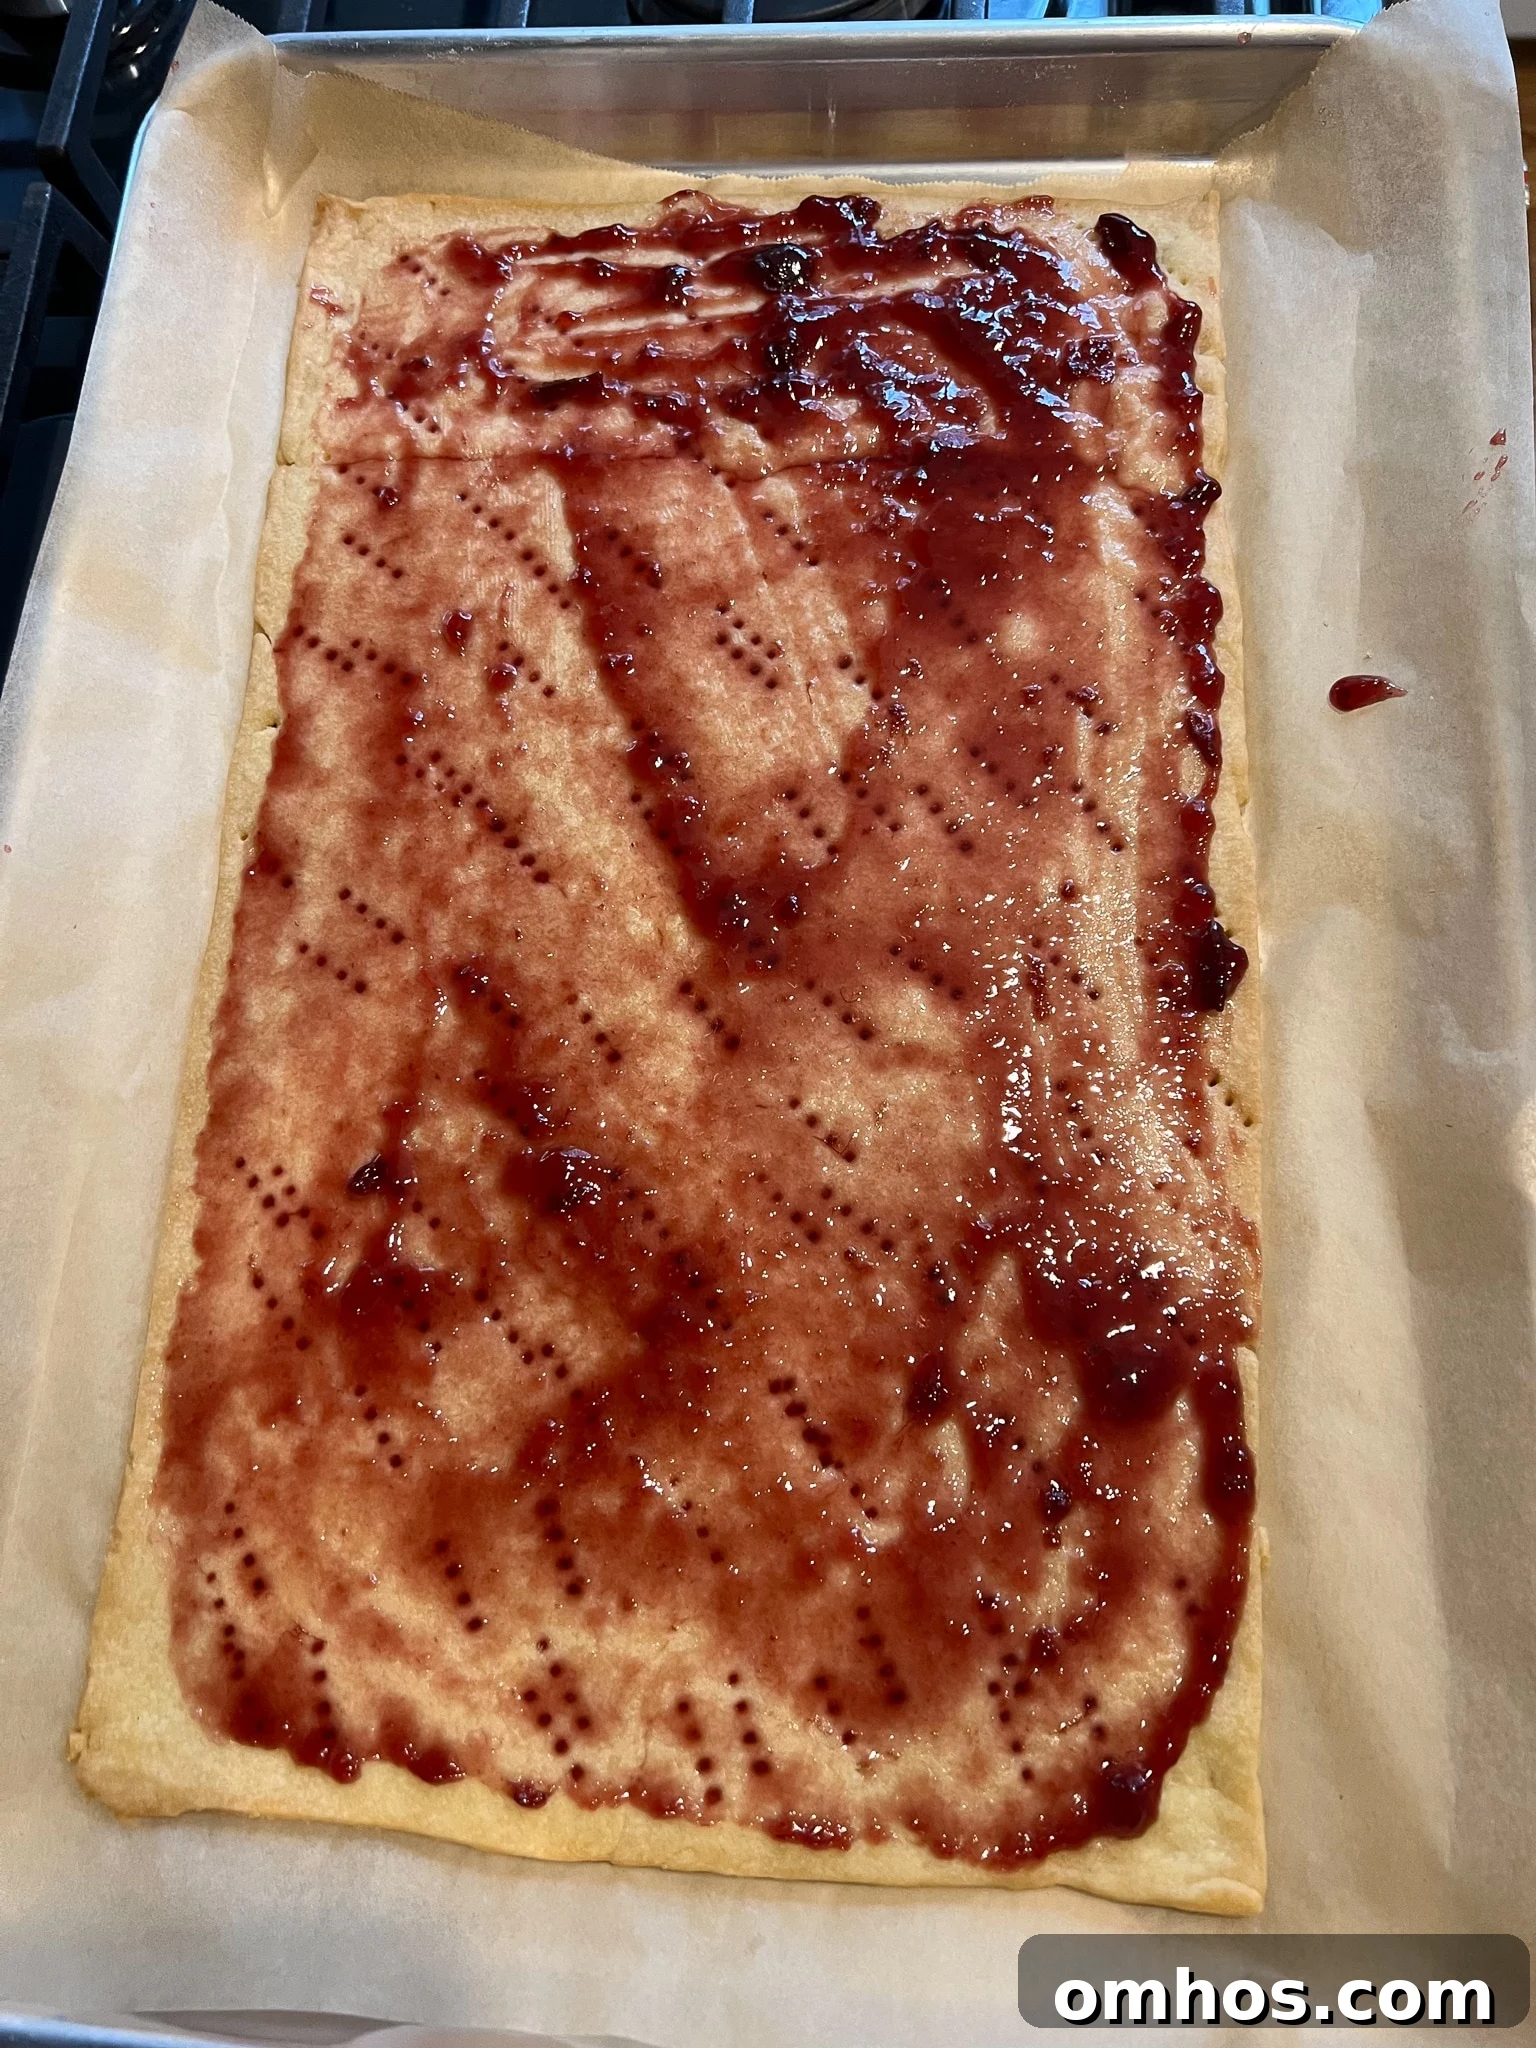
Spread a thin layer of the reserved jam across the cooled pastry base.
-
Press the cake-chocolate mixture onto the jam layer, smoothing it into an even layer. It does not need to reach the very edges; you’ll trim these later for a clean finish.
-
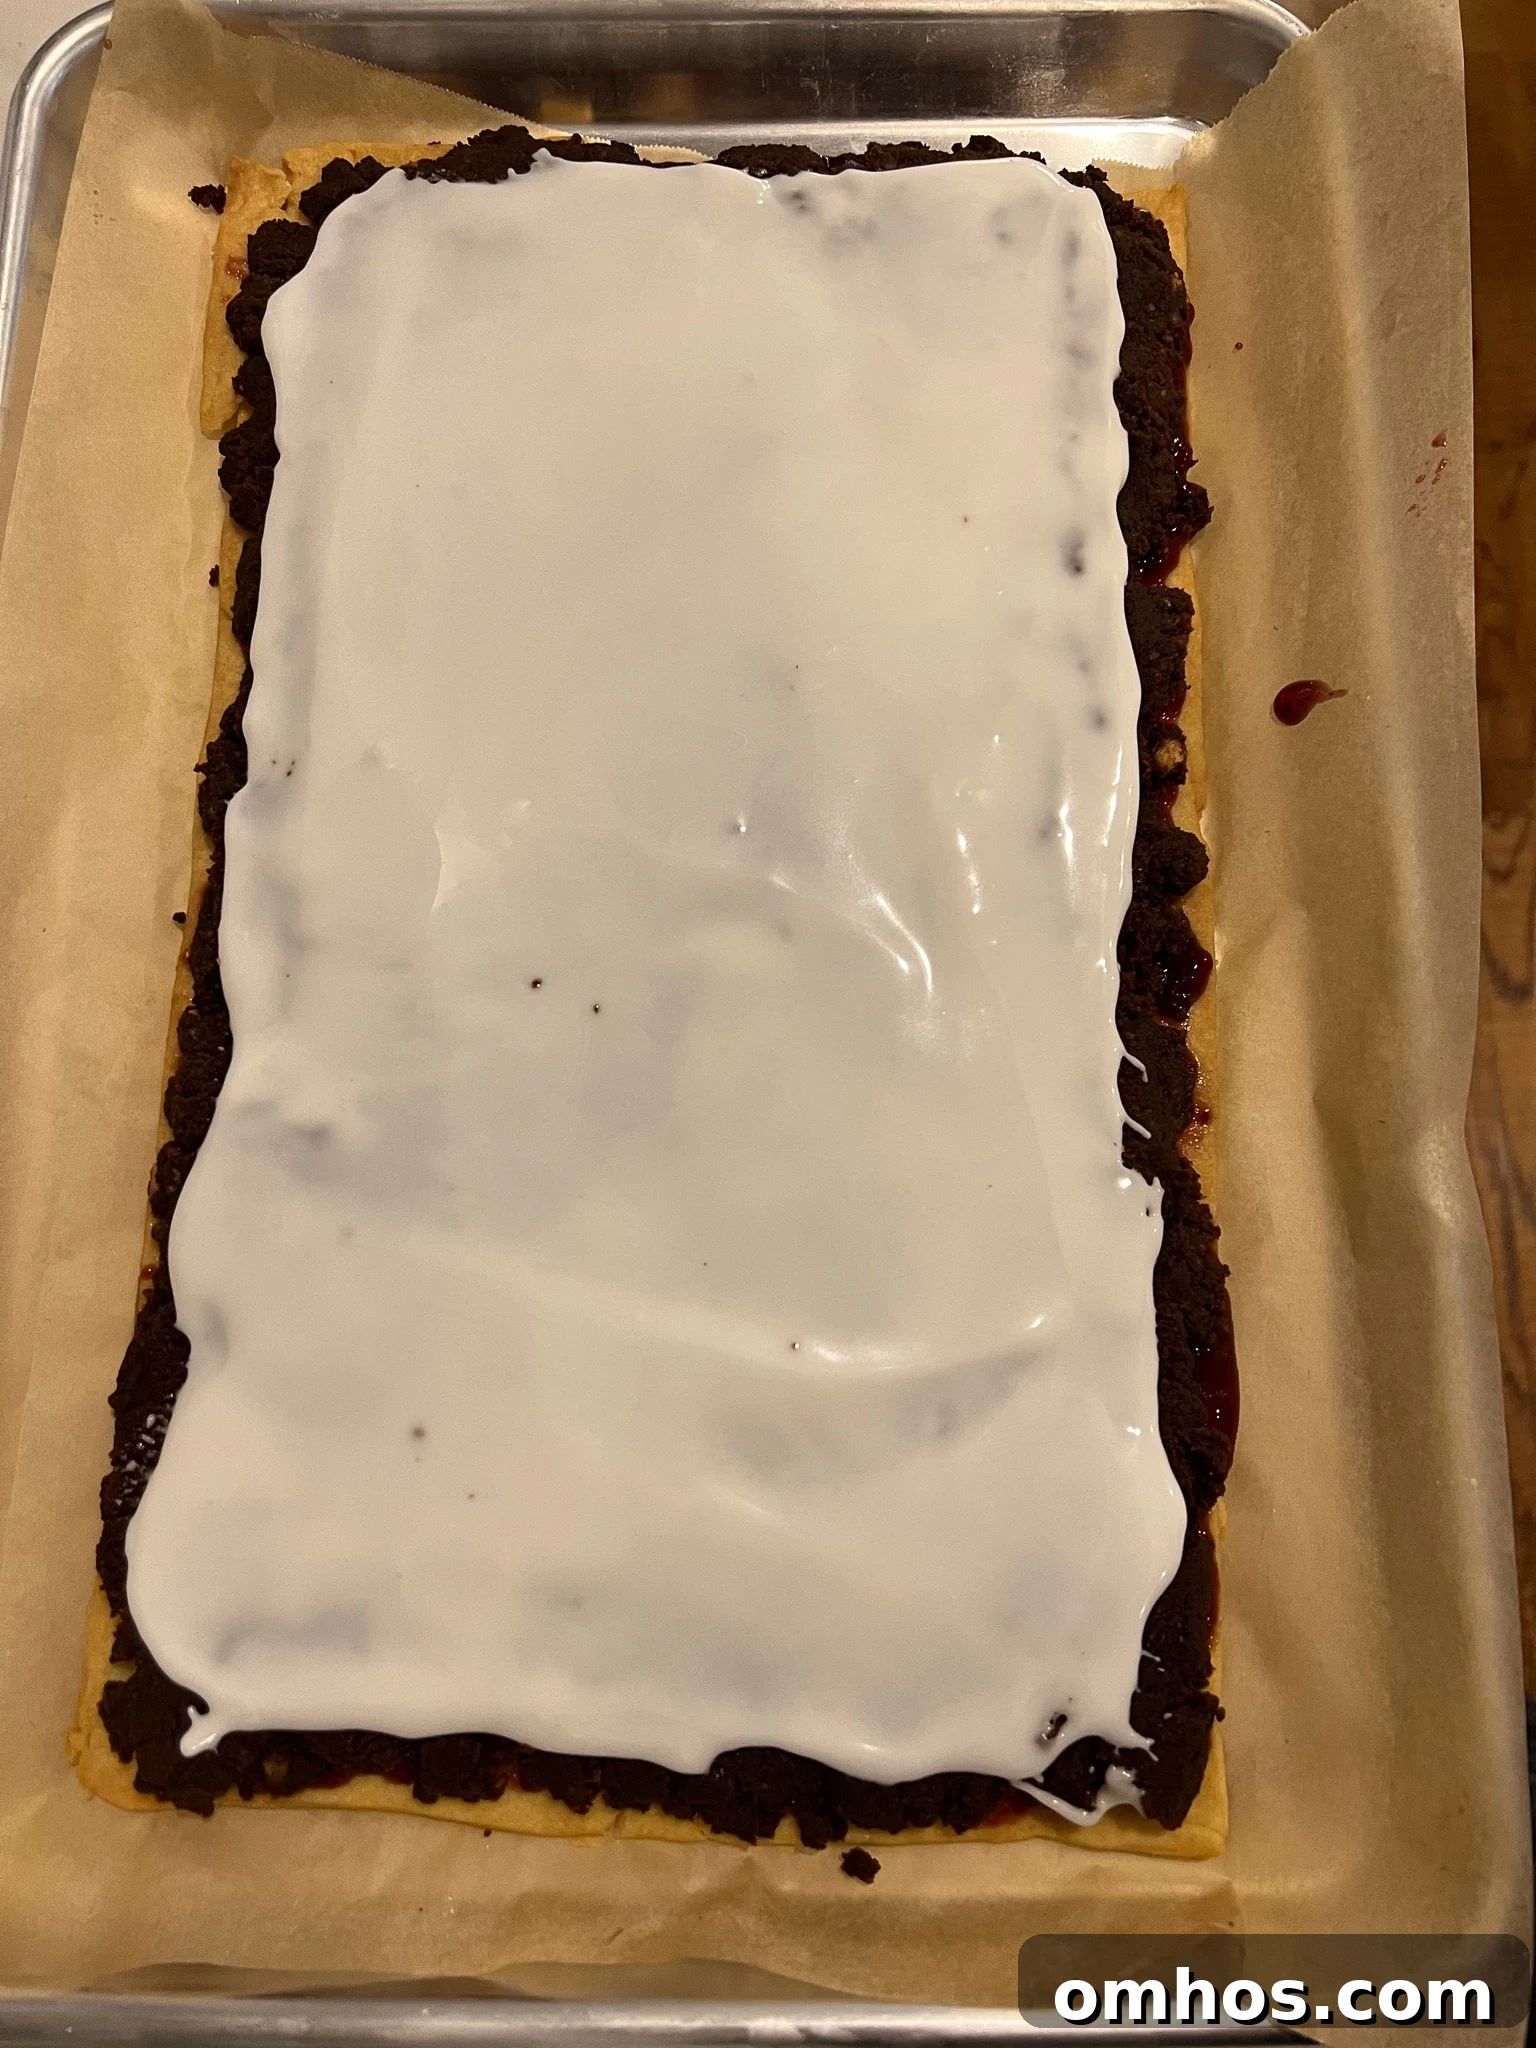
Chill the assembled pastry in the refrigerator for 15–20 minutes to help the filling set. Meanwhile whisk the powdered sugar with a splash of water until smooth to make the icing.
-
Spread the icing over the chilled chocolate layer and add sprinkles if desired. Allow the icing to set for about 15 minutes in the fridge or at room temperature.
-
Trim the edges for a neat rectangle and cut into approximately 15 squares. Serve chilled or at room temperature. Enjoy!
Dessert, Snack
Danish
buttery, chocolate, classic, danish pastry, decadent, icing, leftovers, rich, shortcrust pastry, traditional
Intermediate