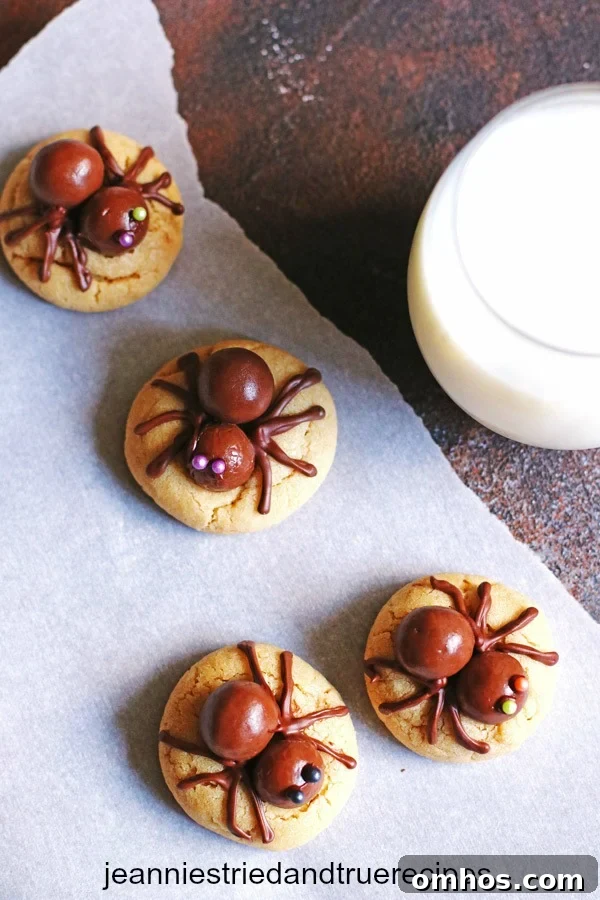
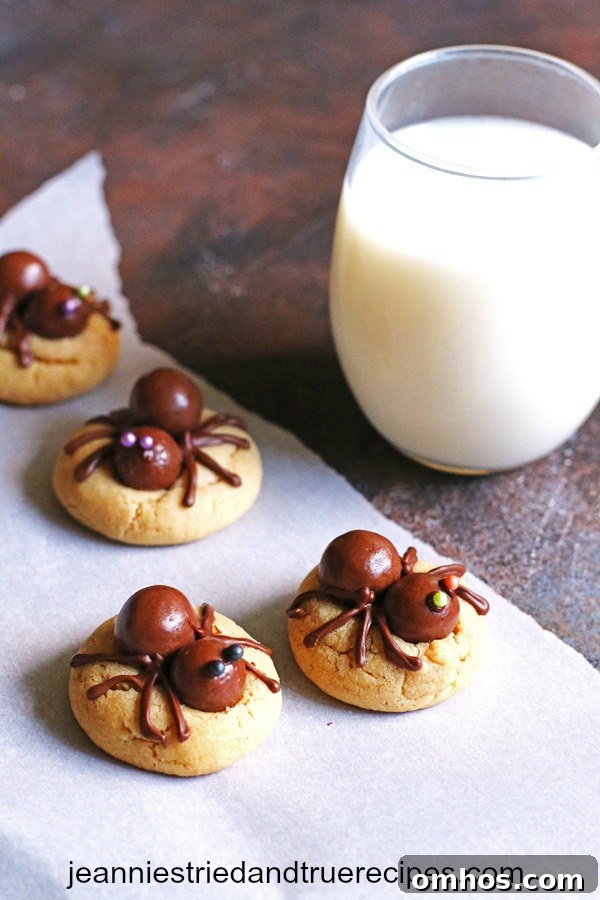
Spider Cookies are a fun Halloween treat: soft peanut butter cookies topped with chocolate candies and decorated to look like spooky, edible spiders.
With Halloween approaching, these Spider Cookies are one of my favorite seasonal treats to make for family and friends. They’re simple to prepare, full of peanut butter flavor, and delightfully festive. The cookie base comes from a trusted peanut butter cookie recipe popularized by Sally’s Baking Addiction — an important step in that recipe is chilling the dough.
I’ll admit: these are the only spiders I enjoy. The candy “spiders” are cute and tasty, and they’re far easier to handle than real ones. The peanut butter cookie is soft and thick when made properly, and the chocolate decorations give each cookie a playful, spooky finish.
Why chill the dough?
Chilling the dough is essential. If you skip this step the cookies will spread too much and turn out flat. Chill the dough for at least three hours; you can refrigerate it up to two days. Allowing the dough to rest not only prevents excessive spreading but also deepens the flavor as the ingredients meld together. Yes, it requires patience, but the result is worth it: soft, thick, more flavorful peanut butter cookies.
Ingredient List
- 1 cup unsalted butter, softened
- 1 cup granulated sugar
- 3/4 cup light brown sugar
- 2 large eggs, room temperature
- 2 teaspoons vanilla extract
- 1 cup creamy peanut butter
- 3 cups + 2 tablespoons all-purpose flour
- 1 teaspoon baking soda
- 1 teaspoon baking powder
- 1/2 teaspoon salt
- 1 box Whopper candies (12-ounce carton)
- 3/4 cup chocolate chips, melted
- Small colored sprinkles (for the eyes) or a dot of melted chocolate
If you can’t find tiny sprinkles for the eyes, use a small dot of melted chocolate to hold the eyes in place. Tweezers or a toothpick make placing the tiny sprinkles much easier.
How to make Spider Cookies
Make the cookie dough
In a stand mixer or with a hand mixer, cream together the softened butter, granulated sugar, and brown sugar on medium speed until smooth. Add the eggs one at a time, beating well after each addition. Scrape down the bowl as needed. Mix in the vanilla extract and creamy peanut butter until combined.
In a separate bowl, whisk the all-purpose flour, baking soda, baking powder, and salt. Add the dry ingredients to the wet mixture in small increments on low speed, mixing just until incorporated. This prevents flour from puffing out of the bowl and ensures even mixing.
Cover the dough tightly and refrigerate for at least three hours, or up to two days. Before baking, remove the dough from the refrigerator and let it sit on the counter about ten minutes while you preheat the oven so it softens slightly.
Bake the cookies
Preheat the oven to 350°F (175°C). Line baking sheets with parchment paper or silicone baking mats for easier cleanup and more even browning.
Portion the dough into roughly one-tablespoon balls. A small cookie scoop works well; roll each portion between your palms to create rounded dough balls for a neater cookie shape. Place dough balls about 2 inches apart on the prepared baking sheets.

Bake on the middle rack for 11–12 minutes, until the edges are lightly golden. Remove from the oven and gently press two Whopper candies onto each warm cookie, placing one slightly lower than the other to form a head and body. Let the cookies rest on the baking sheet for five minutes, then transfer to a cooling rack to cool completely before decorating.

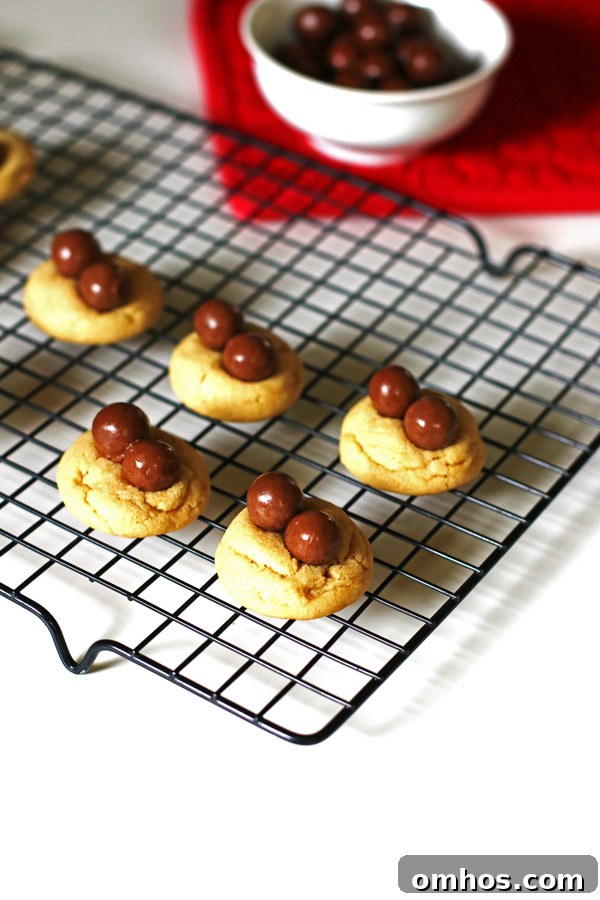
Decorating the cookies
Make the spider legs
Melt about 3/4 cup chocolate chips in a microwave-safe bowl. Heat for 30 seconds, stir, then continue in 15-second increments, stirring after each, until smooth. Transfer the melted chocolate to a piping bag fitted with a small writing tip, or use a resealable sandwich bag with the very tip snipped off.
Work from the center outward: pipe four legs on each side of the Whopper candies — two angled forward and two backward — so the spider looks balanced. If you’re using a sandwich bag, be sure to cut only a small opening so you can control the flow of chocolate.
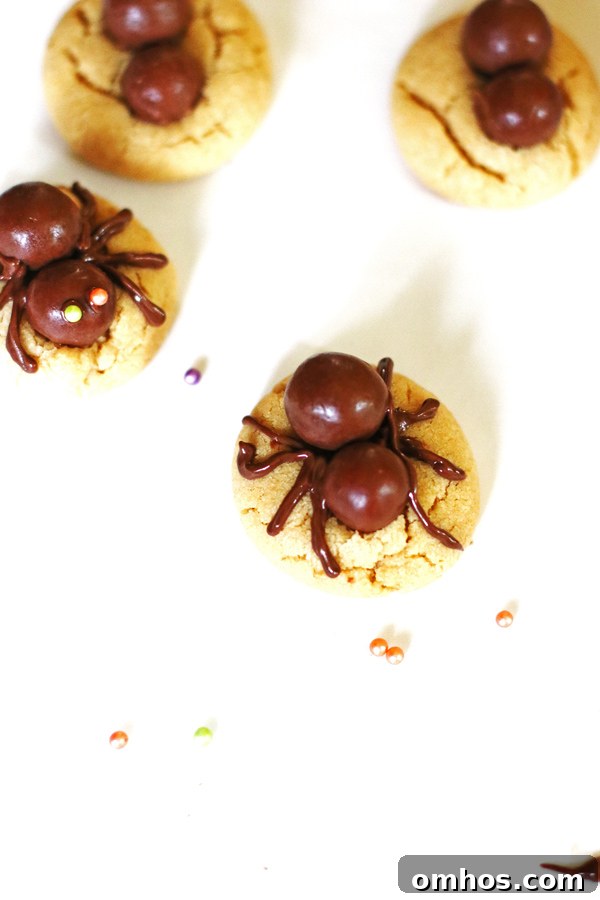
Add the eyes
For eyes, place two small dots of melted chocolate on the smaller Whopper (the “head”). Use the melted chocolate as glue and press a small colored sprinkle onto each dot. If you don’t have sprinkles, simply pipe two small chocolate dots for eyes. Tweezers or a toothpick can help position tiny sprinkles more precisely.
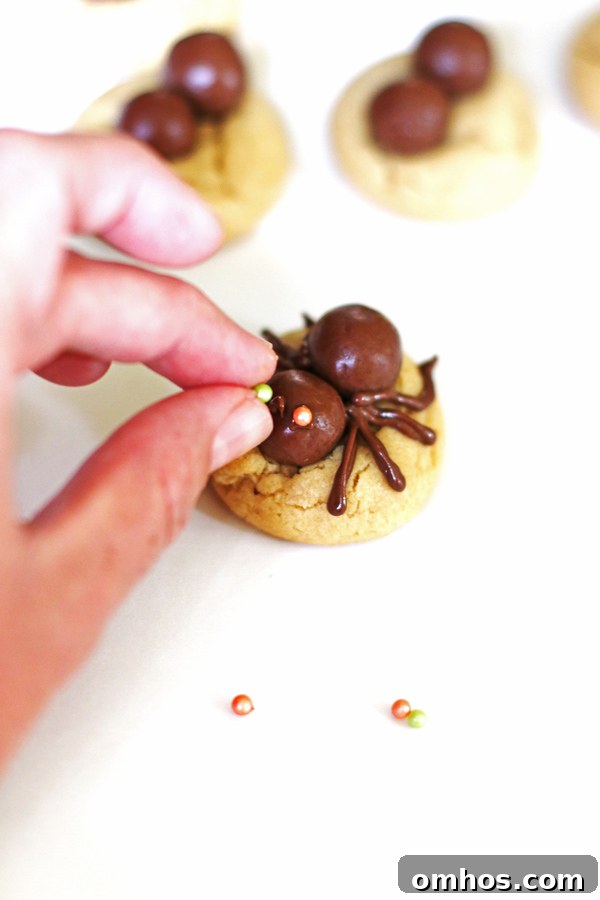
Decorating a batch typically takes about an hour, depending on how many cookies you make and whether small hands are helping. These make a fun family activity — kids especially enjoy placing the Whoppers and sprinkles.
Notes and tips
- Chill dough for at least three hours for thick, flavorful cookies; up to two days is fine.
- Let chilled dough sit 8–10 minutes at room temperature before scooping so it softens slightly.
- Round dough balls with your hands for a more uniform cookie shape.
- Sort Whopper sizes ahead of time so smaller pieces are available for “heads” — this is a great task for kids.
- Place Whoppers onto warm cookies so they adhere better as the cookies cool.
- If you lack a piping bag and tip, use a sandwich bag with a tiny corner cut off for controlled piping.
- Use a toothpick dipped in chocolate to help pick up and secure tiny sprinkles for eyes, or use tweezers for precision.
Storage: Store finished cookies in an airtight container for up to one week.
Update note: This recipe was originally posted earlier and was republished to include step-by-step directions and new photos.