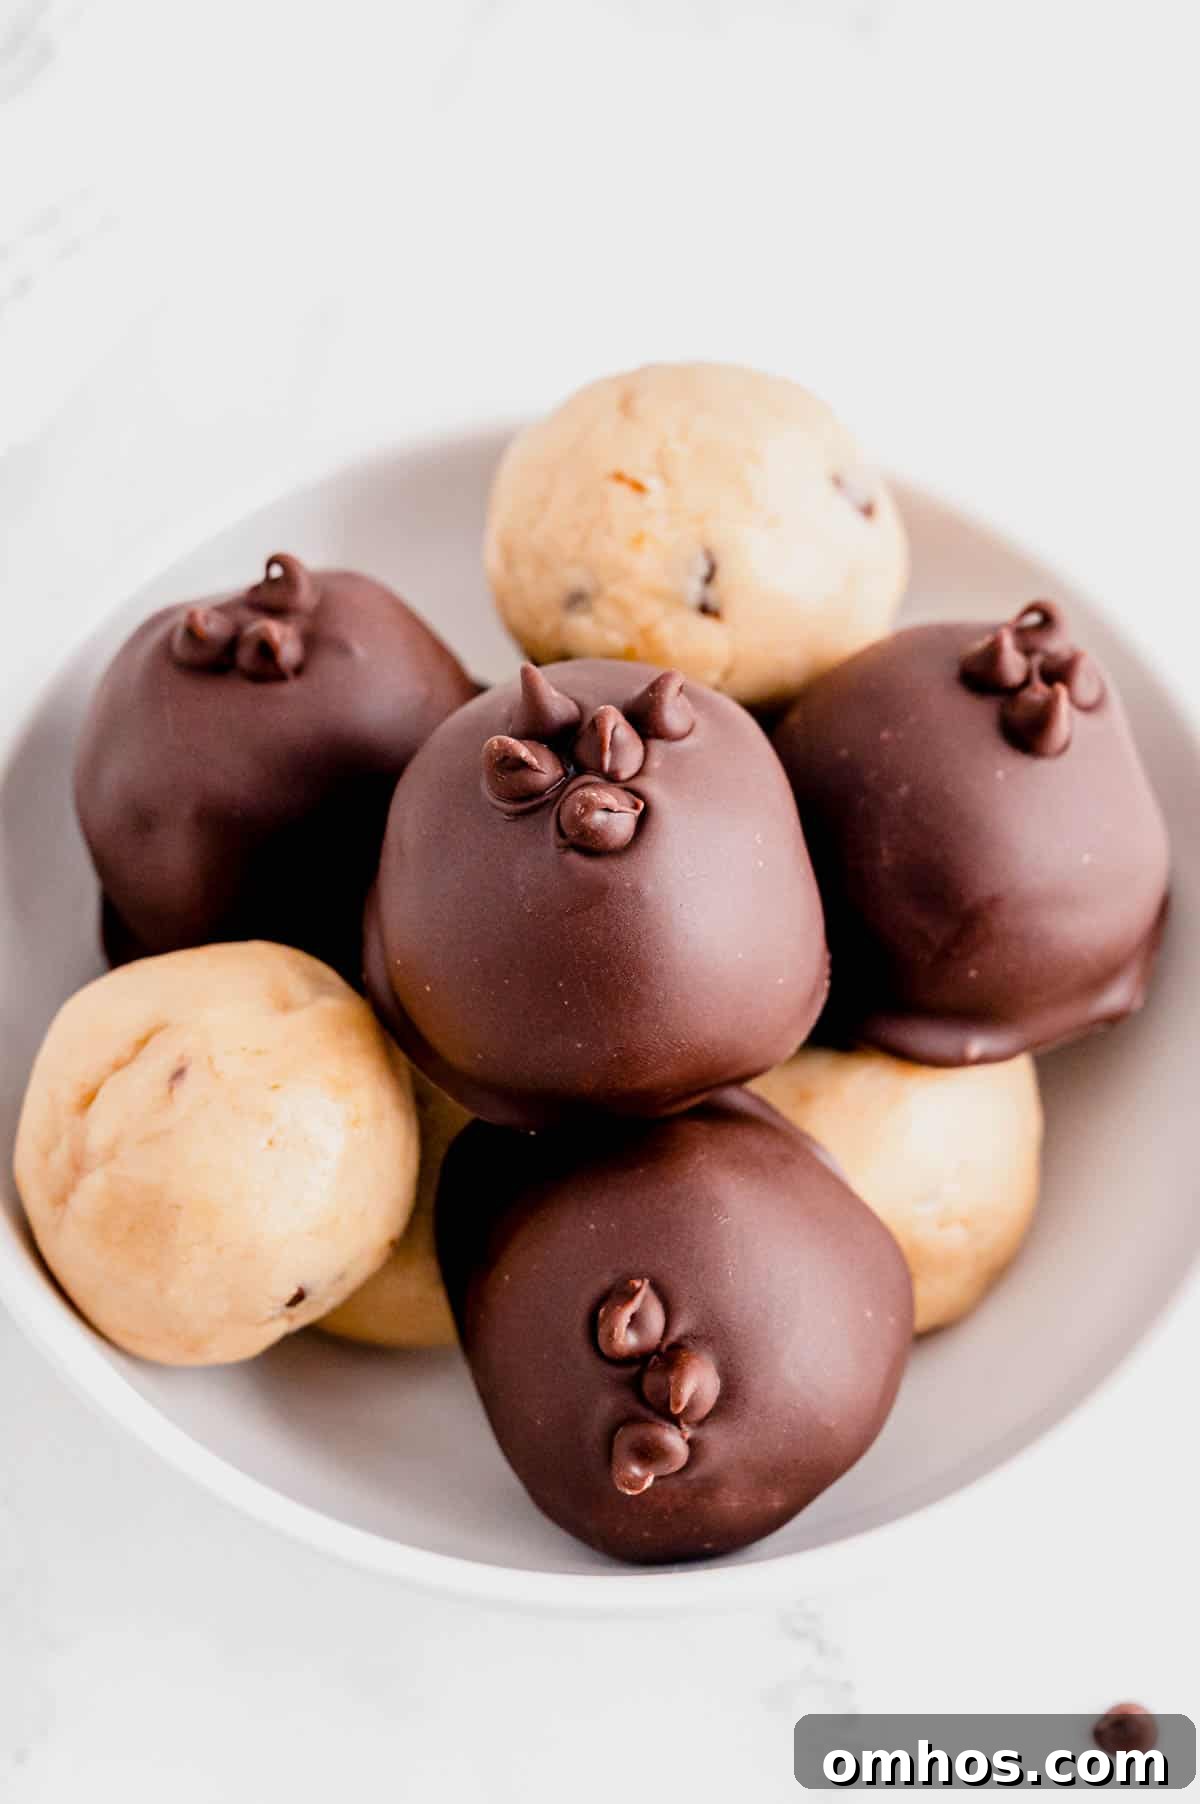
Chocolate Chip Cookie Dough Truffles are a quick, no-bake treat featuring soft, edible chocolate chip cookie dough centers enrobed in a crisp chocolate shell. They require a bit of chilling and freezing time, but the hands-on work is simple and the finished truffles keep well in the refrigerator or freezer for easy serving or gifting.
Think of the flavor of sneaking spoonfuls from the cookie dough bowl, made even more decadent by a thin chocolate coating. These truffles are perfect for preparing ahead of time, serving on dessert trays, or enjoying straight from the fridge when you want a sweet bite without baking. The centers remain tender and creamy, mini chocolate chips add bursts of chocolate throughout, and the chocolate shell gives a pleasant snap.
What to Know Before You Start
- No-bake dessert: Only a short heat treatment of the flour is needed so the dough is safe to eat.
- Soft centers and snappy shells: The interior stays creamy while the outer coating adds texture and visual appeal.
- Minimal active time: Most of the recipe time is chilling and freezing rather than active preparation.
- Make-ahead friendly: These truffles store well in the fridge and freezer, ideal for parties and gifting.
- Easy to coat: Once chilled or frozen, the dough balls are forgiving to dip—even without professional tools.
- Mini chips work best: They distribute evenly and keep the dough smooth for rolling.
- Optional pops: For party-style treats, insert sticks before freezing and dip as directed for cookie dough pops.
Why Heat Treat the Flour?
Because the cookie dough in these truffles is not baked, raw flour must be heat treated to make it safe to eat. This is a quick, simple step: heat the flour until it reaches a safe temperature, then cool it completely before combining it into the dough.
The easiest way is to microwave the flour in short bursts, stirring between intervals, for about 1½ to 2 minutes total until it is warmed through. Let it cool before mixing so it won’t melt the butter or sweetened condensed milk in the dough.
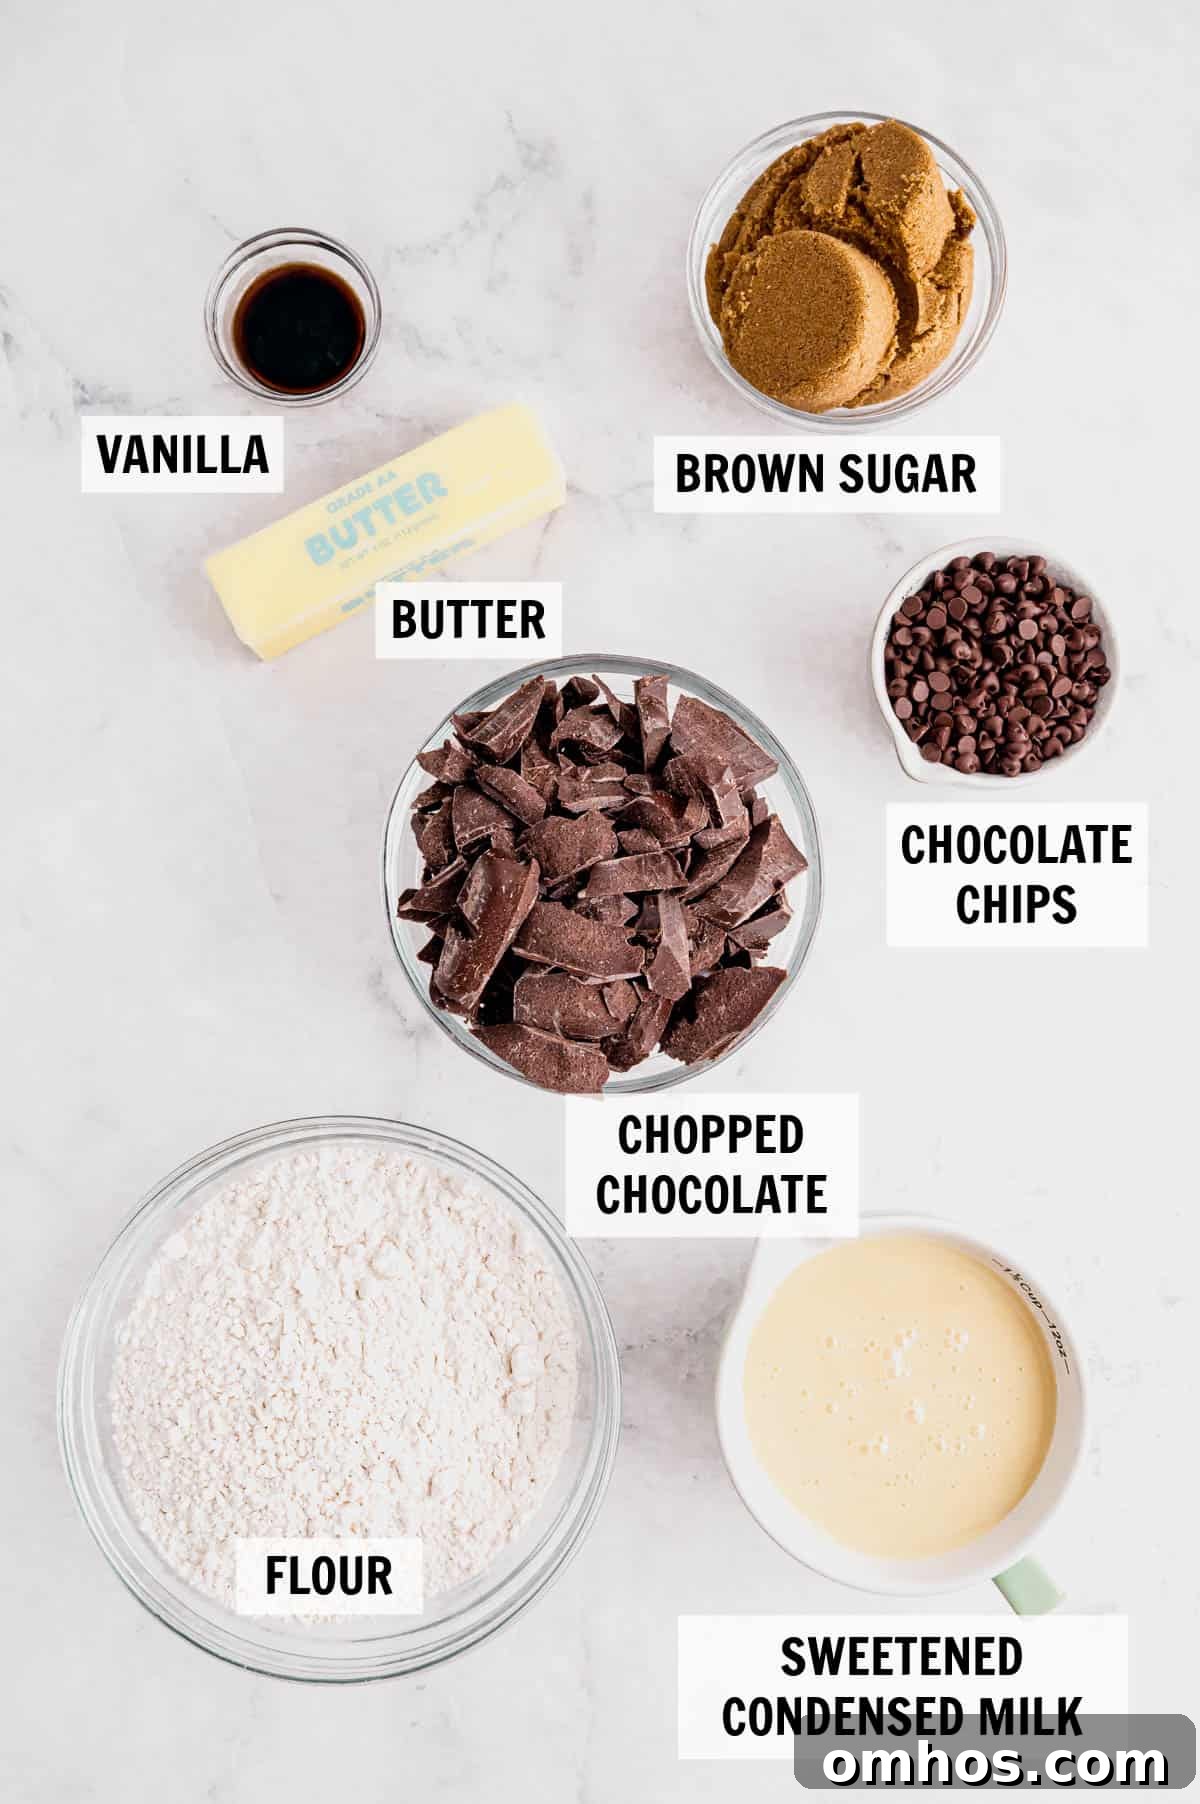
Ingredients You’ll Need
- All-purpose flour: Heat treated to make the dough edible.
- Unsalted butter: Room temperature for easy creaming and classic flavor.
- Light brown sugar: Adds sweetness and a touch of caramel flavor.
- Sweetened condensed milk: Binds the dough and keeps it moist and creamy.
- Vanilla extract: Enhances the cookie dough flavor.
- Mini semisweet chocolate chips: Best for even distribution and smooth texture.
- Semisweet or bittersweet chocolate: Coarsely chopped for the outer coating.
- Extra mini chips (optional): For garnish while the coating is still wet.
How to Make Chocolate Chip Cookie Dough Truffles
This recipe follows a straightforward mix, chill, shape, freeze, and dip method. Most of the time is inactive, allowing the dough to firm up so the truffles hold their shape while dipping.
Step 1: Heat treat the flour
Place the flour in a microwave-safe bowl and heat in 30-second bursts, stirring between intervals, until the flour reaches a warm temperature for a total of about 1½ to 2 minutes. Allow it to cool completely before using.
Pro tip: Heat treating is essential for safety—don’t skip this step.
Step 2: Make the cookie dough
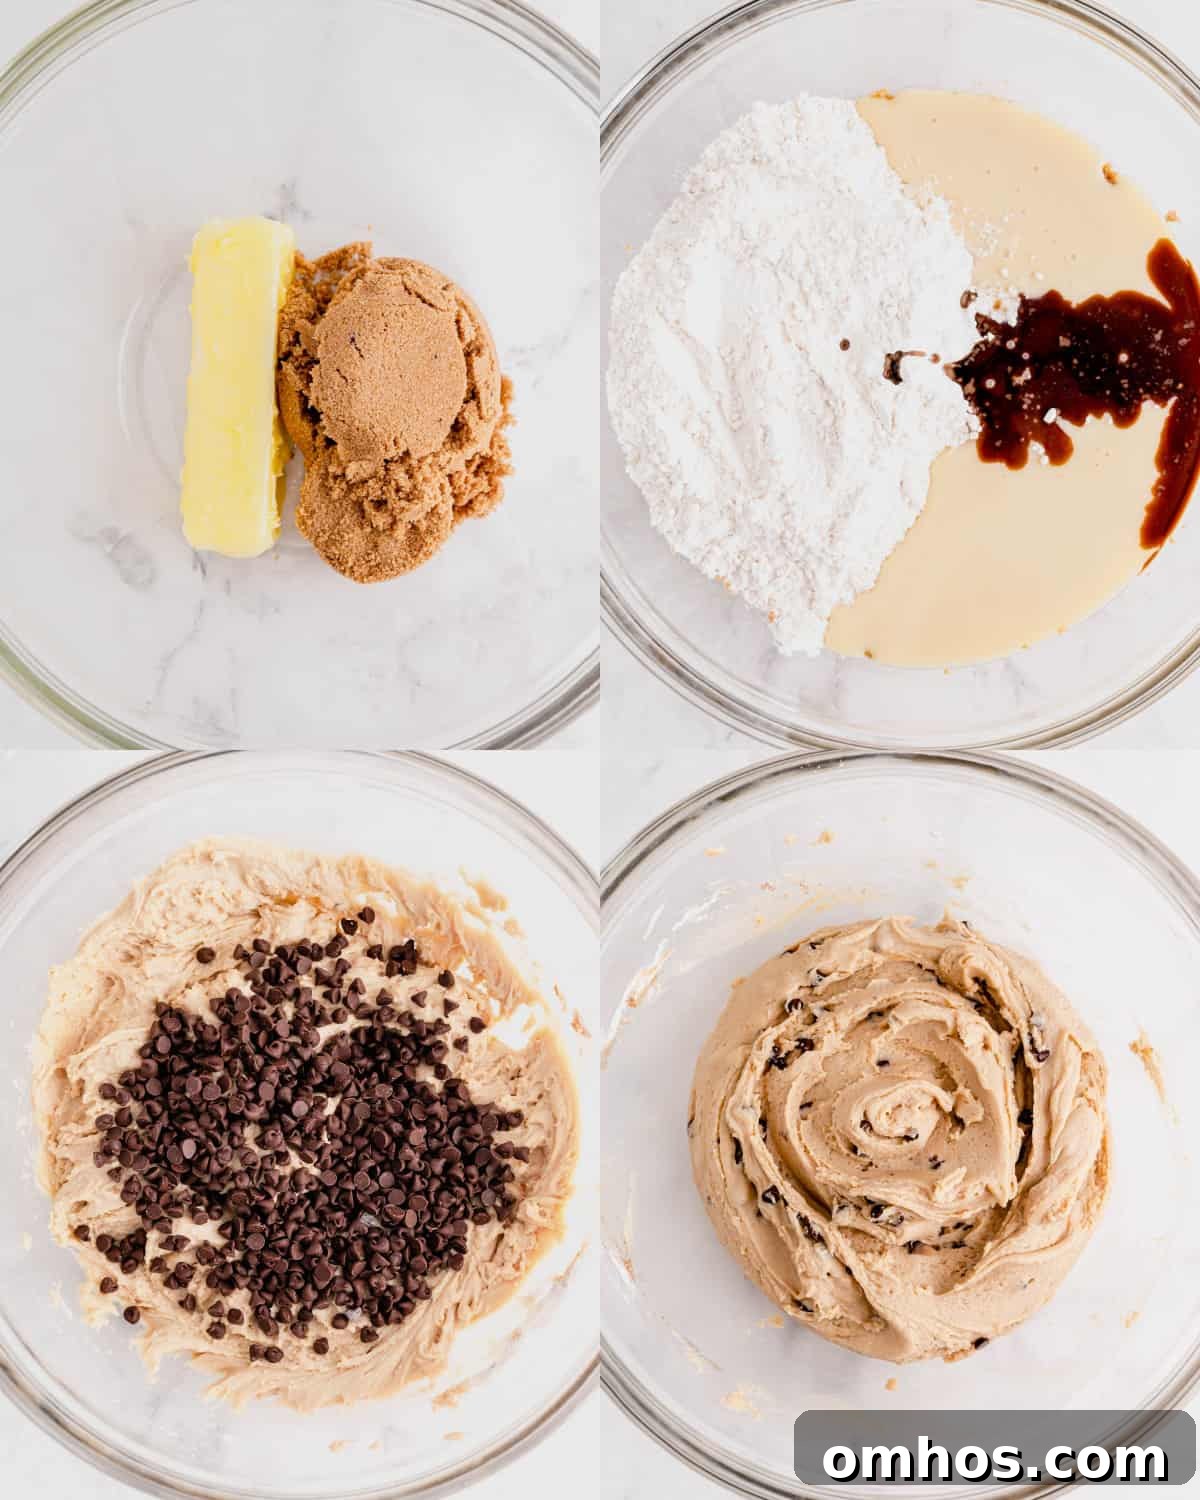
Cream the room-temperature butter and brown sugar until light and fluffy. Add the cooled, heat-treated flour, sweetened condensed milk, and vanilla. Mix until a soft dough forms, then fold in the mini chocolate chips. Cover and refrigerate for about 30 minutes or until the dough is firm enough to scoop and shape.
Pro tip: If the dough is still sticky after 30 minutes, chill it a bit longer so it’s easier to roll.
Step 3: Roll the truffles
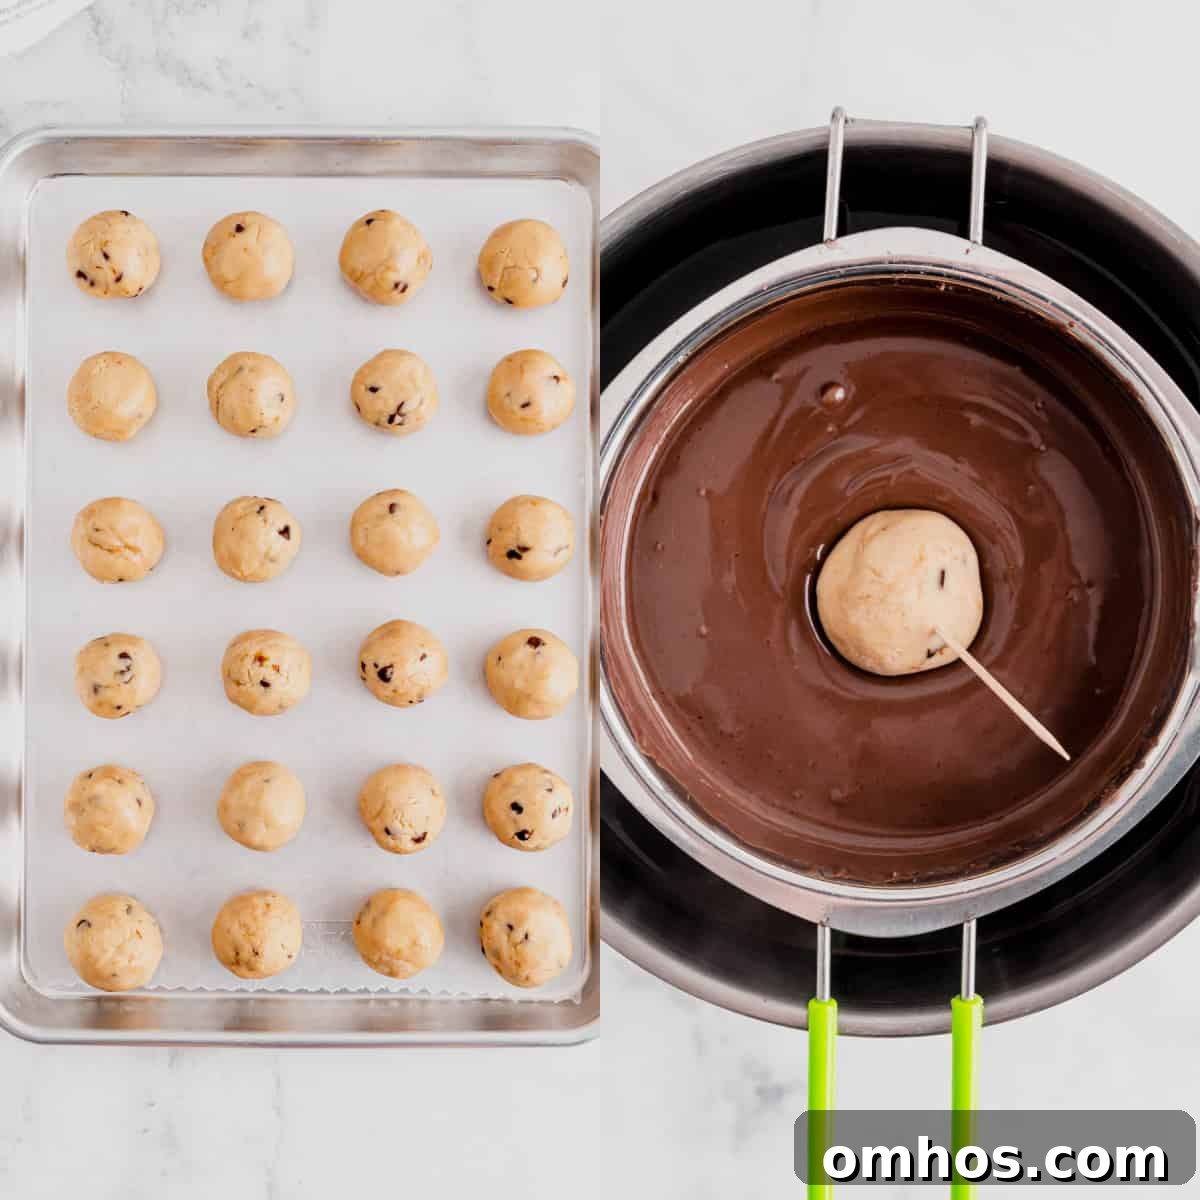
Scoop the chilled dough into roughly 1 to 1½-inch balls, using a cookie scoop or spoon for even sizing. Roll quickly between your hands and place the balls on a wax paper–lined tray. Slightly damp hands will prevent sticking.
Step 4: Freeze until firm
Freeze the tray of dough balls for 1 to 2 hours until firm. Freezing helps them hold their shape when dipped in warm chocolate.
Pro tip: If you plan cookie dough pops, insert sticks before freezing so they set securely in the centers.
Step 5: Melt the chocolate
Melt the chopped coating chocolate gently in a heatproof bowl set over simmering water, or use short microwave intervals, stirring often. If the chocolate is too thick, stir in a teaspoon of coconut oil or allow it to cool slightly for easier dipping.
Step 6: Dip the truffles
Working with the frozen balls, use a fork or dipping tool to lower each into the melted chocolate, fully coating it. Lift and tap to remove excess chocolate, then set on wax paper. Sprinkle with extra mini chips or other toppings immediately before the coating sets.
Pro tip: Work in small batches and keep remaining truffles in the freezer so they stay cold while you dip.
Step 7: Chill before serving
Once dipped, refrigerate the truffles until the chocolate shell is firm. Serve chilled or allow them to sit at room temperature a few minutes for a softer center.
Expert Tips
- Chop baking chocolate: Coarsely chopped couverture or baking chocolate melts smoother and provides a better coating than chocolate chips.
- Keep dough very cold: Cold dough is easier to coat and yields cleaner results.
- Let excess chocolate drip: Tapping the fork reduces puddles and creates neater bottoms.
- Add toppings quickly: Apply sprinkles or chips right after dipping, before the glaze sets.
- No special tools required: A fork or spoon works fine for dipping.
Variations and Substitutions
- Use semisweet, dark, or milk chocolate for different sweetness levels.
- Make cookie dough pops by inserting sticks into dough balls before freezing.
- Add sprinkles, toffee, chopped nuts, or mini peanut butter chips for variety.
- Drizzle with white chocolate for a bakery-style finish.
- Sprinkle flaky sea salt on top for a sweet-and-salty contrast with darker coatings.
Serving Ideas
These truffles are ideal for holiday cookie trays, birthday tables, showers, or as small gifts. They travel well in airtight containers and are perfect for serving cold from the fridge or semi-frozen for a firmer bite.
Storage and Freezing
Refrigerator: Store truffles in an airtight container in the refrigerator for up to one week.
Freezer: Freeze in a single layer in a freezer-safe container or bag for up to three months. You can stack them once they are firm to avoid sticking.
Serving from frozen: Eat straight from the freezer for a firm, ice-cream-like texture, or let them soften slightly in the refrigerator before serving for a softer center.

FAQs
Are cookie dough truffles safe to eat?
Yes—provided you heat treat the flour before using it. That step makes the flour safe to eat while keeping the classic soft cookie dough texture.
Do cookie dough truffles need refrigeration?
Yes. Because the filling contains butter and sweetened condensed milk, store truffles in the refrigerator. They can sit out briefly for serving, but should be returned to cold storage afterward.
Can I freeze cookie dough truffles?
Yes. Freeze them for up to three months in an airtight container. Thaw slightly in the refrigerator if you prefer a softer center.
Why is my chocolate too thick for dipping?
Chocolate can thicken if overheated or if using chocolate chips instead of baking chocolate. Use chopped baking chocolate for a smoother melt, and add a small amount of coconut oil or let the chocolate cool slightly to thin it for dipping.
Can I make cookie dough pops?
Yes—insert lollipop sticks into chilled dough balls before freezing, then dip as directed. Keeping the dough very cold helps the sticks stay secure during dipping.