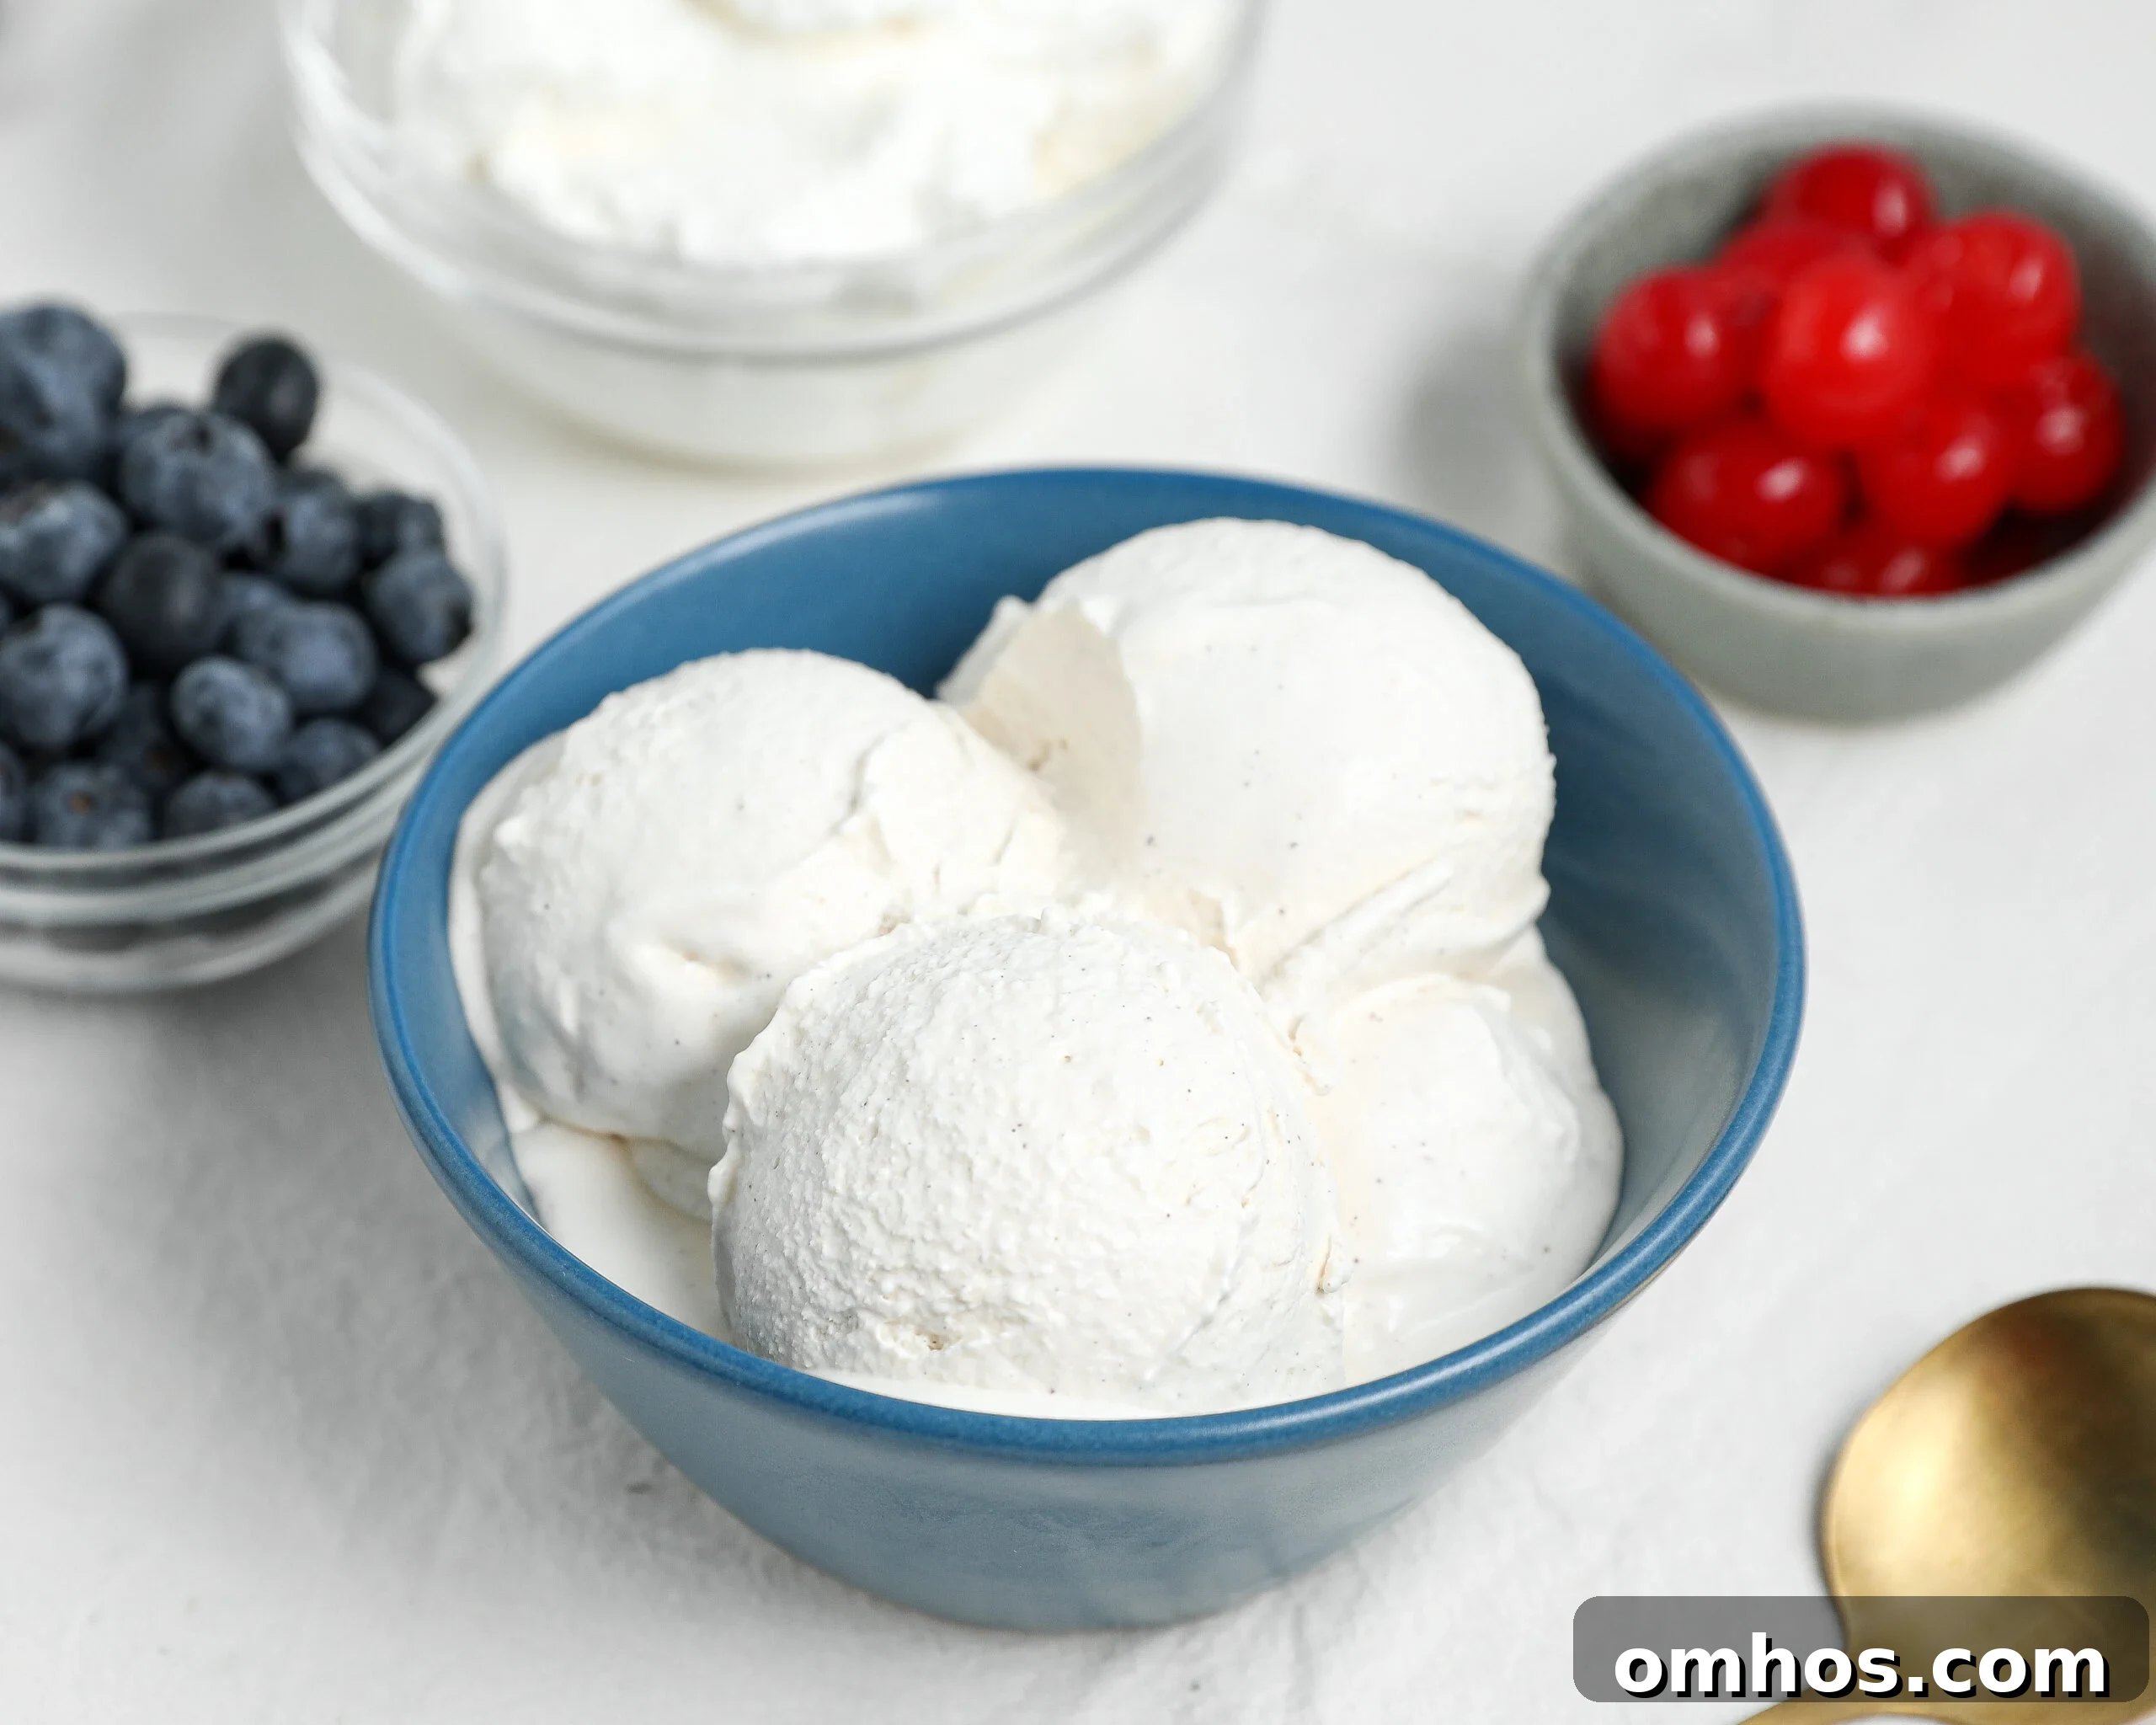
Homemade vanilla ice cream shows how a few high-quality ingredients can make an extraordinary dessert. Made from heavy cream, whole milk, egg yolks, sugar, a pinch of salt, and real vanilla, this classic custard-style recipe churns into a luxuriously smooth, creamy ice cream that stands on its own or complements pies, brownies, cobblers, and fruit crisps.

I Never Regret Making a Batch of This
Making vanilla ice cream from scratch is worth the little extra effort. The first time you do it you’ll notice the texture is creamier than store-bought and the vanilla flavor is deeper and more fragrant. Fresh custard-style ice cream has a richness that pairs beautifully with warm desserts, summer fruit, or just a simple cone on a hot day. Often I plan to serve it with dessert, and then I find myself sneaking a spoonful right from the freezer—it’s that good.
Why You’ll Love This Recipe
- Rich, smooth custard texture thanks to egg yolks and cream.
- Real vanilla flavor — use vanilla bean paste for visible specks or pure extract for convenience.
- Custard-style base yields a more satisfying mouthfeel than Philadelphia-style recipes.
- Versatile: delicious on its own or as a topping for pies, cakes, cobblers, brownies, and crisps.
- Easy to make at home with a standard ice cream maker or a no-churn method if needed.

Ingredients Needed
- Heavy cream: 1 1/2 cups — creates the signature creamy texture.
- Whole milk: 1 cup — balances richness and keeps the custard fluid enough to churn.
- Egg yolks: 4 — form the custard base and improve texture.
- Granulated sugar: 1 cup — sweetens and helps control freezing.
- Vanilla bean paste or vanilla extract: 2 teaspoons paste (or 3 teaspoons extract) — for true vanilla flavor.
- Pinch of salt: enhances the sweetness and rounds out flavor.
Equipment
- Mixing bowl
- Whisk
- Medium saucepan
- Instant-read thermometer (helpful)
- Ice cream maker (or a shallow freezer-safe container for no-churn)
- Freezer-safe airtight container
How To Make Homemade Vanilla Ice Cream
Make the Custard Base
- Whisk the egg yolks and sugar together in a mixing bowl until pale yellow and slightly thickened. This step dissolves the sugar into the yolks and helps stabilize the custard.
Warm the Dairy
- Combine the heavy cream, whole milk, and a pinch of salt in a medium saucepan and heat over medium-low heat. Warm until the mixture is steaming and hot to the touch, but not boiling.
Temper the Eggs
- Slowly add a ladle of the warm milk mixture to the egg yolks while whisking constantly. Repeat with a second ladle, then gradually whisk in the rest. Tempering raises the yolks’ temperature without scrambling them.
Cook the Custard
- Return the tempered mixture to the saucepan. Add the vanilla, then cook over low heat, stirring constantly and scraping the bottom and sides, until the custard thickens and reaches about 165°F (74°C). Do not let it boil.
Chill
- Pour the custard through a fine-mesh strainer into a clean bowl to remove any cooked bits. Cover and refrigerate until the custard is completely cold. This is essential — the base must be very cold before churning for the best texture.
Churn
- Use your ice cream maker according to manufacturer instructions. Pour in the chilled custard and churn until thick and creamy. If you don’t have a machine, pour the mixture into a shallow container and freeze, stirring vigorously every 30 minutes for several hours to break up ice crystals.
Freeze
- Transfer the churned ice cream to a freezer-safe, airtight container. Press plastic wrap or parchment directly on the surface before sealing to reduce ice crystals. Freeze for 2–4 hours until firm for scooping.
Storage & Freezing
- Store homemade vanilla ice cream in an airtight container for up to two weeks for the best texture and flavor.
- If the ice cream becomes very firm, let it sit at room temperature for 5–10 minutes to soften slightly before scooping.
- Using a shallow container and minimizing the amount of air in the container helps prevent ice crystals.
Notes & Tips
- Use room-temperature egg yolks for easier mixing and faster incorporation when tempering.
- Never let the custard boil; boiling can cause the eggs to curdle and ruin the texture.
- Stir and scrape the saucepan constantly while cooking so the custard heats evenly.
- Vanilla bean paste gives more pronounced vanilla flavor and little black specks that look beautiful in the finished ice cream. Pure vanilla extract is a fine alternative.
- For a firmer scoop, chill the churned ice cream in the freezer for an additional 2 to 4 hours before serving.
Nutrition (approximate per serving)
- Calories: 601 kcal
- Carbohydrates: 57 g
- Protein: 7 g
- Fat: 39 g (Saturated fat: 23 g)
- Cholesterol: 303 mg
Frequently Asked Questions
Ice crystals form when the custard isn’t chilled long enough before churning or when air and moisture reach the surface during storage. Chill the base completely and store the finished ice cream in an airtight container with plastic wrap pressed to the surface to minimize crystals.
Can I make this without an ice cream maker?
Yes. Pour the well-chilled custard into a shallow freezer-safe container and freeze, stirring vigorously every 30 minutes for 3–4 hours until mostly set. This helps break up ice crystals and produces a reasonable texture without a machine.
What vanilla is best?
Vanilla bean paste gives the most intense, true vanilla flavor and pretty specks. Pure vanilla extract works well too and is convenient.
Why do I temper the eggs?
Tempering gradually brings the yolks up to temperature so they don’t scramble when combined with the hot dairy. It yields a silky smooth custard.
How long will homemade ice cream keep?
For best flavor and texture, enjoy within two weeks. Proper storage in an airtight container will slow quality loss.
Recipe author: Danielle Cochran