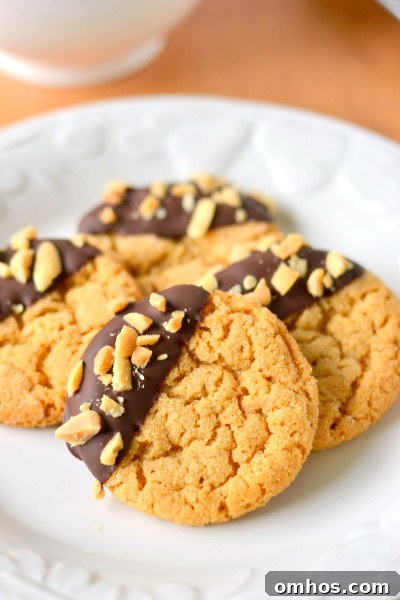
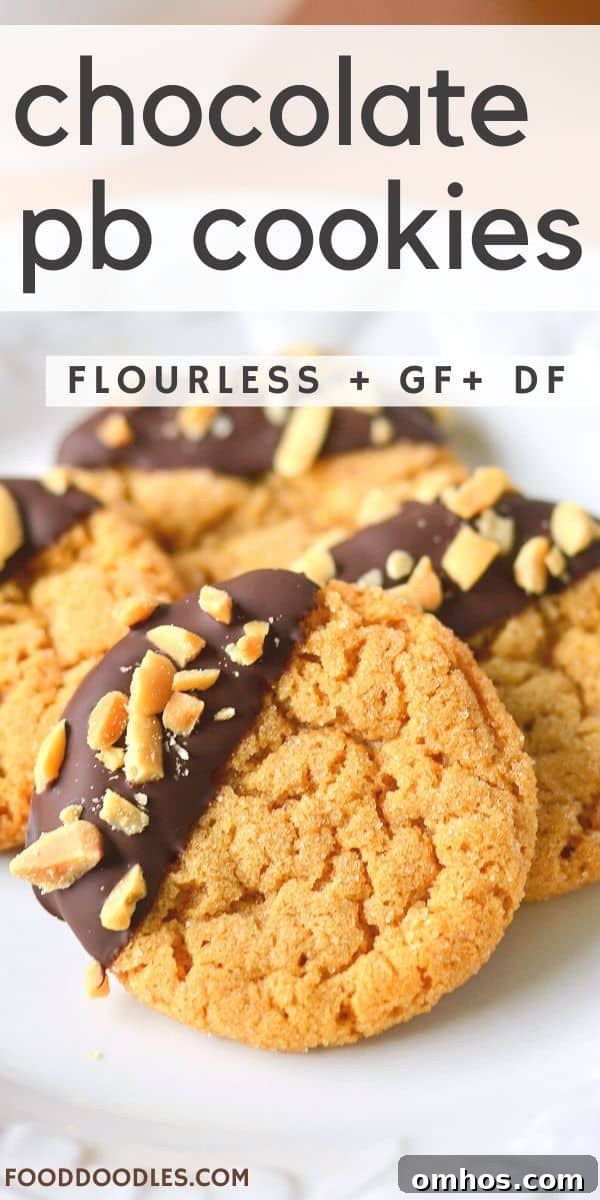
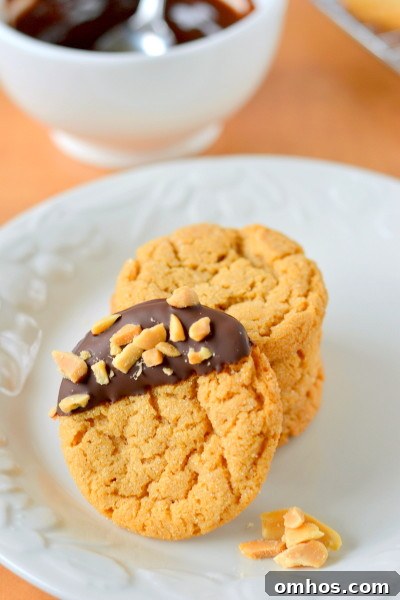
Quick, simple, and naturally grain- and gluten-free: these flourless peanut butter cookies are made with just a few pantry staples, then dipped in dark chocolate and finished with a sprinkle of crushed peanuts. They’re small, irresistible, and perfect for gifting or snacking.
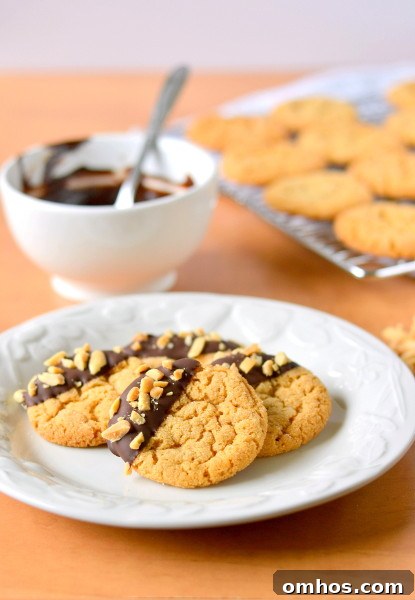
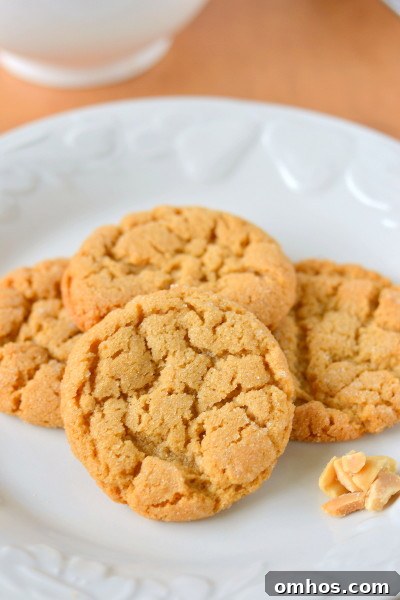
If you’ve never tried flourless peanut butter cookies, now is the time. These cookies are wonderfully simple: creamy peanut butter, an egg, sugar and a touch of baking soda and vanilla. No flour, no mixer, and no fuss. The dough is sticky, so rolling each portion in granulated sugar makes forming the little balls easy and gives a delicate crunch on the exterior after baking.
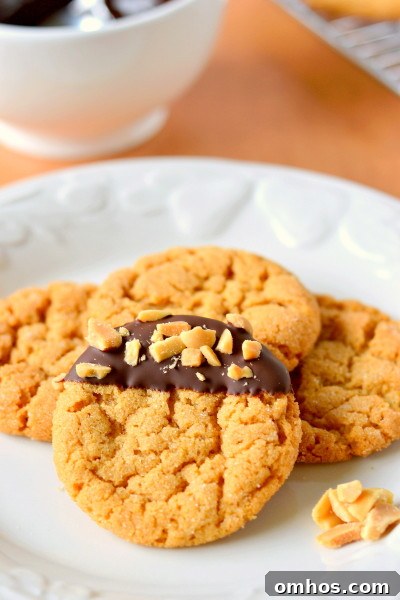
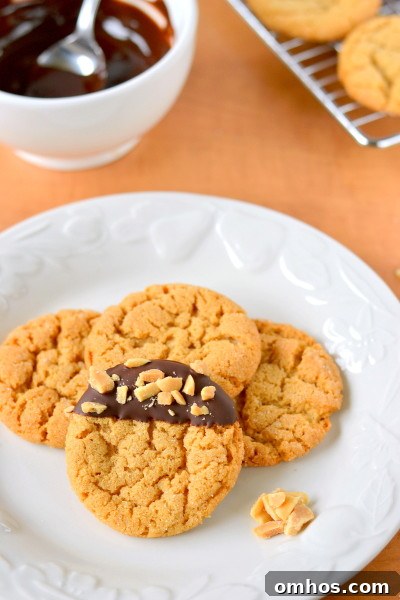
After baking and cooling, a rapid dunk in melted dark chocolate and a dusting of crushed unsalted peanuts turns a humble cookie into a refined bite. The chocolate adds contrast in both flavor and texture, while the peanuts give a pleasant crunch. You can dress them up as much or as little as you like — the base cookie is delicious on its own.
Chocolate Dipped Flourless Peanut Butter Cookies
Author: Erin Dooner
Course: Dessert
Servings: 30–40 small cookies
Prep time: 10 mins • Cook time: 16 mins • Total time: 26 mins
Ingredients
- 1 cup smooth peanut butter (use regular creamy peanut butter rather than natural varieties for best texture)
- 1 large egg
- 1 cup brown sugar
- 1/4 teaspoon salt
- 1 teaspoon baking soda
- 1 teaspoon vanilla extract
- Granulated white sugar for rolling the dough
- Dark chocolate for dipping (quantity as desired)
- Crushed unsalted peanuts for sprinkling
Instructions
- Preheat the oven to 375°F (190°C). Line a baking sheet with parchment paper or a silicone liner.
- In a medium bowl, combine the peanut butter, egg, brown sugar, salt, baking soda and vanilla. Stir until completely combined. No mixer is required — a sturdy spoon or spatula works fine.
- Use a 1/2 tablespoon scoop (or a small spoon) to portion the dough. Roll each portion into a ball, then roll the ball in granulated sugar to coat. The sugar helps shape the sticky dough and creates a slight crust after baking. If the dough is too sticky to handle, chill it briefly to firm it up.
- Place the coated dough balls about 2 inches apart on the prepared baking sheet.
- Bake for about 8 minutes, or until the cookies have puffed and the tops are cracked with just a hint of golden color around the edges. They will be soft coming out of the oven, so allow them to cool on the baking sheet until set.
- Once cooled, melt dark chocolate (using a double boiler or short bursts in the microwave, stirring frequently). Dip the cooled cookies into the melted chocolate and immediately sprinkle with crushed peanuts before the chocolate sets. Allow the chocolate to harden on a rack or a lined baking sheet.
- Store finished cookies in an airtight container at room temperature for up to a week.
Tips and Variations
- To keep the cookies dairy-free, choose a dairy-free dark chocolate and check ingredient labels for hidden dairy.
- For a sweet-and-salty finish, use crushed salted peanuts as the topping instead of unsalted.
- These cookies are intentionally small — about 1/2 tablespoon of dough each — which makes them perfect bite-sized treats. If you prefer larger cookies, increase the dough portion and adjust baking time accordingly, watching closely to avoid over-baking.
- Work with one baking sheet at a time for the most consistent results. Baking multiple sheets simultaneously can change oven airflow and produce less even cracking on top.
- If you want a smoother texture, lightly press each dough ball with the back of a fork before baking for a classic peanut-butter-cookie appearance.
Notes
These cookies are naturally gluten free because they contain no flour. To ensure they are dairy free, confirm that your peanut butter and chocolate contain no milk-derived ingredients. If you’re gifting these, they travel well in a sealed tin or box and make a thoughtful homemade present for peanut butter lovers.
Tried this recipe?
Tag the creator on social media using the handle @easywholesome or the hashtag #easywholesome to share your photos and variations.