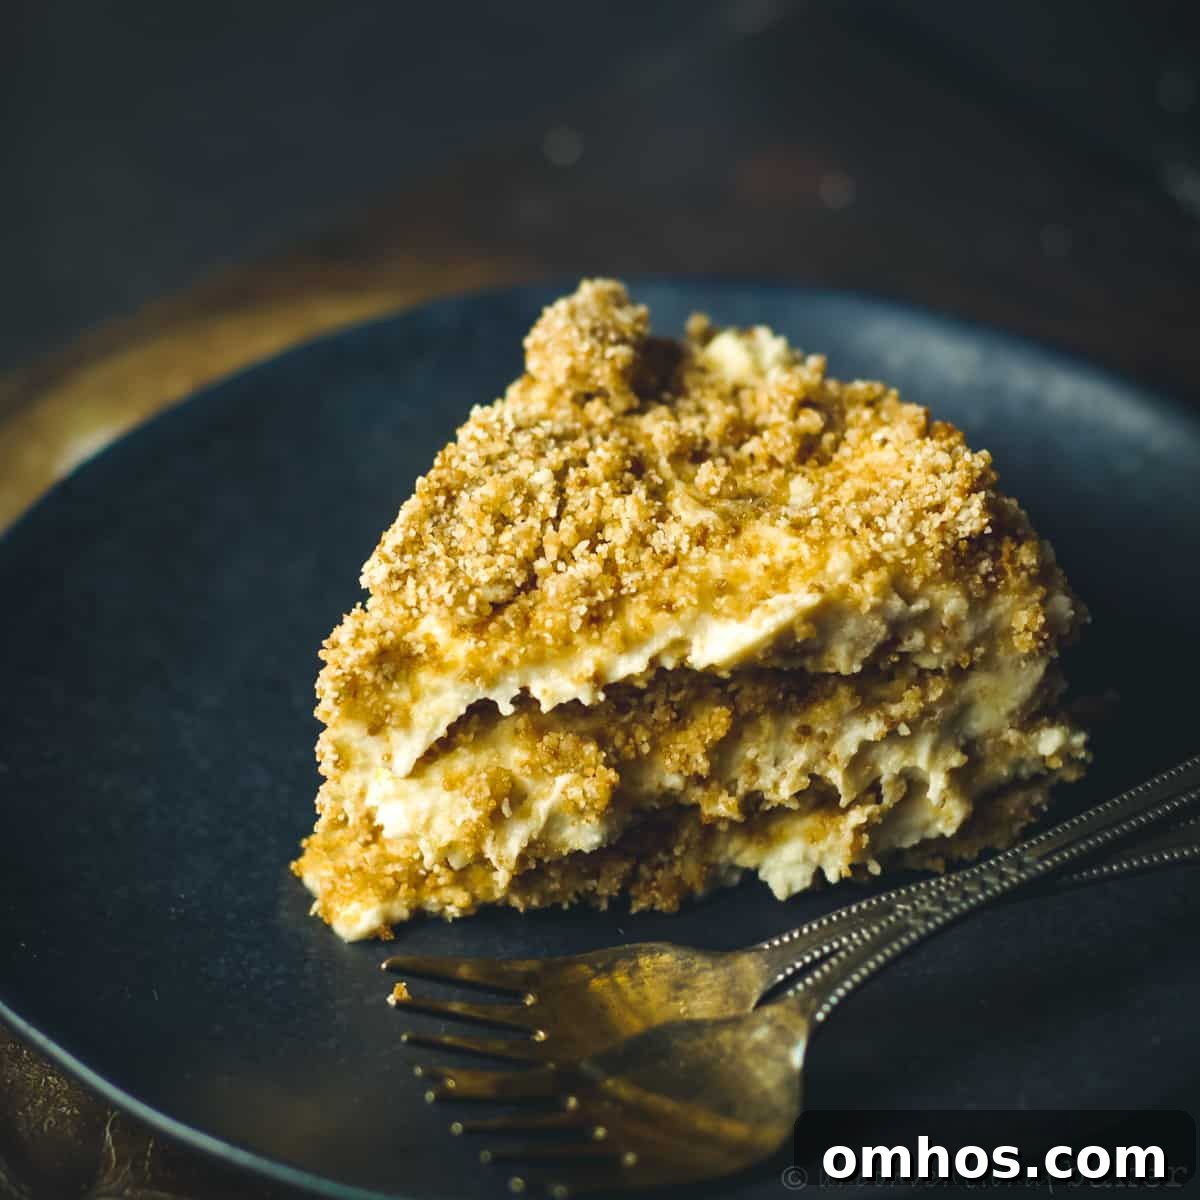
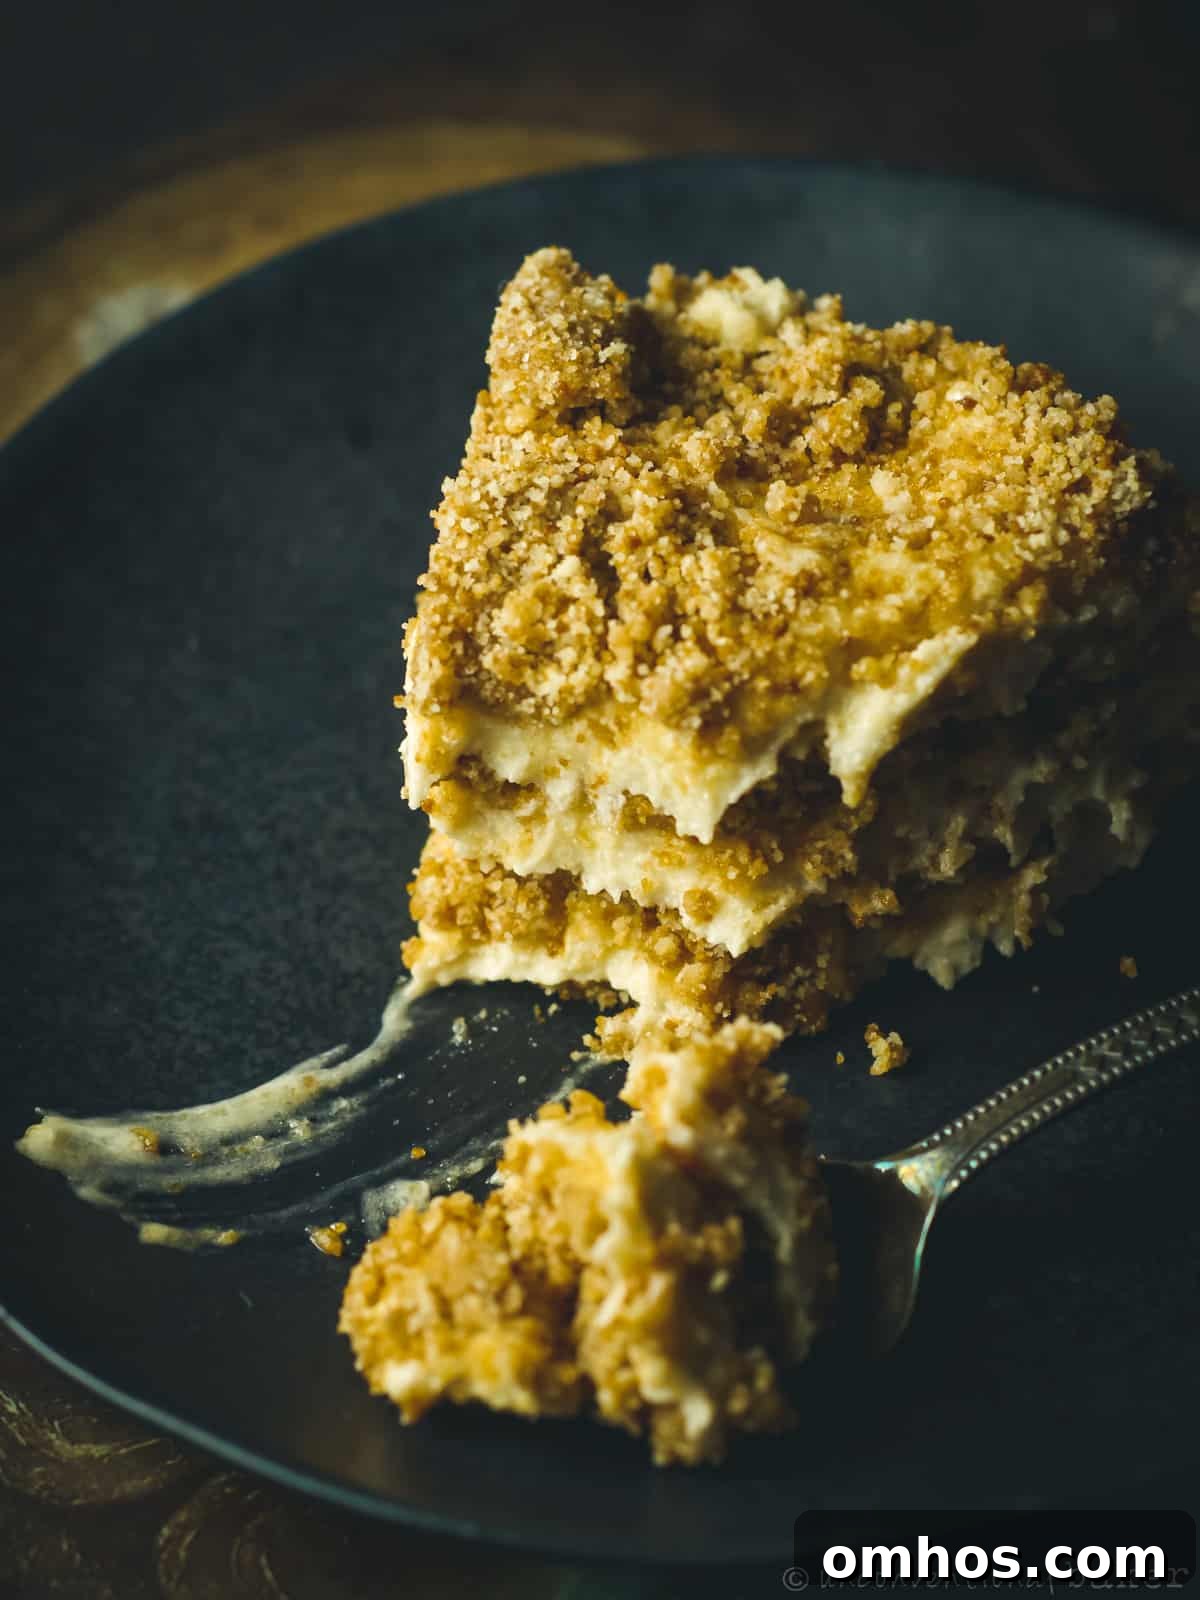
If you love the cookies-and-cream flavor profile, this no-bake cream and crumb cake is for you. The cake is built from alternating layers of crunchy crumb and tangy cream, producing a dessert that feels indulgent without requiring an oven. The vegan sour cream gives the filling a bright, fresh tang that balances the sweetness. It’s easy to assemble, sets in the fridge or freezer, and can be customized with jams, fruit, or extra chocolate for variety.
I first encountered the idea after seeing a quick cake video that used thin layers of crumbs and cream. The structure is similar to an Eastern European Medovik—alternating thin layers of cake and cream—but this version uses a cookie-like crumb instead of thin baked sponge layers and, of course, omits honey. I tried the concept with store-bought vegan sour cream and vegan butter to see how it would turn out, and it was surprisingly good. After a few tweaks I settled on a favorite version and now share that here.
This recipe is intentionally simple and approachable. I used a grain-free, gluten-free crumb blend and a cream made from vegan sour cream, melted vegan white chocolate, softened vegan butter, maple syrup, and vanilla. The white chocolate is subtle and complements the sour cream’s tang without overpowering it. You can easily adapt the layers: a thin smear of raspberry jam between layers is one of my favorite variations, but fresh berries, a citrus curd, or even a light drizzle of coffee syrup would all work.
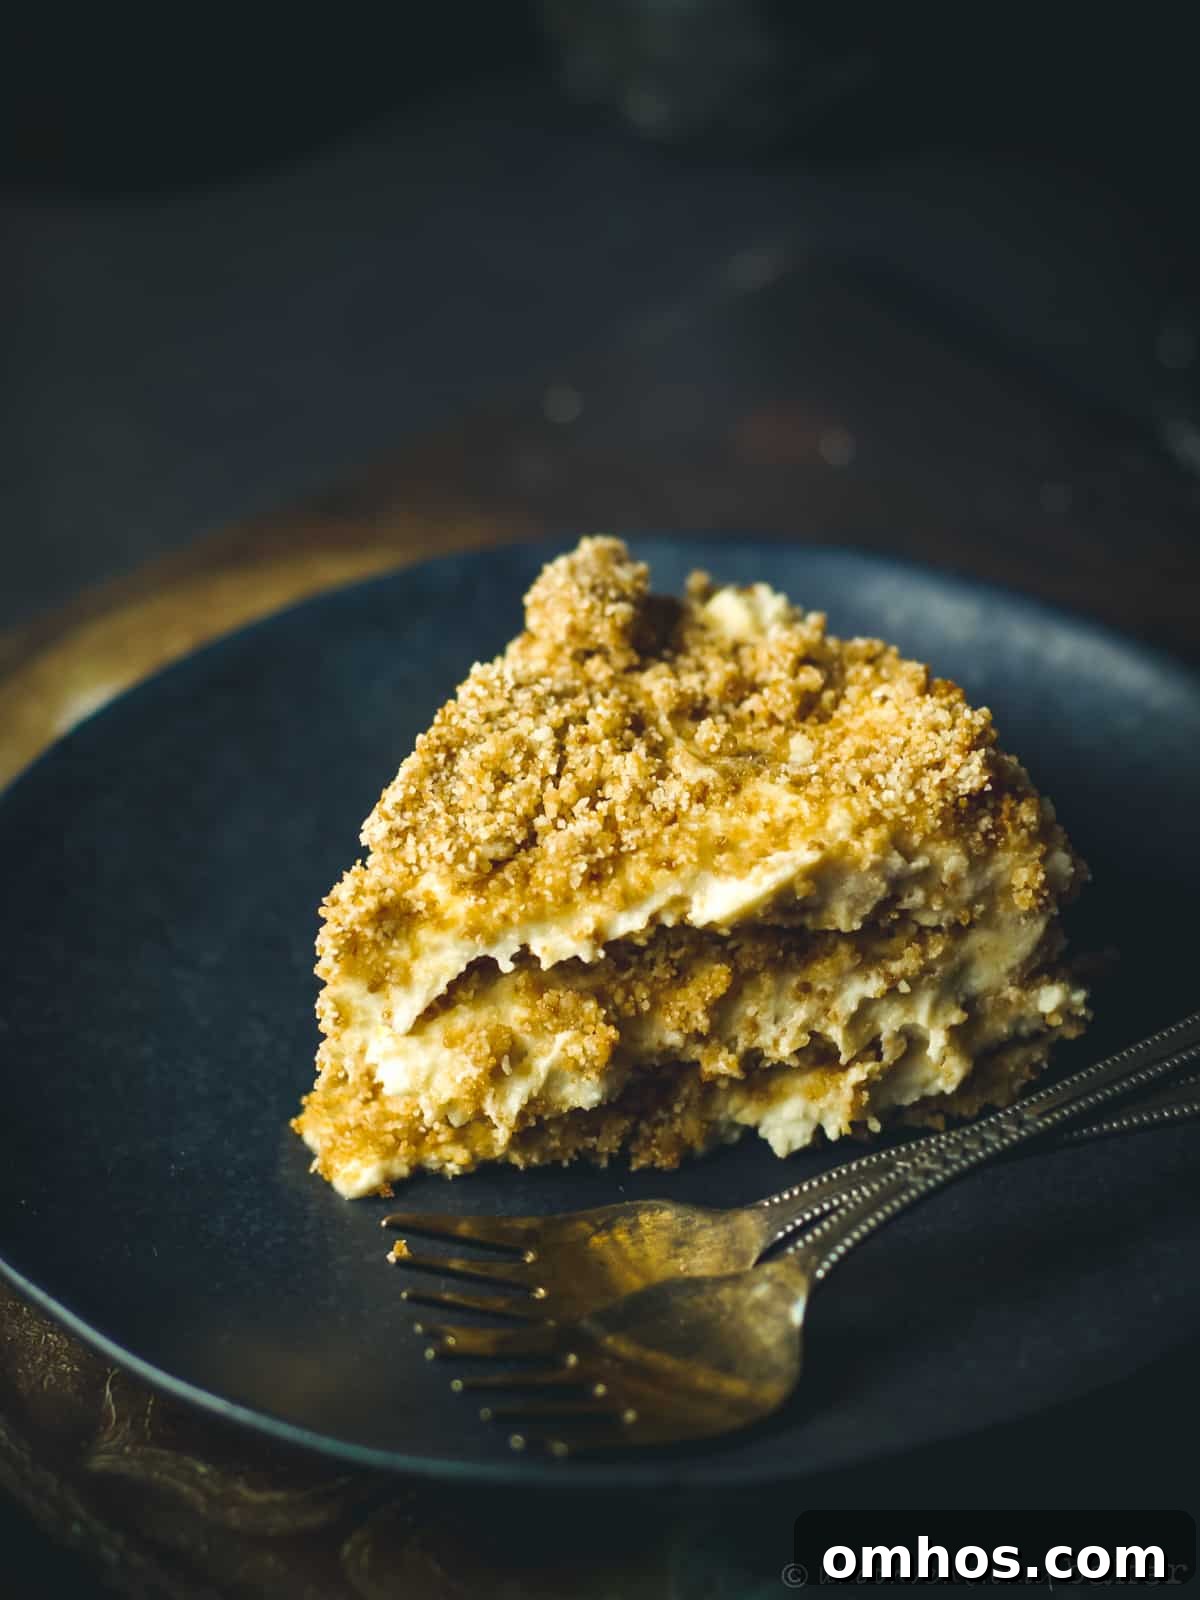
The finished cake is best when allowed to chill until firm, which helps the layers meld and makes clean slices possible. Serve chilled and keep it refrigerated. This format is ideal for making ahead: assemble one day and serve the next, or freeze and slice after it firms. Because the recipe uses ready-made vegan sour cream and other store-bought staples, it comes together quickly—perfect for when you want a homemade dessert without a lot of fuss.
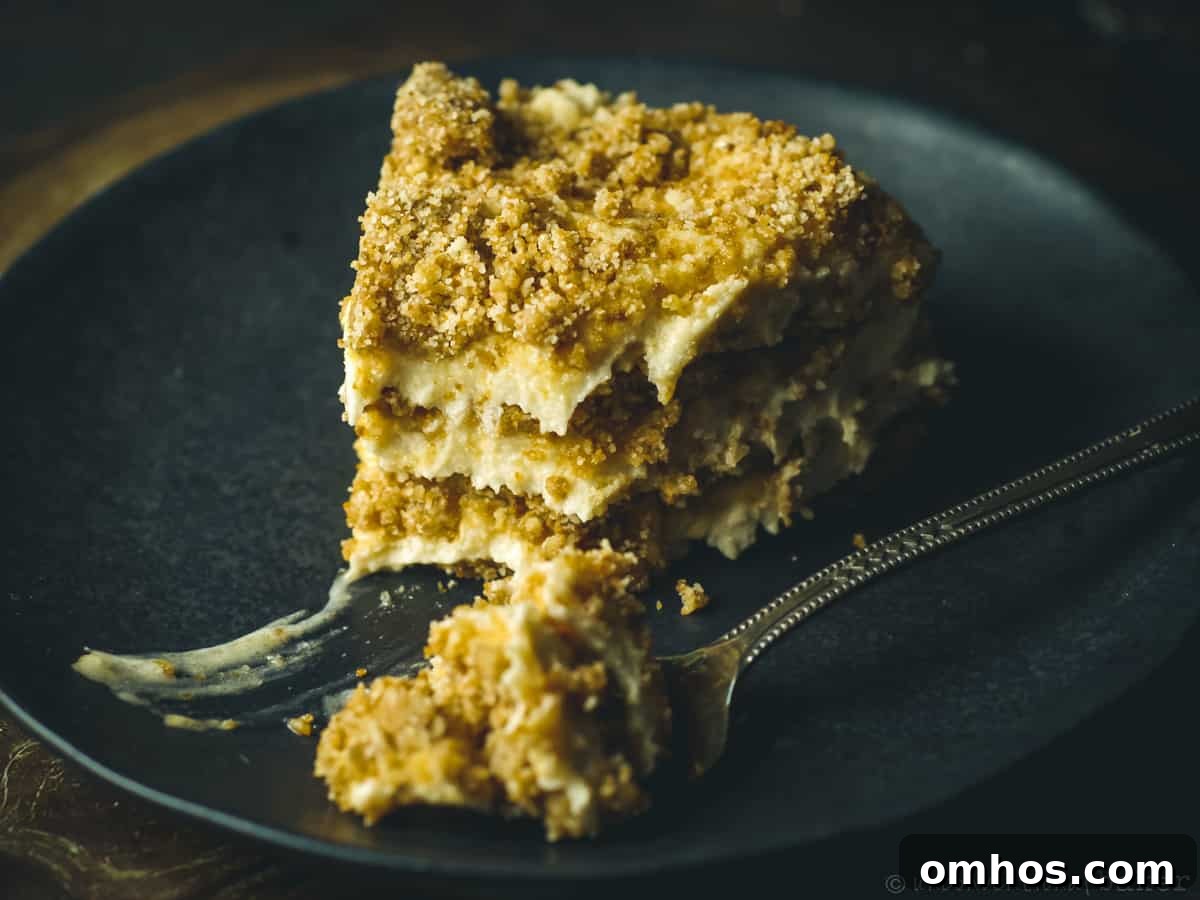
No-Bake Cream and Crumb Cake
A delightful no-bake cake made from alternating layers of crumb and cream. Sweet with a subtle tang from vegan sour cream, and finished with a hint of white chocolate.
- Author: Audrey @ Unconventional Baker
- Prep Time: 25 minutes
- Total Time: 25 minutes (plus chilling time)
- Yield: 6″ cake
- Category: Cake
- Method: No-Bake
- Cuisine: Dessert
- Diet: Vegan
Ingredients
Crumb Layer
- 2 cups almond flour
- ½ cup coconut sugar
- 3 tbsp maple syrup
Cream Layer
Make sure all cream layer ingredients are at room temperature*
- ¾ cup vegan sour cream
- 5 tbsp vegan white chocolate chips, melted
- ¼ cup vegan butter, softened (plus extra for oiling the pan)
- ¼ cup maple syrup
- 1 tsp pure vanilla extract
Instructions
- Prepare a 6″ springform pan by greasing it well and lining the bottom with a circle of parchment. If desired, line the sides with parchment strips pressed against the walls to keep the sides straight—this makes unmolding neater.
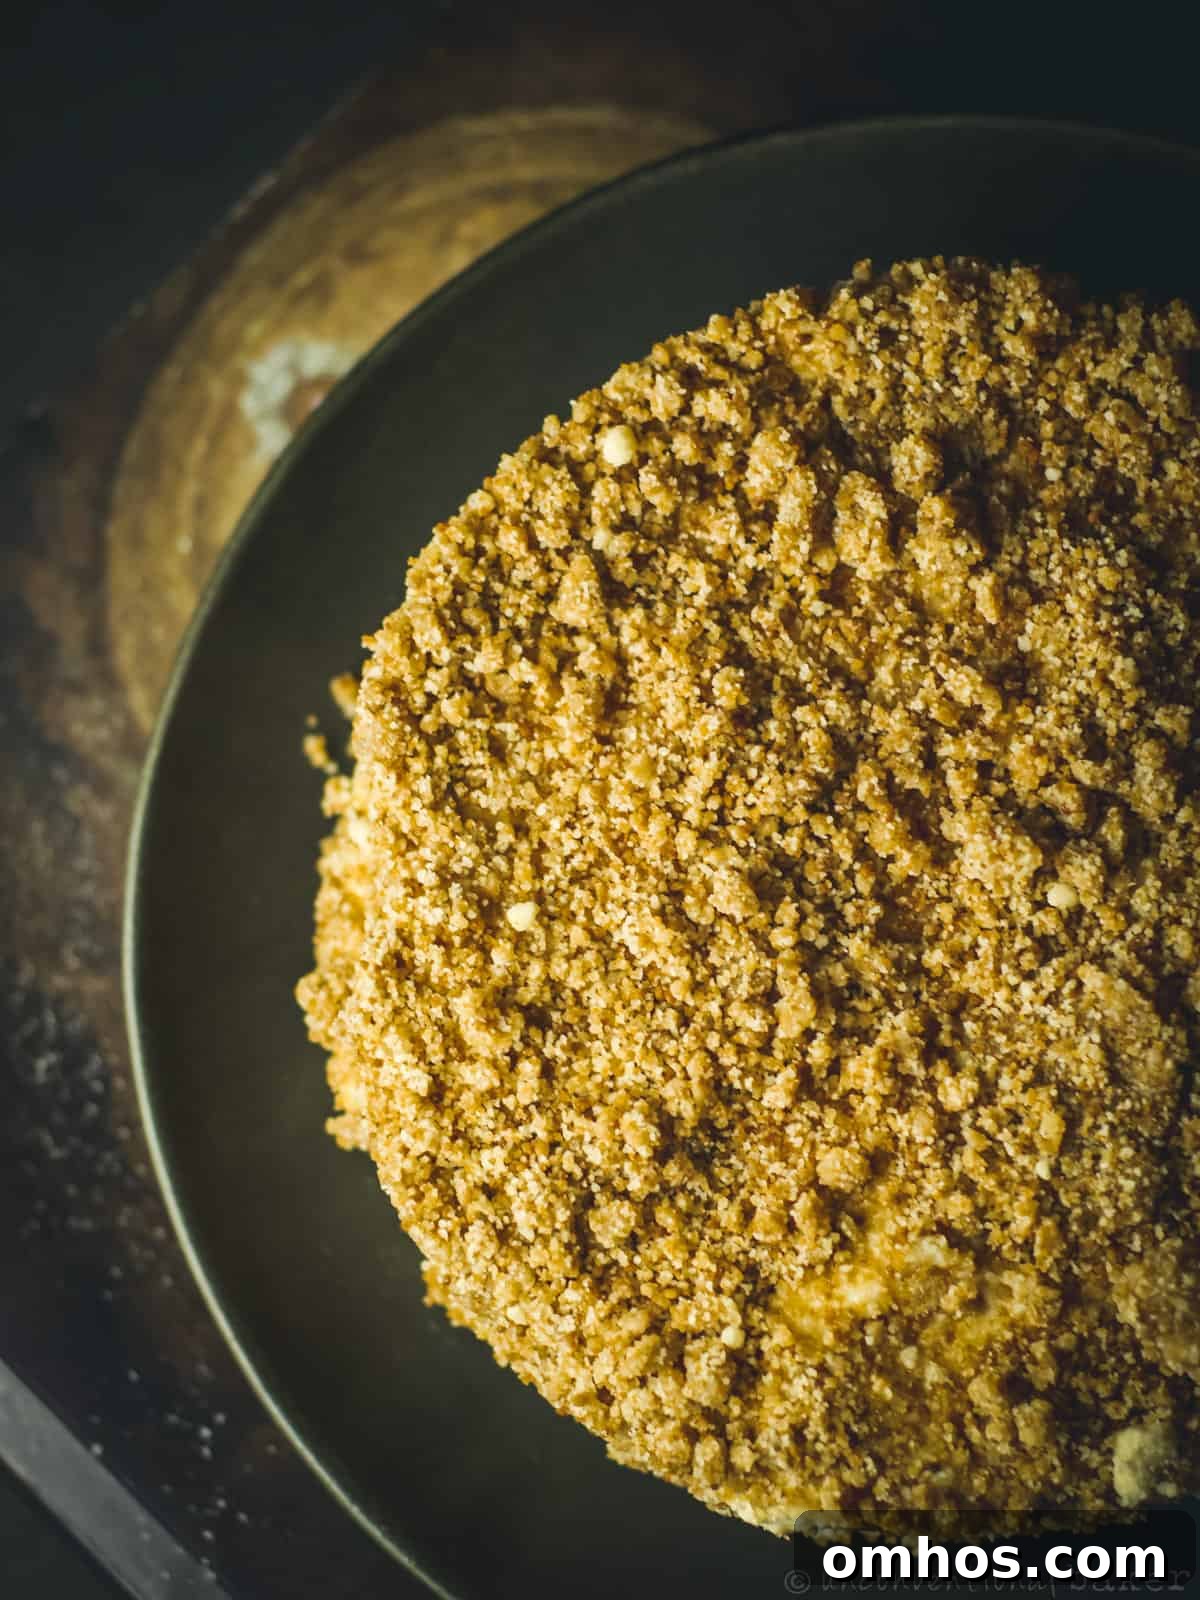
- Combine the crumb layer ingredients in a bowl and stir until the mixture resembles a coarse crumble or streusel. The texture should hold together lightly when pressed.
- Blend the cream layer ingredients in a mini food processor or use a blender/immersion blender until smooth and creamy. If any ingredients are cold, the chocolate may seize or the mixture may become lumpy, so everything should be at room temperature.
- For assembly, divide the crumb mixture visually into five roughly equal portions. Press the first portion evenly over the bottom of the prepared pan, pressing down gently to form a thin base. Add about one-quarter of the cream mixture in small spoonfuls, spreading carefully so you don’t disturb the crumb layer beneath. Smooth gently with the back of a spoon.
- Repeat: add the next crumb portion, tap the pan to settle the layers, then add another quarter of the cream. Continue alternating crumbs and cream until you have used all the cream and finished with the remaining crumbs on top. Tap the pan on the counter a few times to remove air pockets and help layers settle.
- Refrigerate the cake overnight or freeze for 4–5 hours to firm. Once set, carefully unmold the cake and transfer to a serving plate. Keep refrigerated and slice with a sharp knife for clean layers.
Notes & Tips
*Room-temperature ingredients are important. If the butter or sour cream is cold, the melted chocolate can firm up too quickly and the cream won’t blend smooth. Softened butter should be very soft—almost melted but not liquid—so it blends into a creamy filling.
Variations: Spread a very thin layer of raspberry jam between one or two cream layers for a fruity contrast, or add a small amount of finely chopped toasted nuts to the crumbs for extra texture. For a chocolate variation, stir a teaspoon of cocoa into part of the cream for dark-and-white layers.
Storage: Keep the cake refrigerated for up to 4–5 days. You can also freeze the cake; slice it after it has fully firmed in the freezer and return slices to the freezer in an airtight container for longer storage.